Hall Royd Junction Box nameboard as preserved at the East Lancashire Raiway, Bury

'Aylesbury', L&NWR 1911

In 1982 I got a job in Aylesbury, and it wasn't long before I found a 'short cut' that took me down the road from Broughton to Bierton. The path of the abandoned branch line at Marston Gate was then still quite marked. This was my first introduction to the real-life Cheddington to Aylesbury branch, but I had already come to know the model version through Geoff William's writings in various journals in the late 50s and early 60s. As Geoff gathered more information, a rebuild became inevitable, and it is this later layout that is now preserved by the Risborough & District Model Railway Club.

The layout had a 'once only' public viewing at Railex in Aylesbury on 28 & 29 May 2016, and the following images were taken on the 29th.

Guy William's Aylesbury (18.2mm gauge) seen from the sector plate looking towards Aylesbury. 

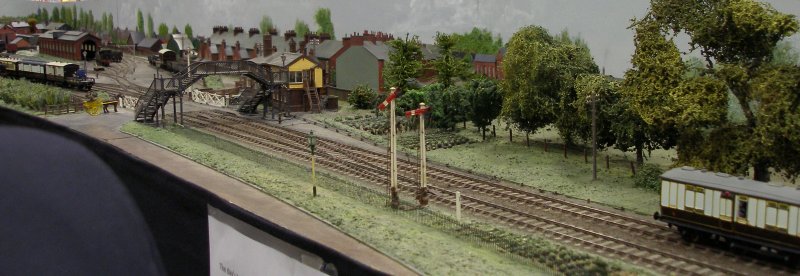
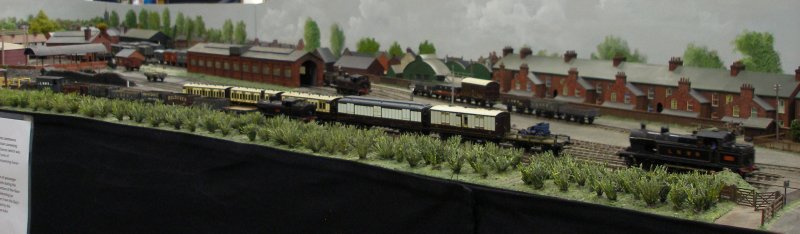
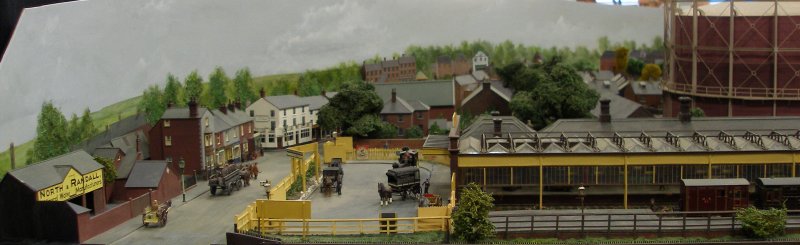
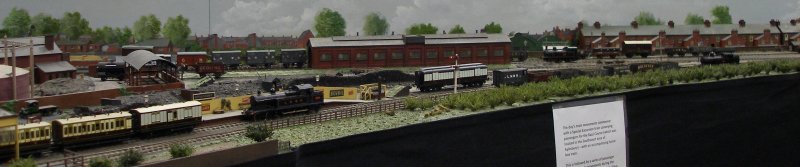
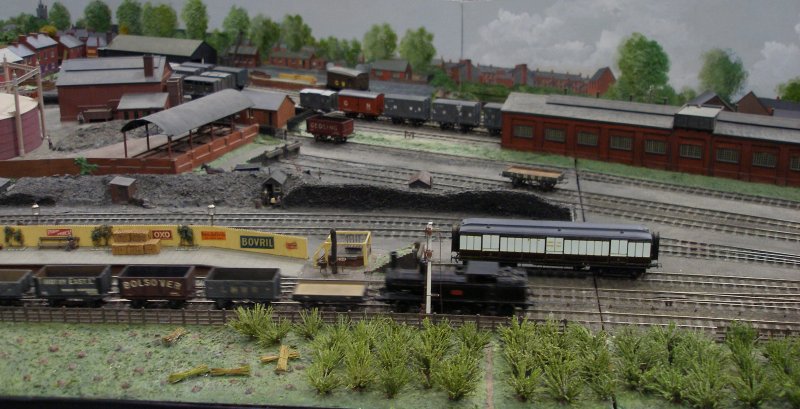
The first view is taken from the sector plate looking towards Aylesbury. Note the passenger train held on the headshunt for the goods yard, with the loco up against the stock blocks. It seems unlikely that this was a prototype manoeuvre, and is a 'modelling' convenience. 

Guy William's Aylesbury (18.2mm gauge) showing the goods yard headshunt as it passes along Stocklake.

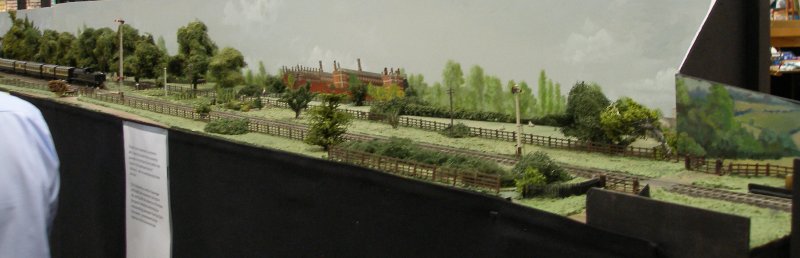
We have edged towards Aylesbury and the Advanced Starter signal can be seen on the right, whilst the very tall Outer Home with repeater arm can be seen just above the white notice pinned to the fascia. The prison can be seen on the backscene - it is still there today.

Guy William's Aylesbury (18.2mm gauge) showing the goods yard headshunt as it passes along Stocklake, complete with passenger train and loco 'parked up'.

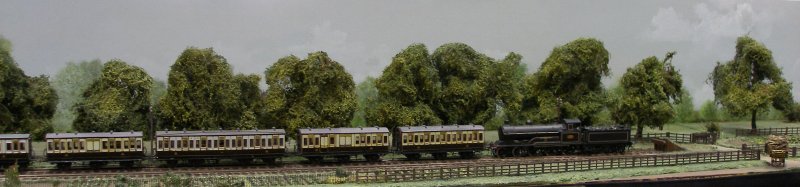
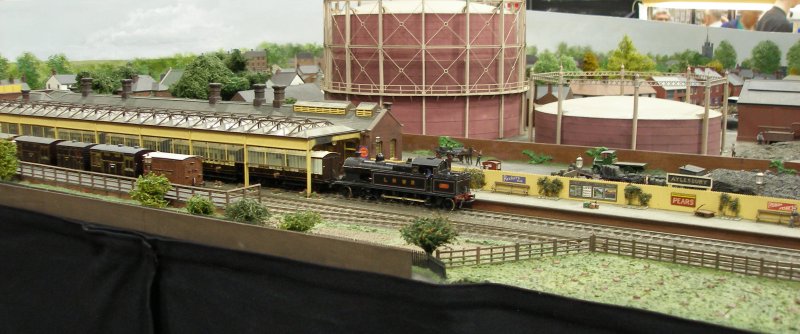
The crew have presumably abandoned the footplate, as they appear to have been parked out of the way of operations in the station area, and so are also out-of-site of any local management. The loco is standing on the cross-over, so is effectively boxed-in by its train.

Guy William's Aylesbury (18.2mm gauge) showing the goods yard headshunt as it passes along Stocklake, complete with passenger train and loco 'parked up'.

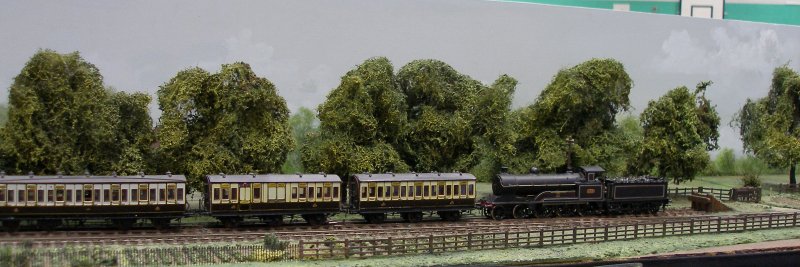
A closer view of the loco and train.

Guy William's Aylesbury (18.2mm gauge) showing the goods yard headshunt as it passes across the Park Street level crossing.

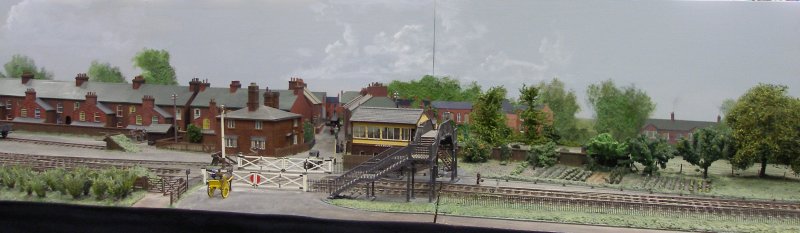
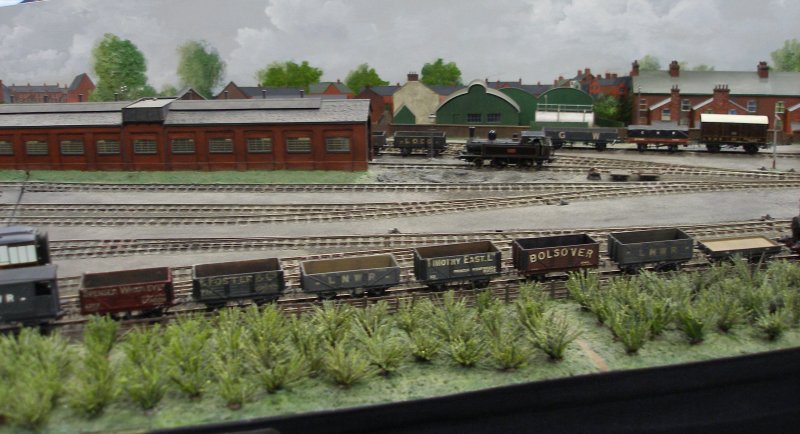
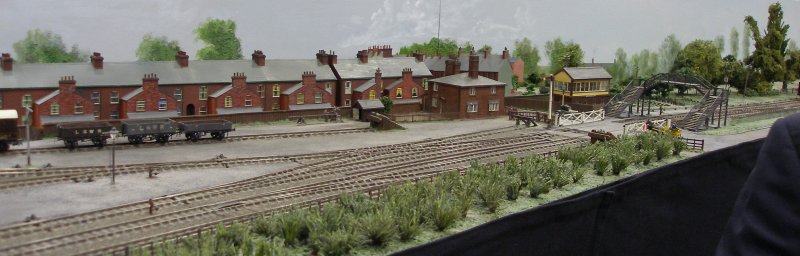
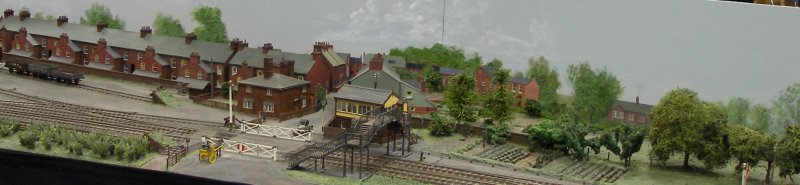
Stocklake approaches Park Street in the foreground. Rather than provide a bracket signal, to home signals of appropriate height have been provided to signal trains either into the passenger station or into the goods yard.

Guy William's Aylesbury (18.2mm gauge) showing the goods yard headshunt as it passes across the Park Street level crossing.

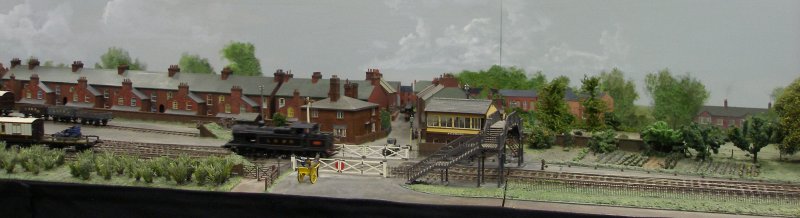
The allotments to the right of the signal box are a nice touch.

Guy William's Aylesbury (18.2mm gauge) showing the goods yard headshunt as it passes across the Park Street level crossing.

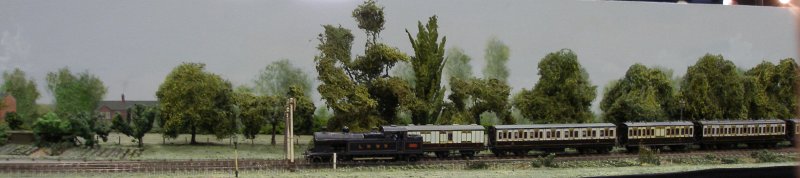
The loco in the above photograph stops beyond the home signals, and awaits the road to complete its run round manoeuvre.

Guy William's Aylesbury (18.2mm gauge) showing the goods yard headshunt as it passes across the Park Street level crossing.

Guy William's Aylesbury (18.2mm gauge) showing the goods yard and 'steam shed' in the middle distance. For those who know the modern Aylesbury, this is the site of the modern B&Q DIY store.

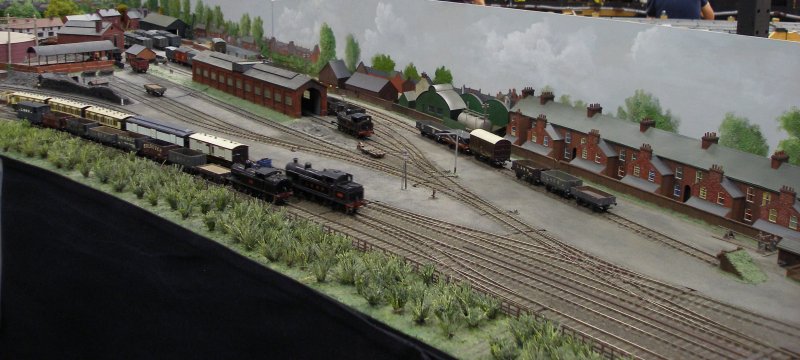
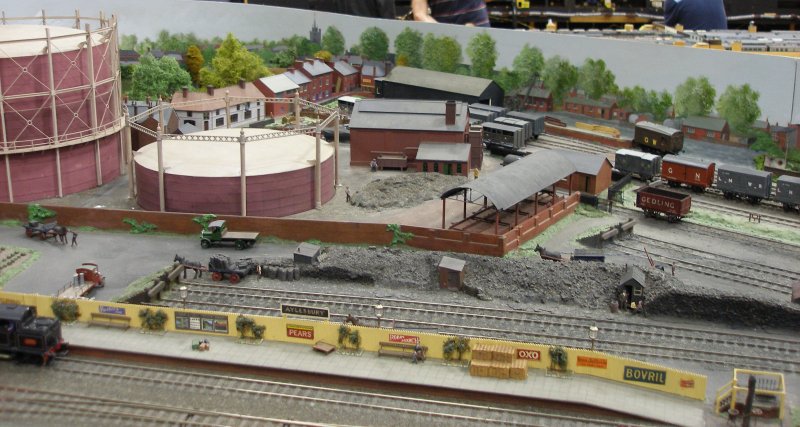
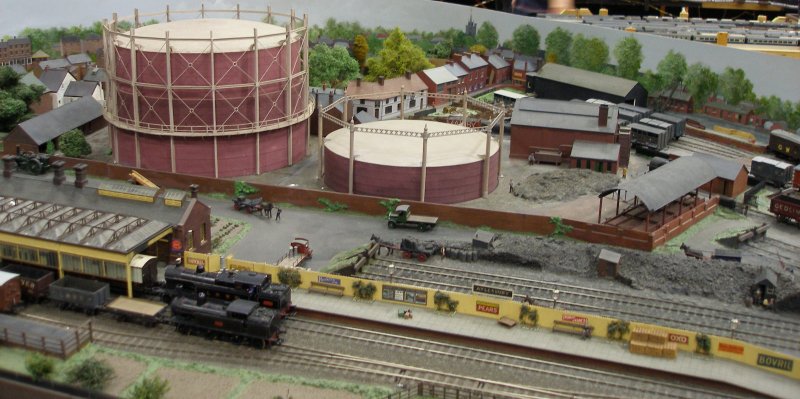
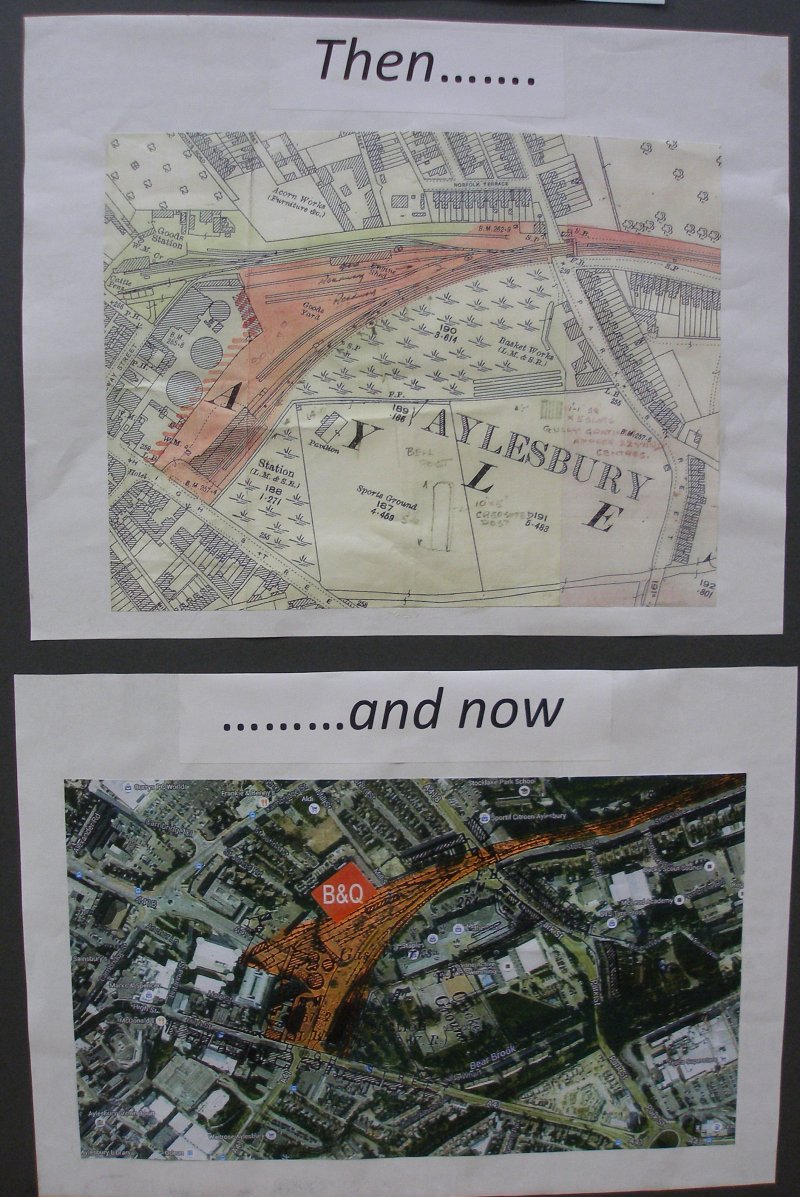
The goods yard throat with the 'steam shed' in the middle distance. For those who know the modern Aylesbury, this is the site of the modern B&Q DIY store.

Close up of the signal box and level crossing

Guy William's Aylesbury (18.2mm gauge) showing the goods yard and 'steam shed' in the middle distance. For those who know the modern Aylesbury, this is the site of the modern B&Q DIY store.

Guy William's Aylesbury (18.2mm gauge) showing the goods yard and 'steam shed' in the middle distance. For those who know the modern Aylesbury, this is the site of the modern B&Q DIY store.

Guy William's Aylesbury (18.2mm gauge) showing the station buildings and canopy.

Guy William's Aylesbury (18.2mm gauge).

Guy William's Aylesbury (18.2mm gauge) showing the station forecourt.

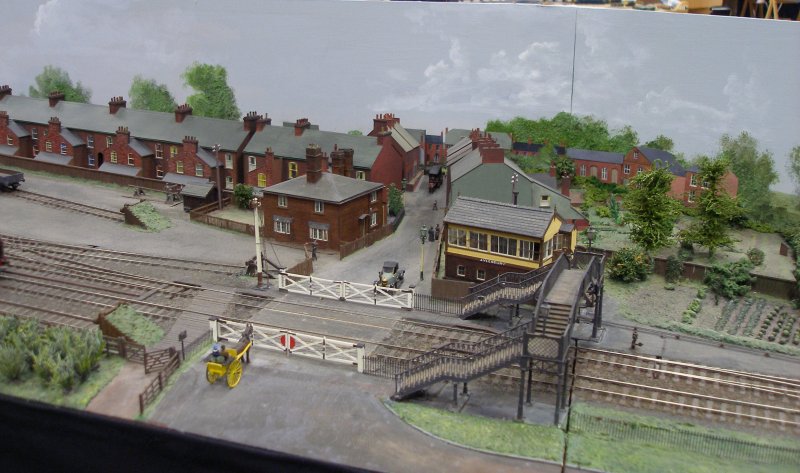
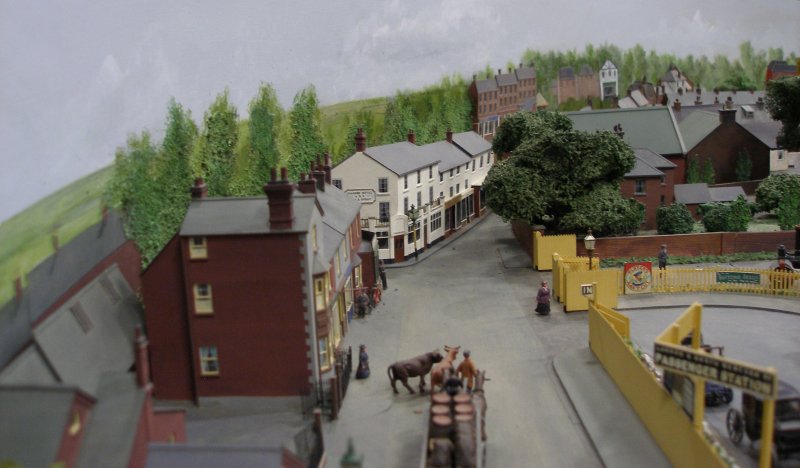
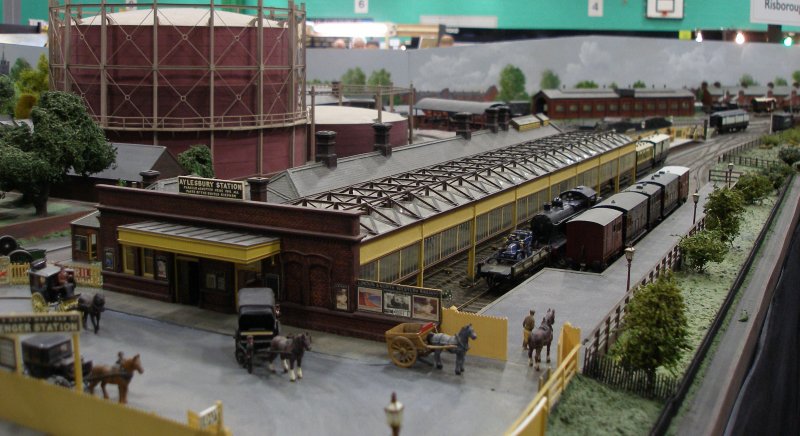
The station forecourt. I explored this area in 1982. The actual forecourt survived and it was possible to drive onto it. The bottom of the station building wall survived, cut down to form a wall, with the doorways bricked up.

Guy William's Aylesbury (18.2mm gauge) showing the gas works.

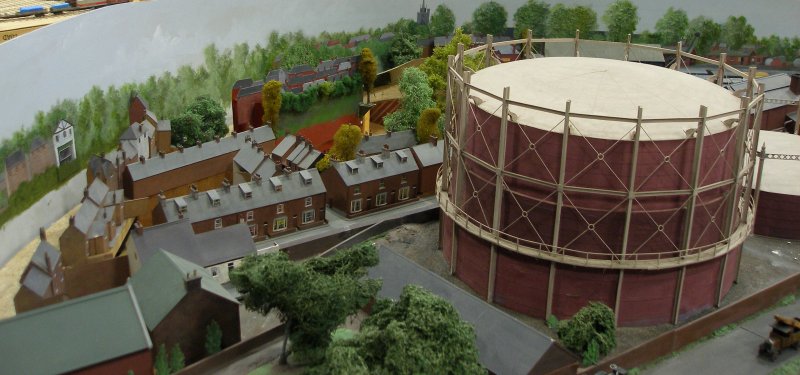
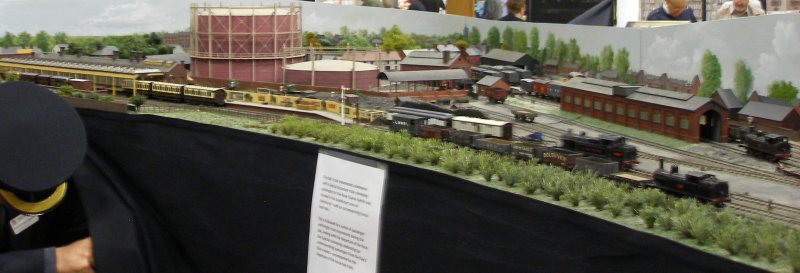
Gas works detail. Note how the houses in this area have no backs.

Guy William's Aylesbury (18.2mm gauge) showing the station throat.

Guy William's Aylesbury (18.2mm gauge) showing the station forecourt.

Guy William's Aylesbury (18.2mm gauge) showing the station throat.

Guy William's Aylesbury (18.2mm gauge) showing the station throat.

Guy William's Aylesbury (18.2mm gauge) showing the station throat.

Guy William's Aylesbury (18.2mm gauge) showing the station throat.

Guy William's Aylesbury (18.2mm gauge) showing the station throat.

Guy William's Aylesbury (18.2mm gauge) showing the station throat.

Guy William's Aylesbury (18.2mm gauge) showing the station throat.

Guy William's Aylesbury (18.2mm gauge) seen in full.

Guy William's Aylesbury (18.2mm gauge) showing the original site compared to modern mapping.

Guy William's Aylesbury (18.2mm gauge) display panel.

Guy William's Aylesbury (18.2mm gauge) display panel.

Guy William's Aylesbury (18.2mm gauge) display panel.

Guy William's Aylesbury (18.2mm gauge) display panel.