
Constructing a Road...or how to model the public highway
Somebody recently asked how I made my roads. Many years ago there was an excellent article in the 'Model Railway Journal' which detailed the methodology employed on their 7mm demo layout.
I was hard pressed to find the article, so thought I would try and apply the principles to a section of my own road.
There are two basic problems with modelling roadways: texture and colour. A third might be width and alignment. Very few roads on model railways look as if they can be driven on.
In this particular case, this is an accurate model of an actual roadway and so only the first two elements need concern us.
Road surfaces consist of a layer of black tar into which grey chippings are rolled, and the final result is not a simple plain colour.
The problem with sand or emery paper is that often the grains of the sandpaper represent large rocks in model form, and would give an uncomfortable ride for our model motorists.
There are some stunningly good roads created using plain card, but I felt some form texture was required, so read on to see whether a realistic road was created .
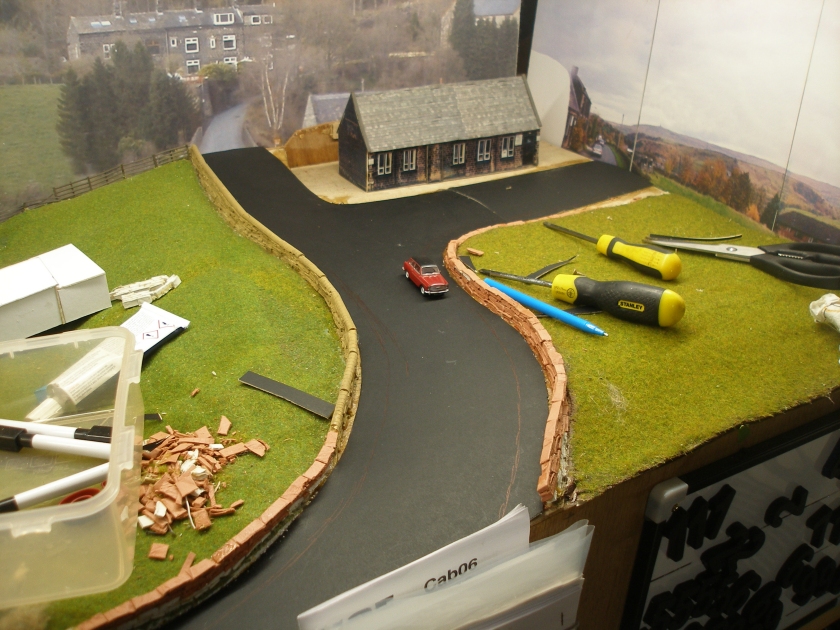
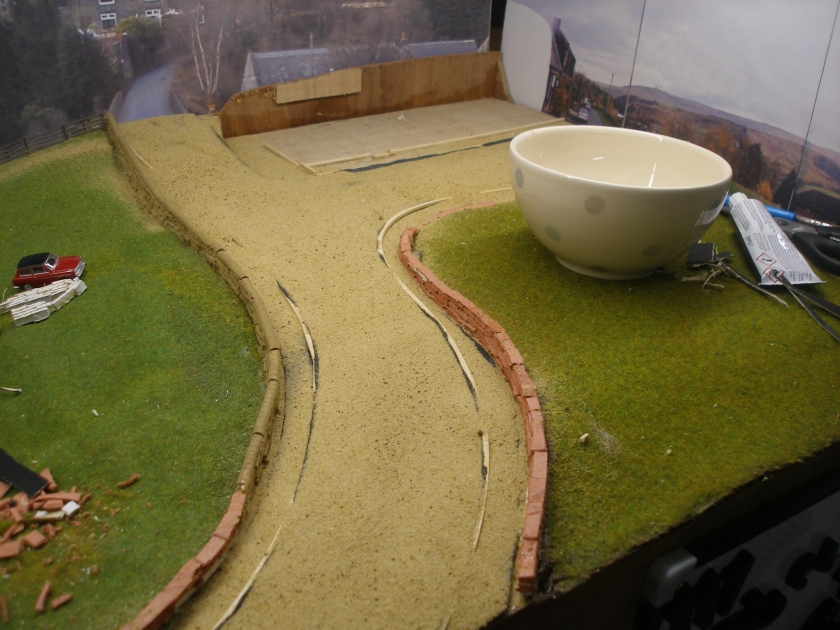
The image below shows the virgin site, with the road formed from plywood.
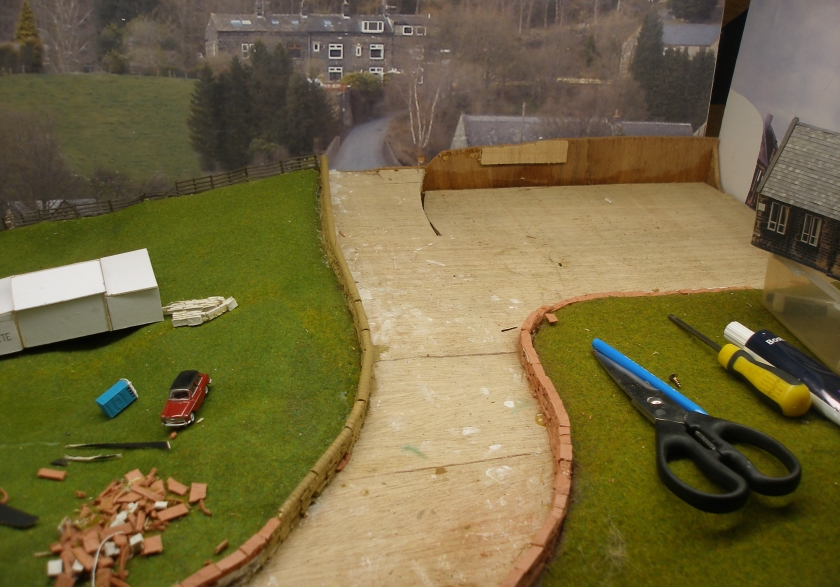
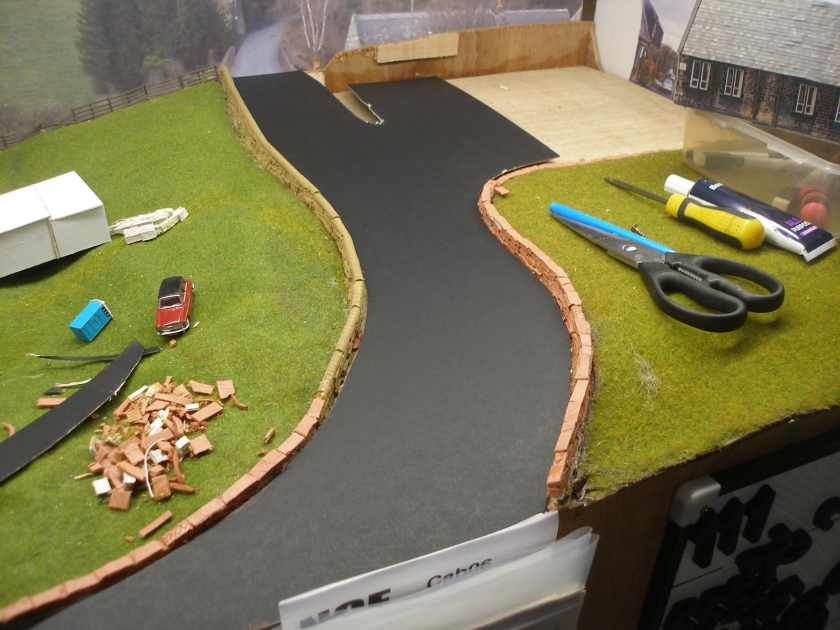
The first step was to create an overlay from black mounting board. Due to Lock Down, I had to change supplier, and this particular board was slightly thinner than what I would normally use, but this may have worked to my advantage, as it is more easily formed.
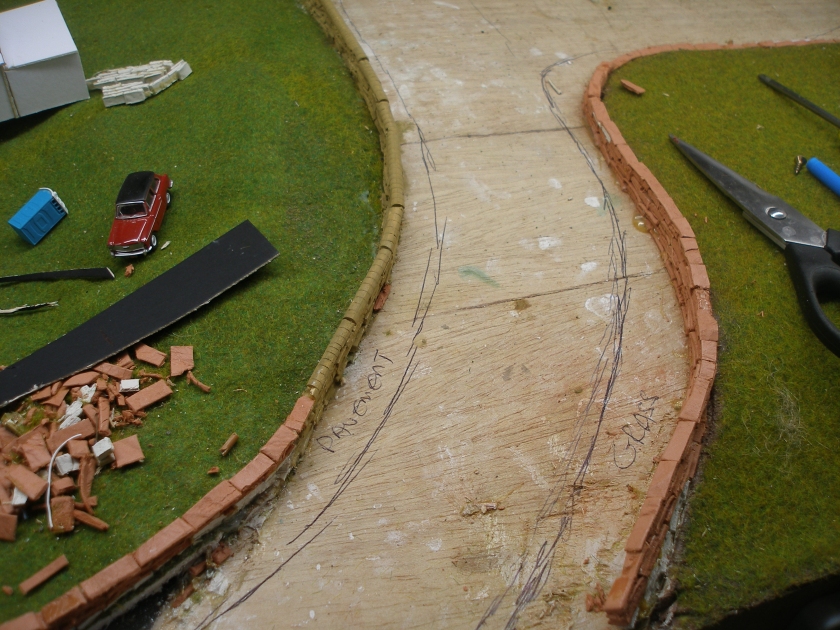
One of the keys to creating successful roadways is to imaging actually having to drive on them. It will be apparent that the boundary wall on the right hand side deviates to the right, and doesn't follow a smooth curve down to the front of the baseboard. This is because on the prototype the verge widens, and this is actually a grassed area. The position of the kerbs were drawn on the plywood base.
The next image shows two steps in one. Firstly, a strip of mounting board has been laid down the centre of the roadway, to form the camber. This is formed of two layers of card. Note how the strip on the road turning off to the right starts about 10 centimeters from the actual junction. This accommodates the transition between the two. Secondly, Thix-o-Thix has been applied to the areas that will form the pavements and grassed verge.
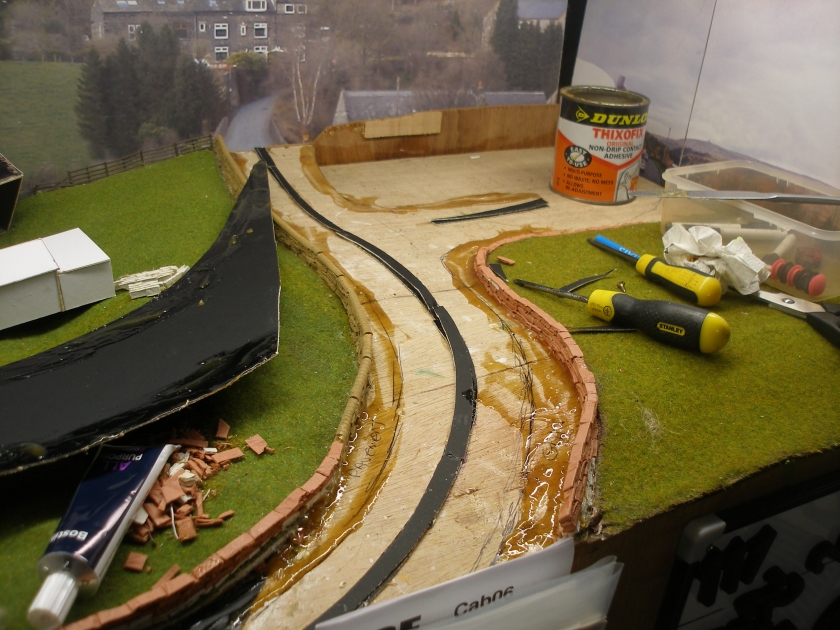
Once the Thixofix had gone off, a line of Bostick glue was applied to the top of the camber former, and the card overlay was pressed into place. The kerb lines were now also transferred to the card overlay.
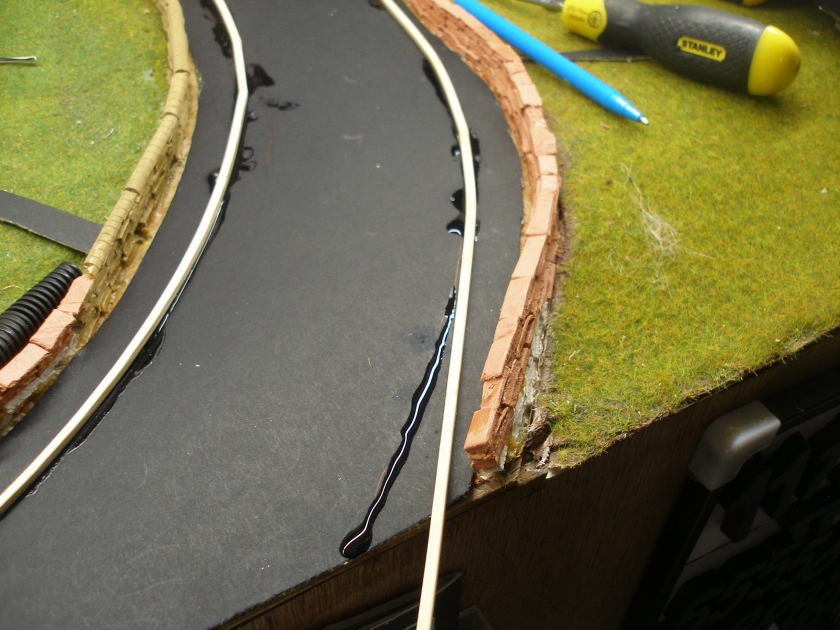
To ensure the kerbs 'flowed', I used some excellent wooden strips discovered in the local Pound shop.

The kerbs were now laid. The first few centimeters were glued in place using Superglue, which set within seconds. With one end secured, the kerb was then bent into position before also being secured with Superglue.
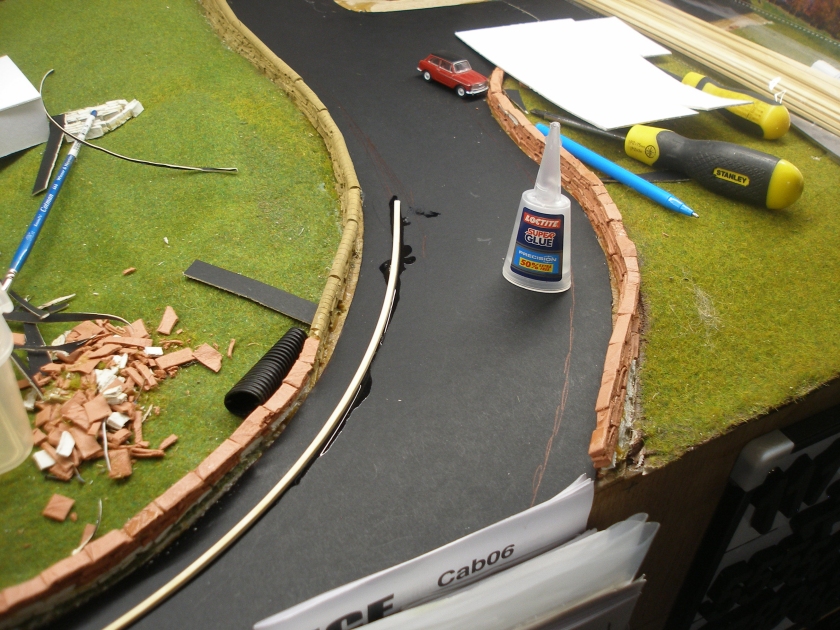
The technique was, having secured one end, was to run the Superglue along the line previously marked, and then bend the kerb and hold it in place until the glue had set.
The Tarmac is going to be represented by sand poured onto a layer of paint. Although Tarmac is black, by the time the stones are applied, it has a mid-grey appearance. My local hardware shop supplied a tin of Satin Grey; the sand was already in stock. Note how the kerbs now flow neatly round the corners.
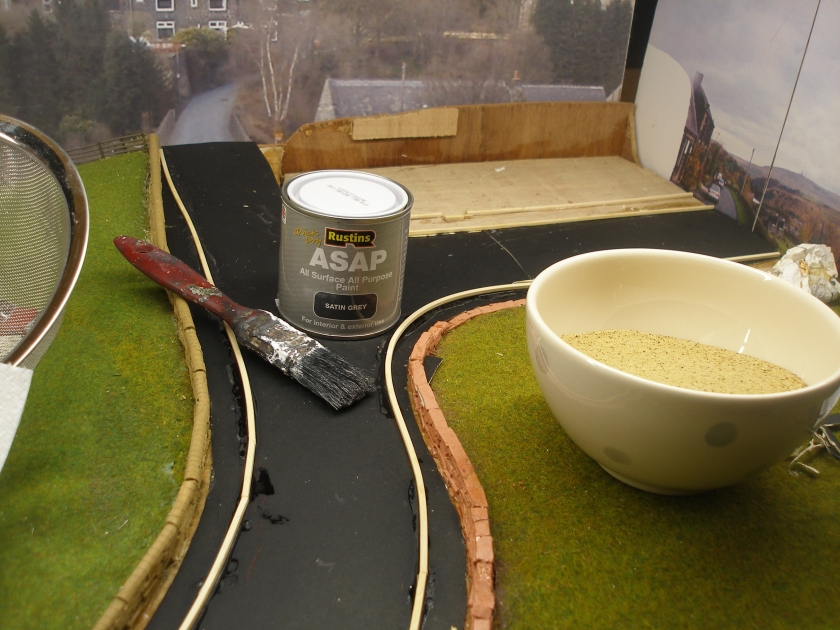
The grey paint was brushed onto the card overlay, taking care to avoid obvious brush strokes.

The sand was sieved onto the road to ensure that the paint was comprehensively covered, and then left to dry.
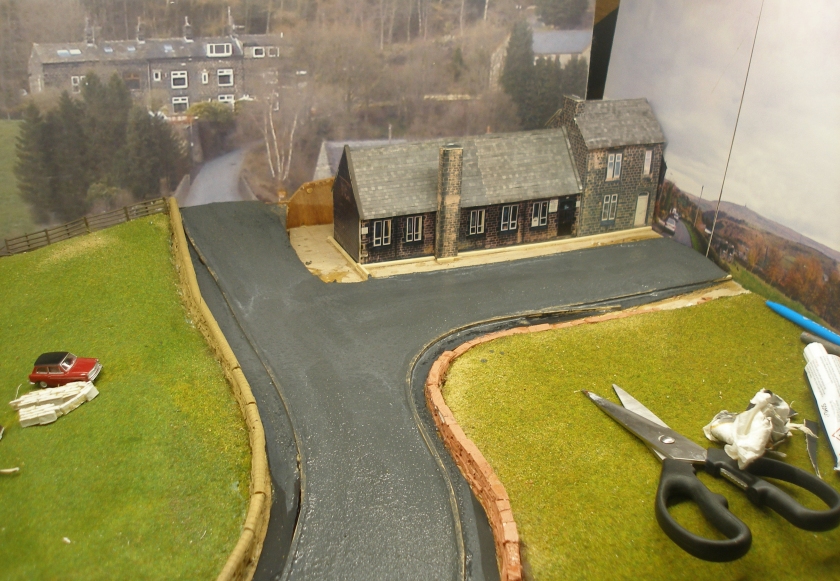
Once the paint had dried, the road surface was given a coat of diluted paint. The apparent shine reflects the fact that the paint is wet. Notice how the school has now appeared.
11 November 2020
Road markings were an interesting diversion. The current road signage was introduced in 1964, and it has been suggested that the application of the new signage took place over a surprisingly short time. Hall Royd's trains tend to favour the period towards the end of steam, with the majority modelled as they were in the years 1966-1968.
Scale Model Scenery offer a number of solutions for road building, and I was drawn to their stencil set for road markings, RX001-OO Laser Cut Road Marking Stencils OO/4mm/1:76 (£20.89). There is also a set using self-adhesive matt polyester road markings, but I felt the stencil set would work better for me, despite the higher cost. Whilst the credit card was out, I also ordered their AX013-OO Manholes, Drains & Ironwork OO/4mm/1:76 at £3.84 a set.
Once the paint had dried, DAS modelling clay was used to form the footpaths, and also rubbed into the road surface to create a smoother road surface for motor vehicles. Once dried, the road was sanded. This may seem a little odd, as I was effectively sanding the sand paper road surface I had created with, err, sand paper!
Another coat of the grey paint was again applied to the sanded road surface. As previously noted, the paint had a satin finish. Once dry, the road was coated first with an old aerosol tin of Pheonox matt varnish. This dried a very odd satin effect, and the road was recoated with Ronseal matt varnish. This, for once, did not do what it said on the tin, and it too dried a rather splotchy gloss, satin effect. Finally an old bottle of an acrylic matt varnish, and that dried both quickly and with much desired matt finish.
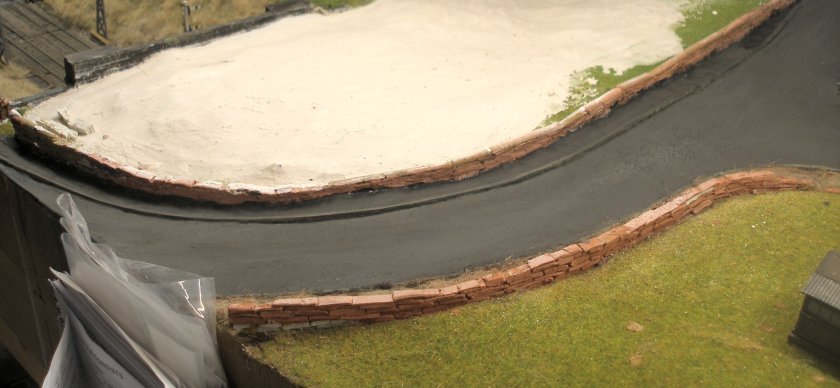
To soften the colouring, and make it even more road-like, some grey weathering powder was rubbed into the road surface, and then brushed off. This stage is now reflected in the two images below.
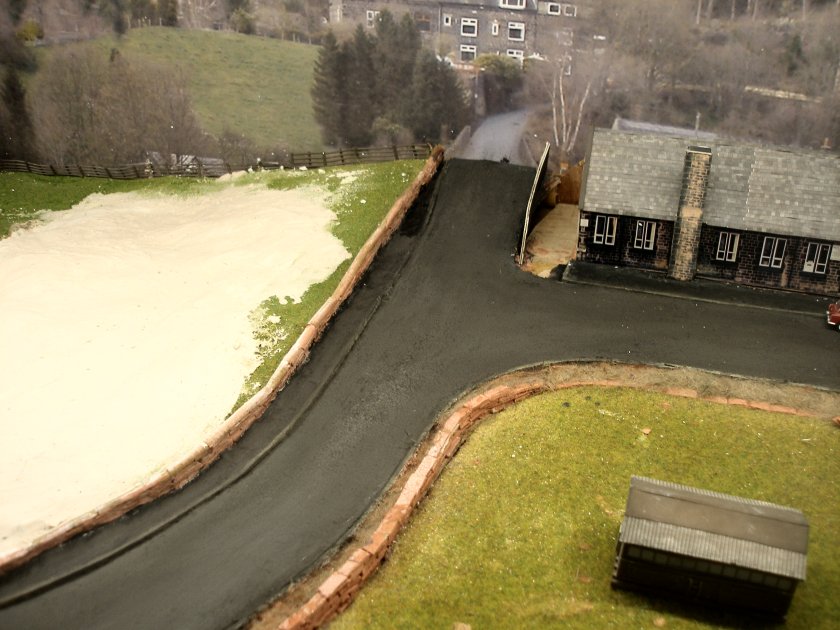
Those following this story will have observed that there has been something of a white-out event in the field on the other side of the wall since the earlier photos.
This area of Todmorden was notable for the extensive hen rearing that took place along the valley going eastwards, and there were two hen houses over the tunnel mouth (where the white patch is) and also a third one on the other side of the road.
This house is represented by the Pendon hen house as produced by Bachmann, and it is this style that is the more dominant one in the Todmorden area. To replicate this house, a second Pendon building has been acuired, and they will be joined togeter to replicate the house that is the field today, and can still be seen on Google Streetview.
It was apparent from critical study of photos of the two hen houses above the tunnel mouth that I had fail to create sufficient height in the field, and so the 'land' has now been raised so that the hen house will have a better foundation.
It may be possible to create a reasonable representation of the nearer hen house using commercially available kits, and this will be explored in a later posting.

Copyright J K Wallace, t/a 'Hall Royd Junction' 2013-2023 email: Hall Royd Junction
7 Portobello Close, Chesham, Bucks. HP5 2PL, UK
tel: +44 (0)7513 412880