
Bare baseboard to green bridge
To allow trins heading to Manchester to return to the storage area, the layout features a return loop. In the original thinking, this was to be formed of a simple plywood baseboard 'bridge' carrying the tracks forming the start of the return loop across the operating well down the middle of the loft.
And except for the use of cork underlay and ballasting, this was all that was intended. Behind was the end basbord, with the tracks hidden behind a backscene, which in turn was a view up the Calder Valley towards Todmorden.
Visually this worked, but, as previously noted, the bare baseboard in front of the backscene was used as a shelf. Recently, some old buildings ought years ago on eBay were dug out, and now neatly fill the 'shelf' area.
This meant that the 'land bridge' was now more conspicuous as a piece of unfinished layout.
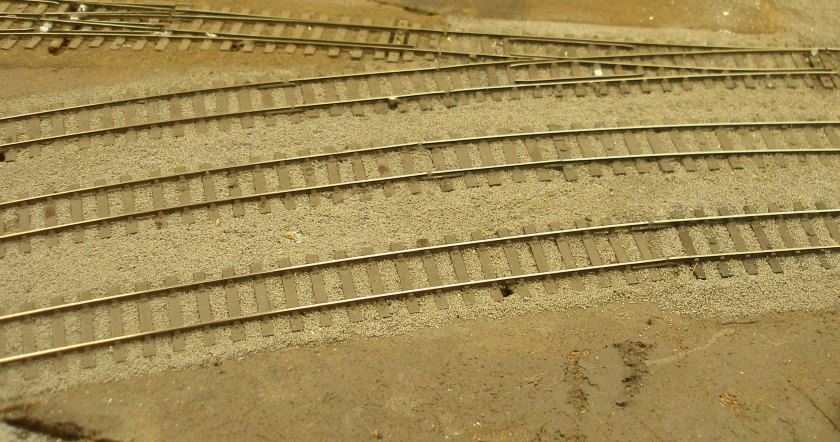
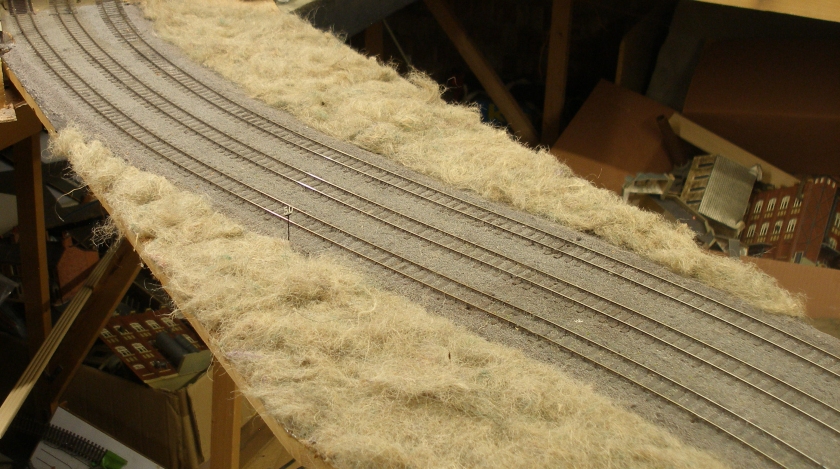
As noted, the track was laid on cork underlay, which was fixed to the full width of the bridge, irrespective of where the track might finally be laid, as can be seen on this snap of the track approaching the 'bridge' (the cork underlay is the brown area in the foreground, having been painted with Humbrol enamel #98).
 .
.
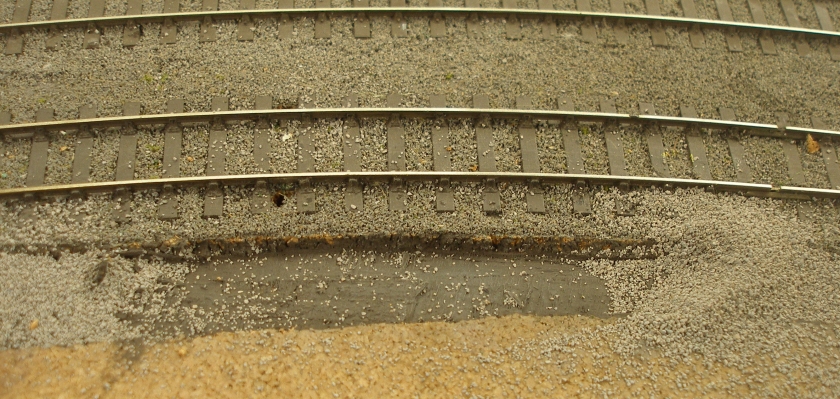
With a scalpel, a channel was cut along side the track, in the cork underlay. The unwanted cork was prized-up and chiseled away with a broad screwdriver. The reuslting channel was again painted with Humbrol #98, as per the image below.
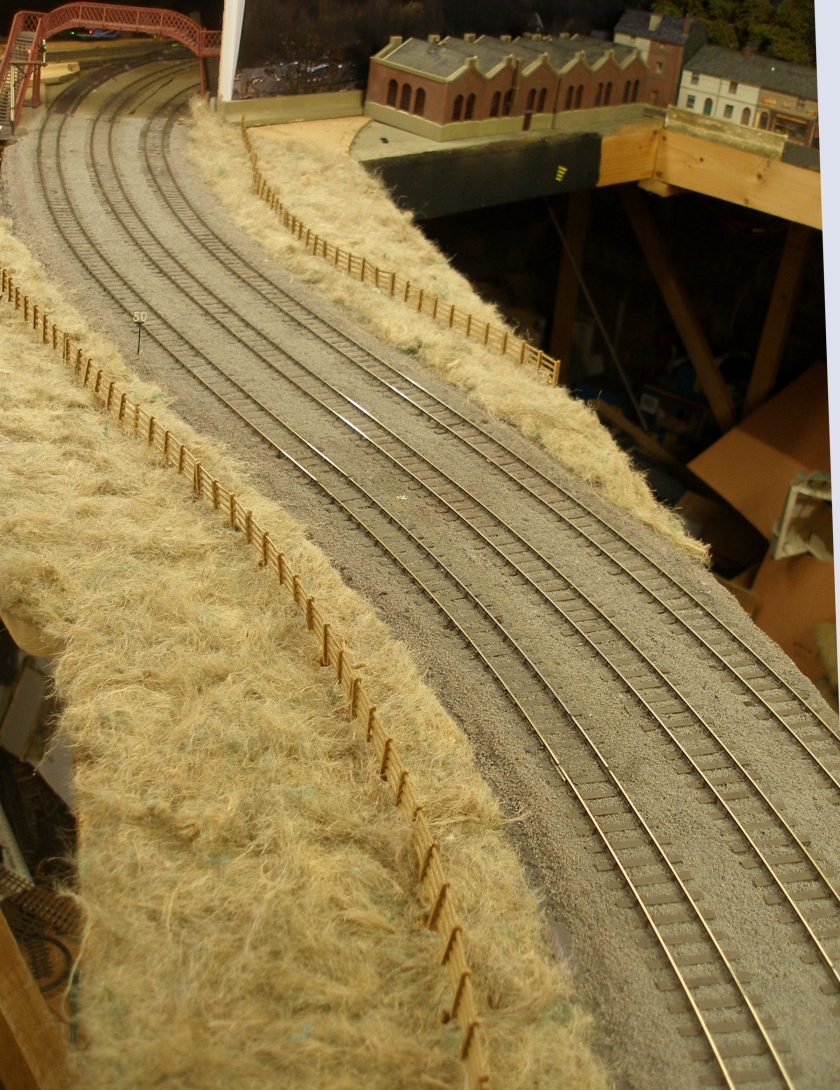
Woodlands fine grey ballast was then gently poured along the channel, and formed into a ballast shoulder thus.
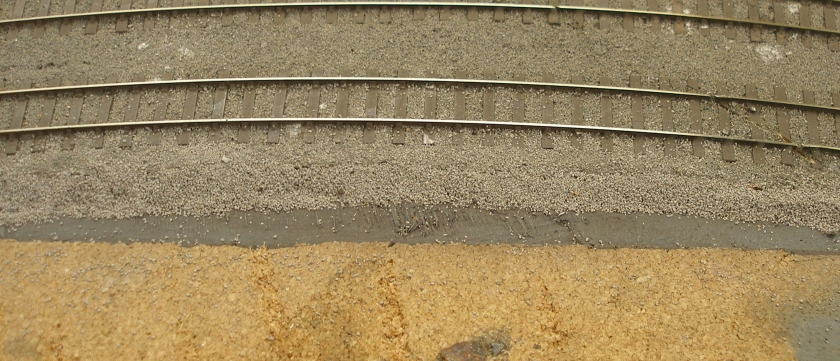
The new ballast shoulders were then secured with diluted PVA wood glue. My technique is to first apply IPA using a dropper, and then followed by the diluted PVA with a drop of washing-up liquid. Both procedures are intended to stop the glue puddling on the surface of the ballast, and allows it to penetrate without disturbing the ballast.
The next step was to lay the grass. This is hanging basket liner. It is first removed from the green cloth backing, and then broken into smallish clumps. Neat PVA wood glue is brushed onto the surface, and then the clumps gentle pushed into the glue to create a grassed area as shown.
Scale Model Scenery (SMS) have produced a remarkable range of laser-cut wood products. They do some excellent fencing, and for this area I am following the prototype, and have used the wooden-bar type. This in my mind is superior to the PECO type, as although it takes longer to assemble (about three hours to do two packs) it does break apart. Whereas the PECO units, even if you glue the joint) will reward you by springing apart a coupe of years later. In the next view, I have laid out the fence panels, ready to drill matching holes to sinlk (and glue) the posts into. Do make sure that you don't have any DCC control baords underneath before you start drilling.

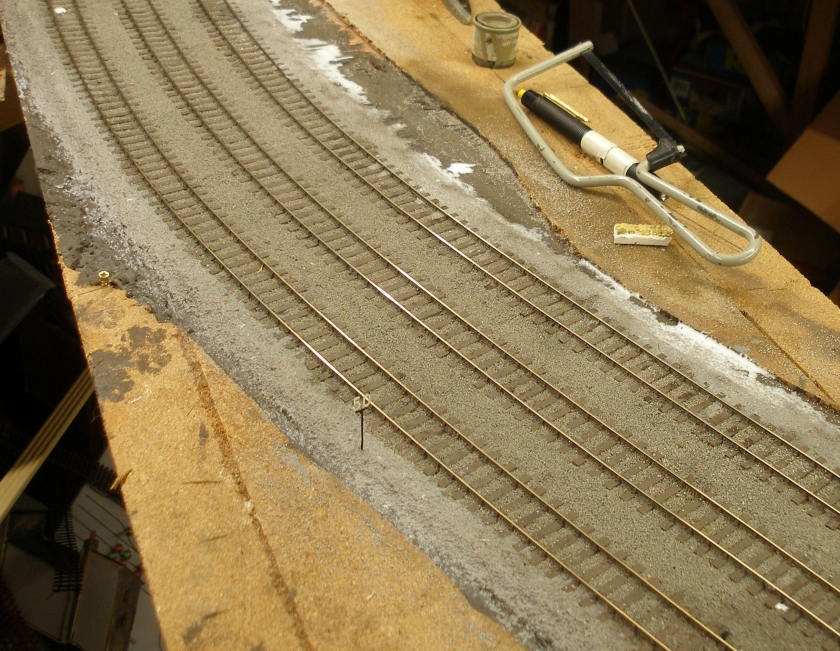
And finally, here is the finished result. The 50 MPH speed sign looked rather lonely in those first shots, but now it looks perfectly at home.

Copyright J K Wallace, t/a 'Hall Royd Junction' 2013-2023 email: Hall Royd Junction
7 Portobello Close, Chesham, Bucks. HP5 2PL, UK
tel: +44 (0)7513 412880