
Upgrading Airfix LMS carriage bogies
I have a number of Airfix 4mm scale carriages, both as originally supplied and as the basis for upgrades using Comet etched sides.
These have been running for maybe 10 to 15 years, but recently have started to derail on a regular basis. After some head scratching, when I lifted one miscreant off the rails, one of the wheelsets fell out.
I concluded that the bogies were effectively worn out and needed replacing. I had recently re-bogied a couple of the old Exley coaches (their bogies had actually disintegrated) very successfully, and I decided to see if I could substitute these for the original Airfix ones.
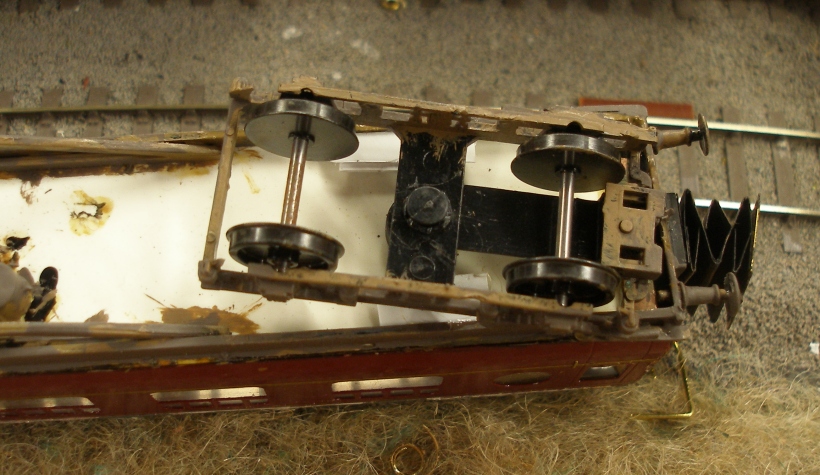
The first photo shows the Airfix bogie in situ where the oroginl bogie pivot has been remounted n a Plasticard underframe. The correction of the wonky buffer correction does not form part of this 'How to...' narrative :-)
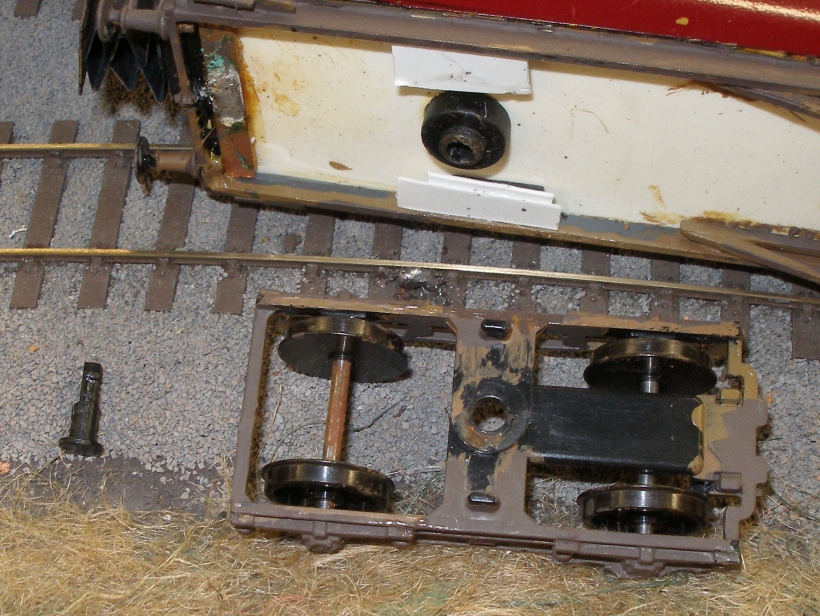
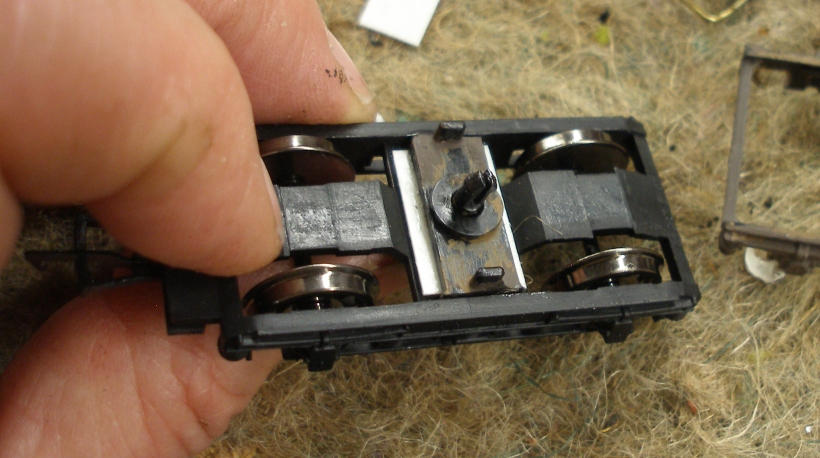
The next shot shows the bogie removed from the central pivot, and the plastic securing 'screw' that passes through the bogie and engages with the pivot. Note how the steel axle has rusted on what I think is a Romford.
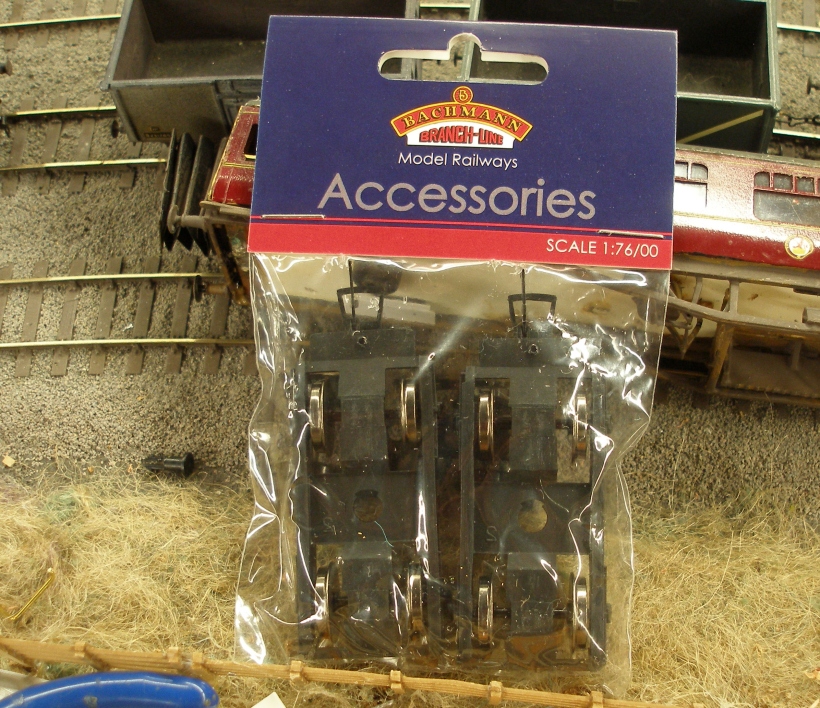
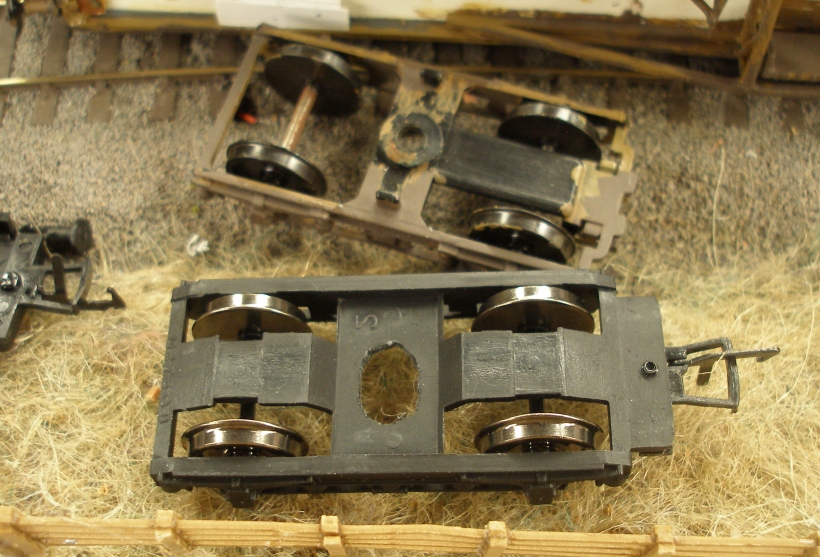
The pair of replacement bogies come neatly bagged and labelled.
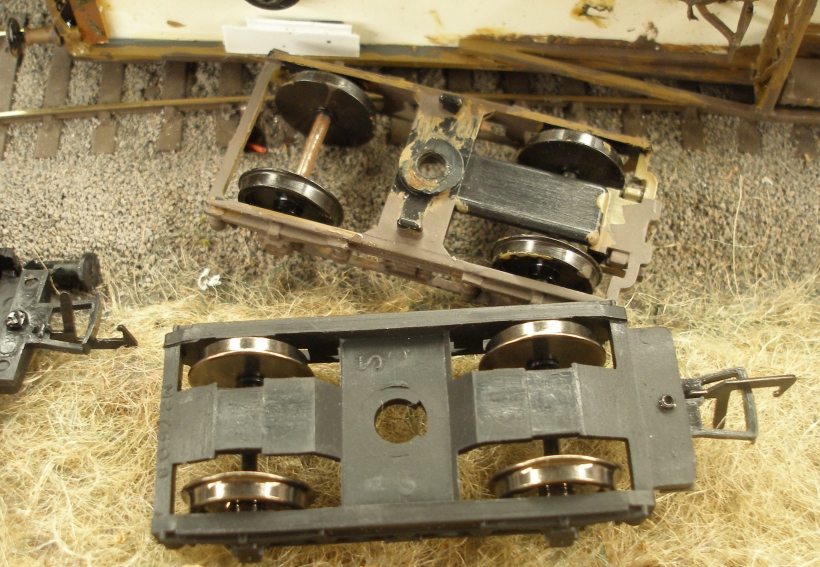
Now the original Airfix bogie can be compared to the replacement Bachmann. Points to note are that the hole in the centre of the Bachmann bogie is both smaller and lower tan the original Airfix fittings.
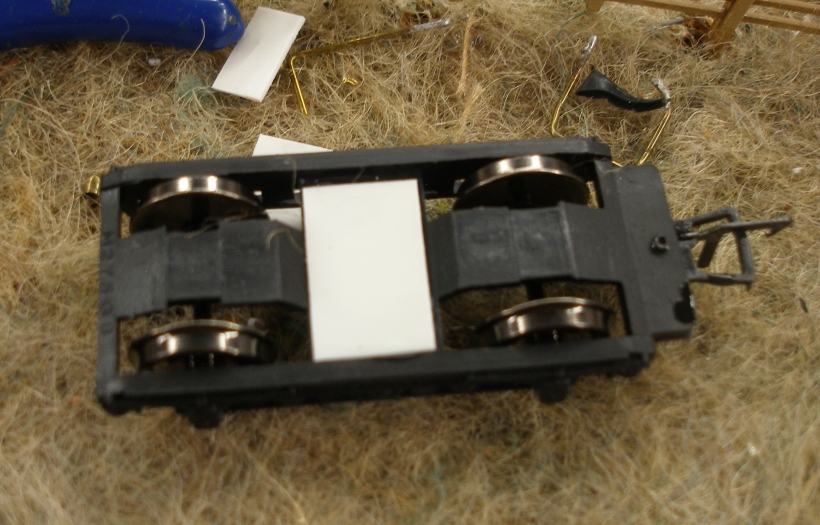
The hole in the Bachmann bogie is opened out using a scalpel blade, large enough to easily accommodate the hole and boss from the Airfix bogie. The apearance of this hole could be improved using a router tool in the Dremel, but it is largely unseen under the carriage and does not need to be improved.
Now a piece of 20 thou Plasticard is cut and glued into the 'well' of the Bachmann bogie. I used a smear of Suoerglue as it bonds the differing plastics well and sets quickly.
At this stage I can tell you it is taking far longer to take the photos than actually do the job. I recently bought a wireless Dremel which makes life so much easier, and here it is powered up and ready to cut the Airfix bolster out.
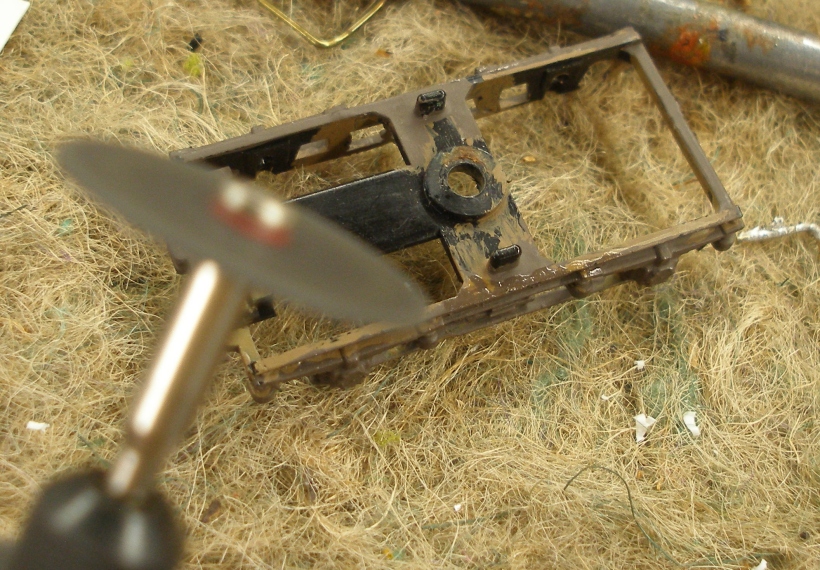
For clarity, this is what you should be left with after you have cleanly cut the bolster out, and is the bit you do not need!
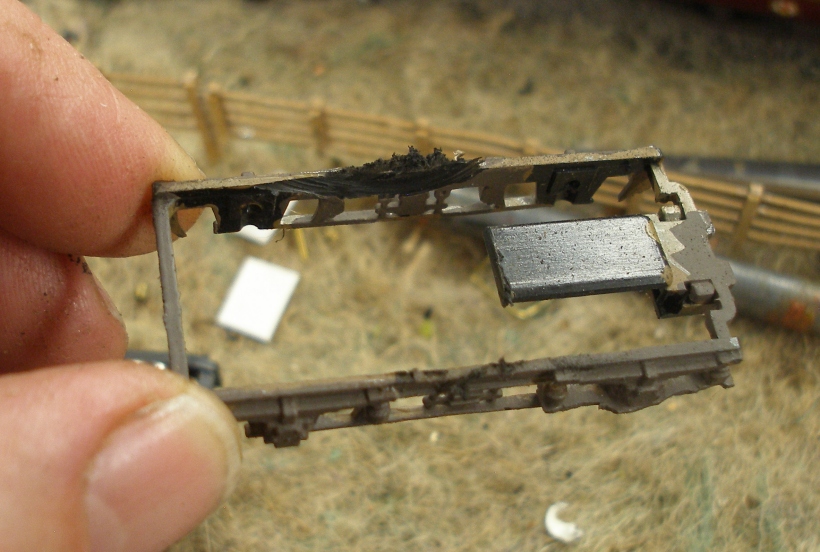
Two stages have been combined into one here. The bolster has been glued to the top of the 20 thou Plasticard, and then the plastic retaining clip inserted through the hole, ready to be fitted to the carriage.
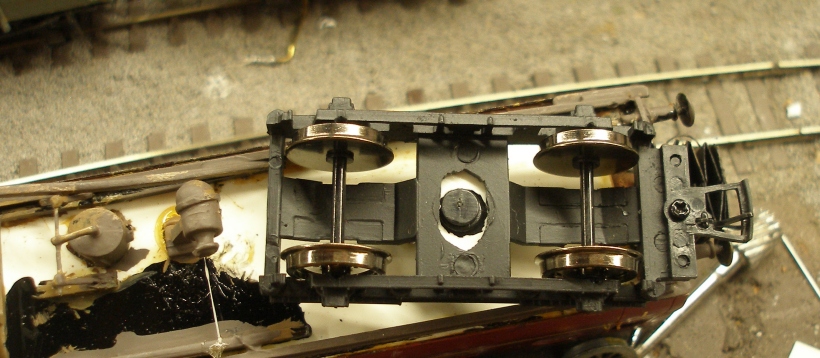
And now the bogie is re-attached to the original Airfix fitting on the underside of the underframe. The jagged hole cut in the Bachmann bolster can be clearly seen...as can the router lying under the coupling which would so neatly have finished the job off!
This conversion achieves a number of things. As noted, the wheels no-longer drop out from between the bogie frames. The Bachmann bogies are also more substantial and run much more freely. Finally, the Bachmann coupling is much smaller and neater that the original Airfix one. Total taken per bogie is about two minutes.
27 May 2021

Copyright J K Wallace, t/a 'Hall Royd Junction' 2013-2023 email: Hall Royd Junction
7 Portobello Close, Chesham, Bucks. HP5 2PL, UK
tel: +44 (0)7513 412880