
Eastwood & Bridge 115
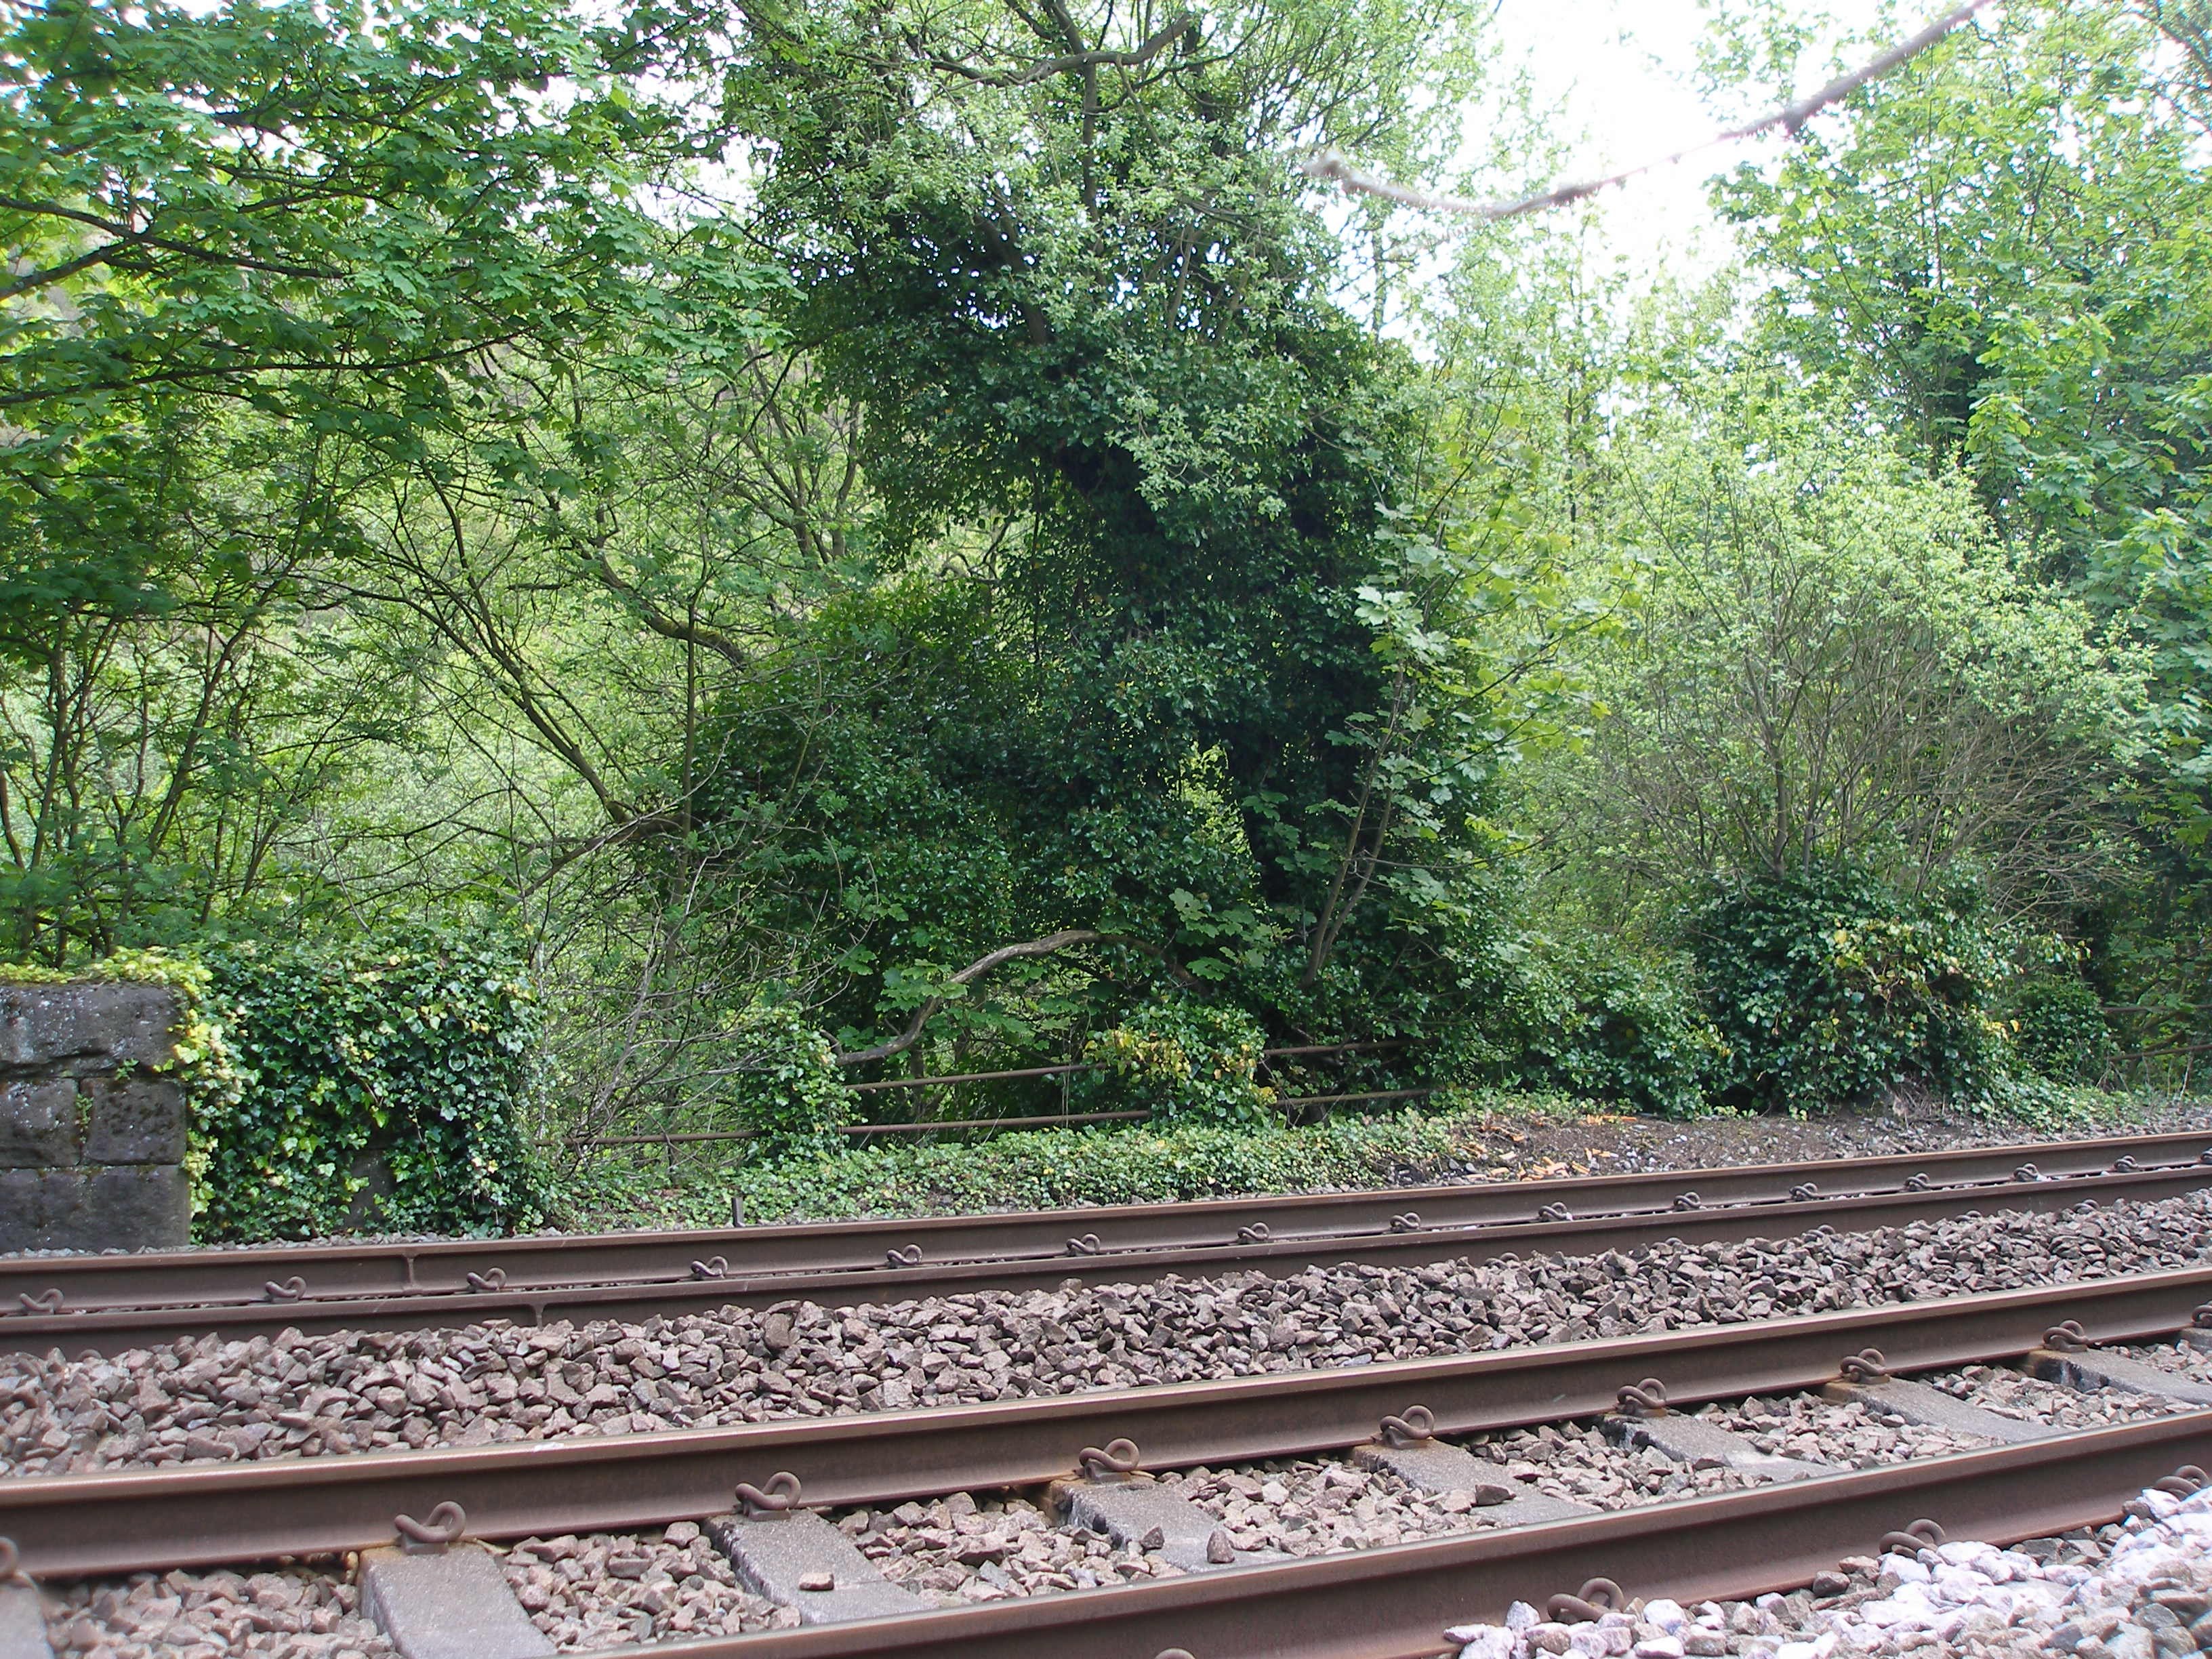
Eastwood Station had a particularly cramped site, with the goods yard on the down (hill) side of the line, whilst the coal drops were reached via a diamond crossing in the Up line to place them alongside the road on the valley side of the line.
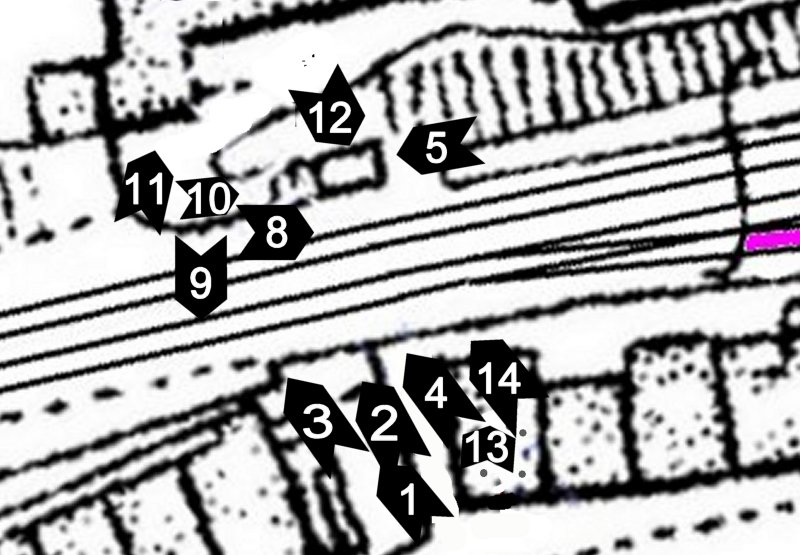
This is a photo survey conducted on Sunday 17 May 2015. To see how the area looked in past times check out the Hebden Bridge History site; this has a very well illustrated narrative. The first area surveyed is shown in the extract from the 1907 Ordnance Survey map below, and covers the three 'arches' at the top (Up) end of the site.
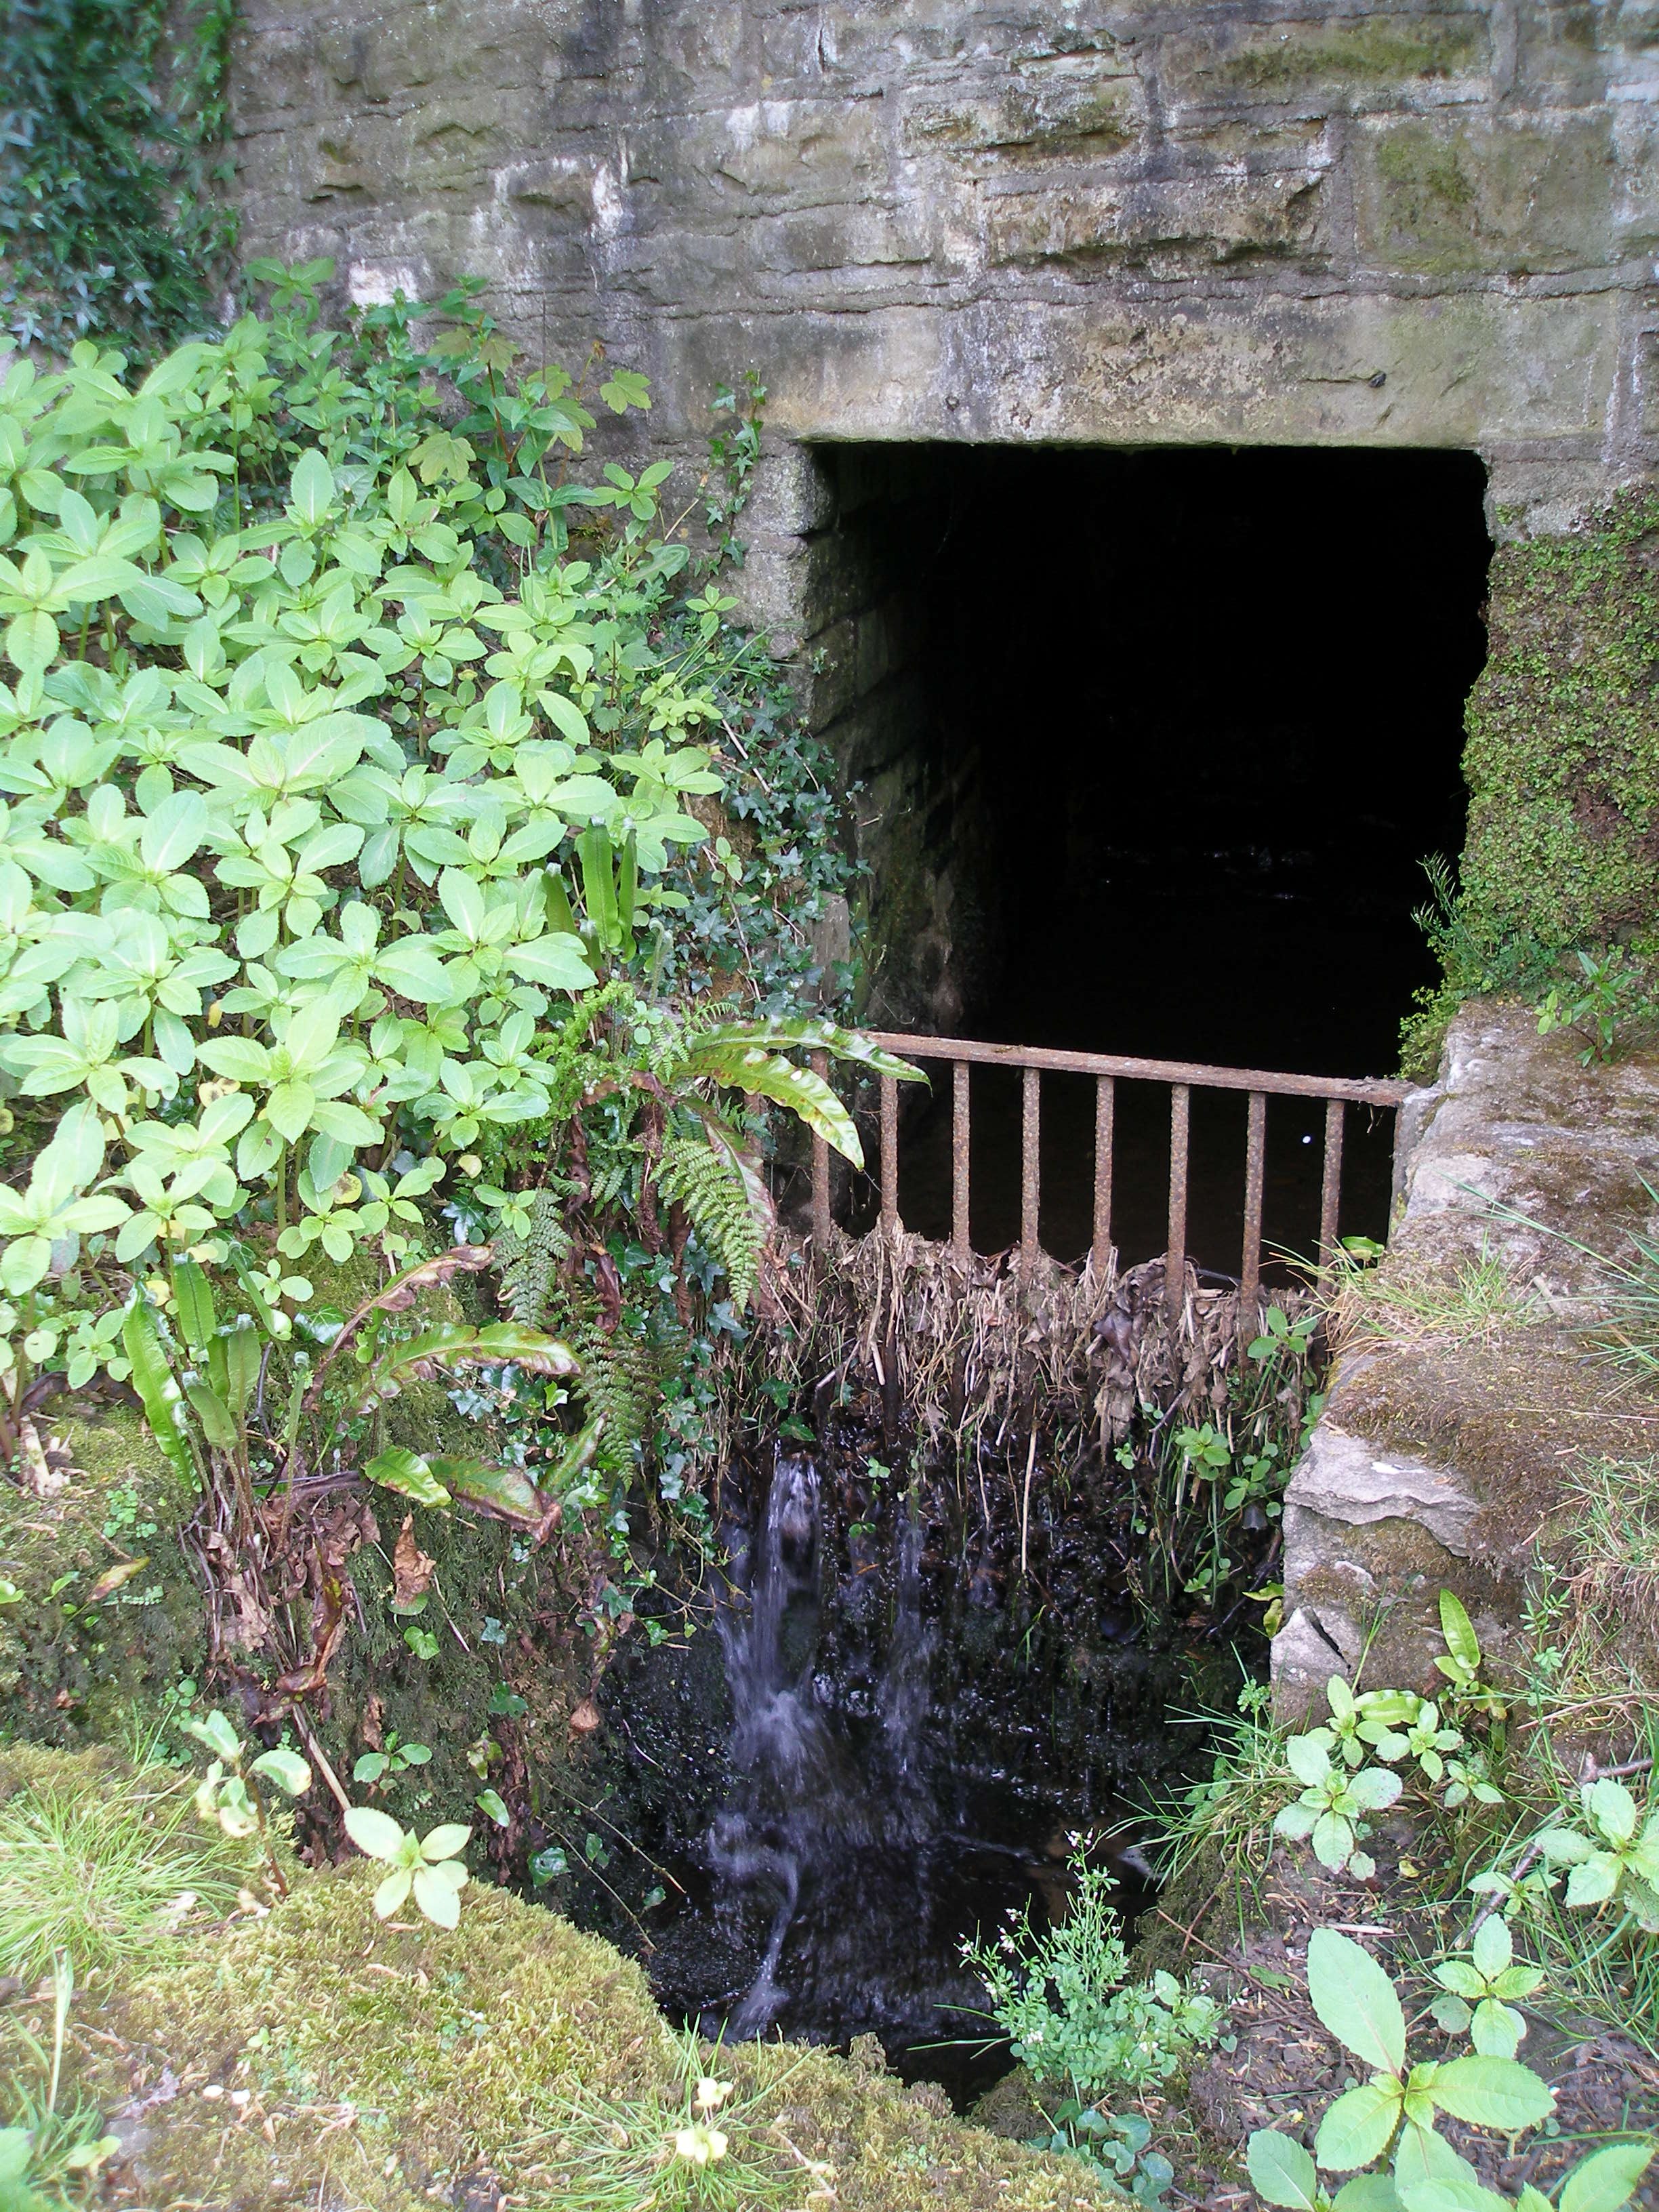
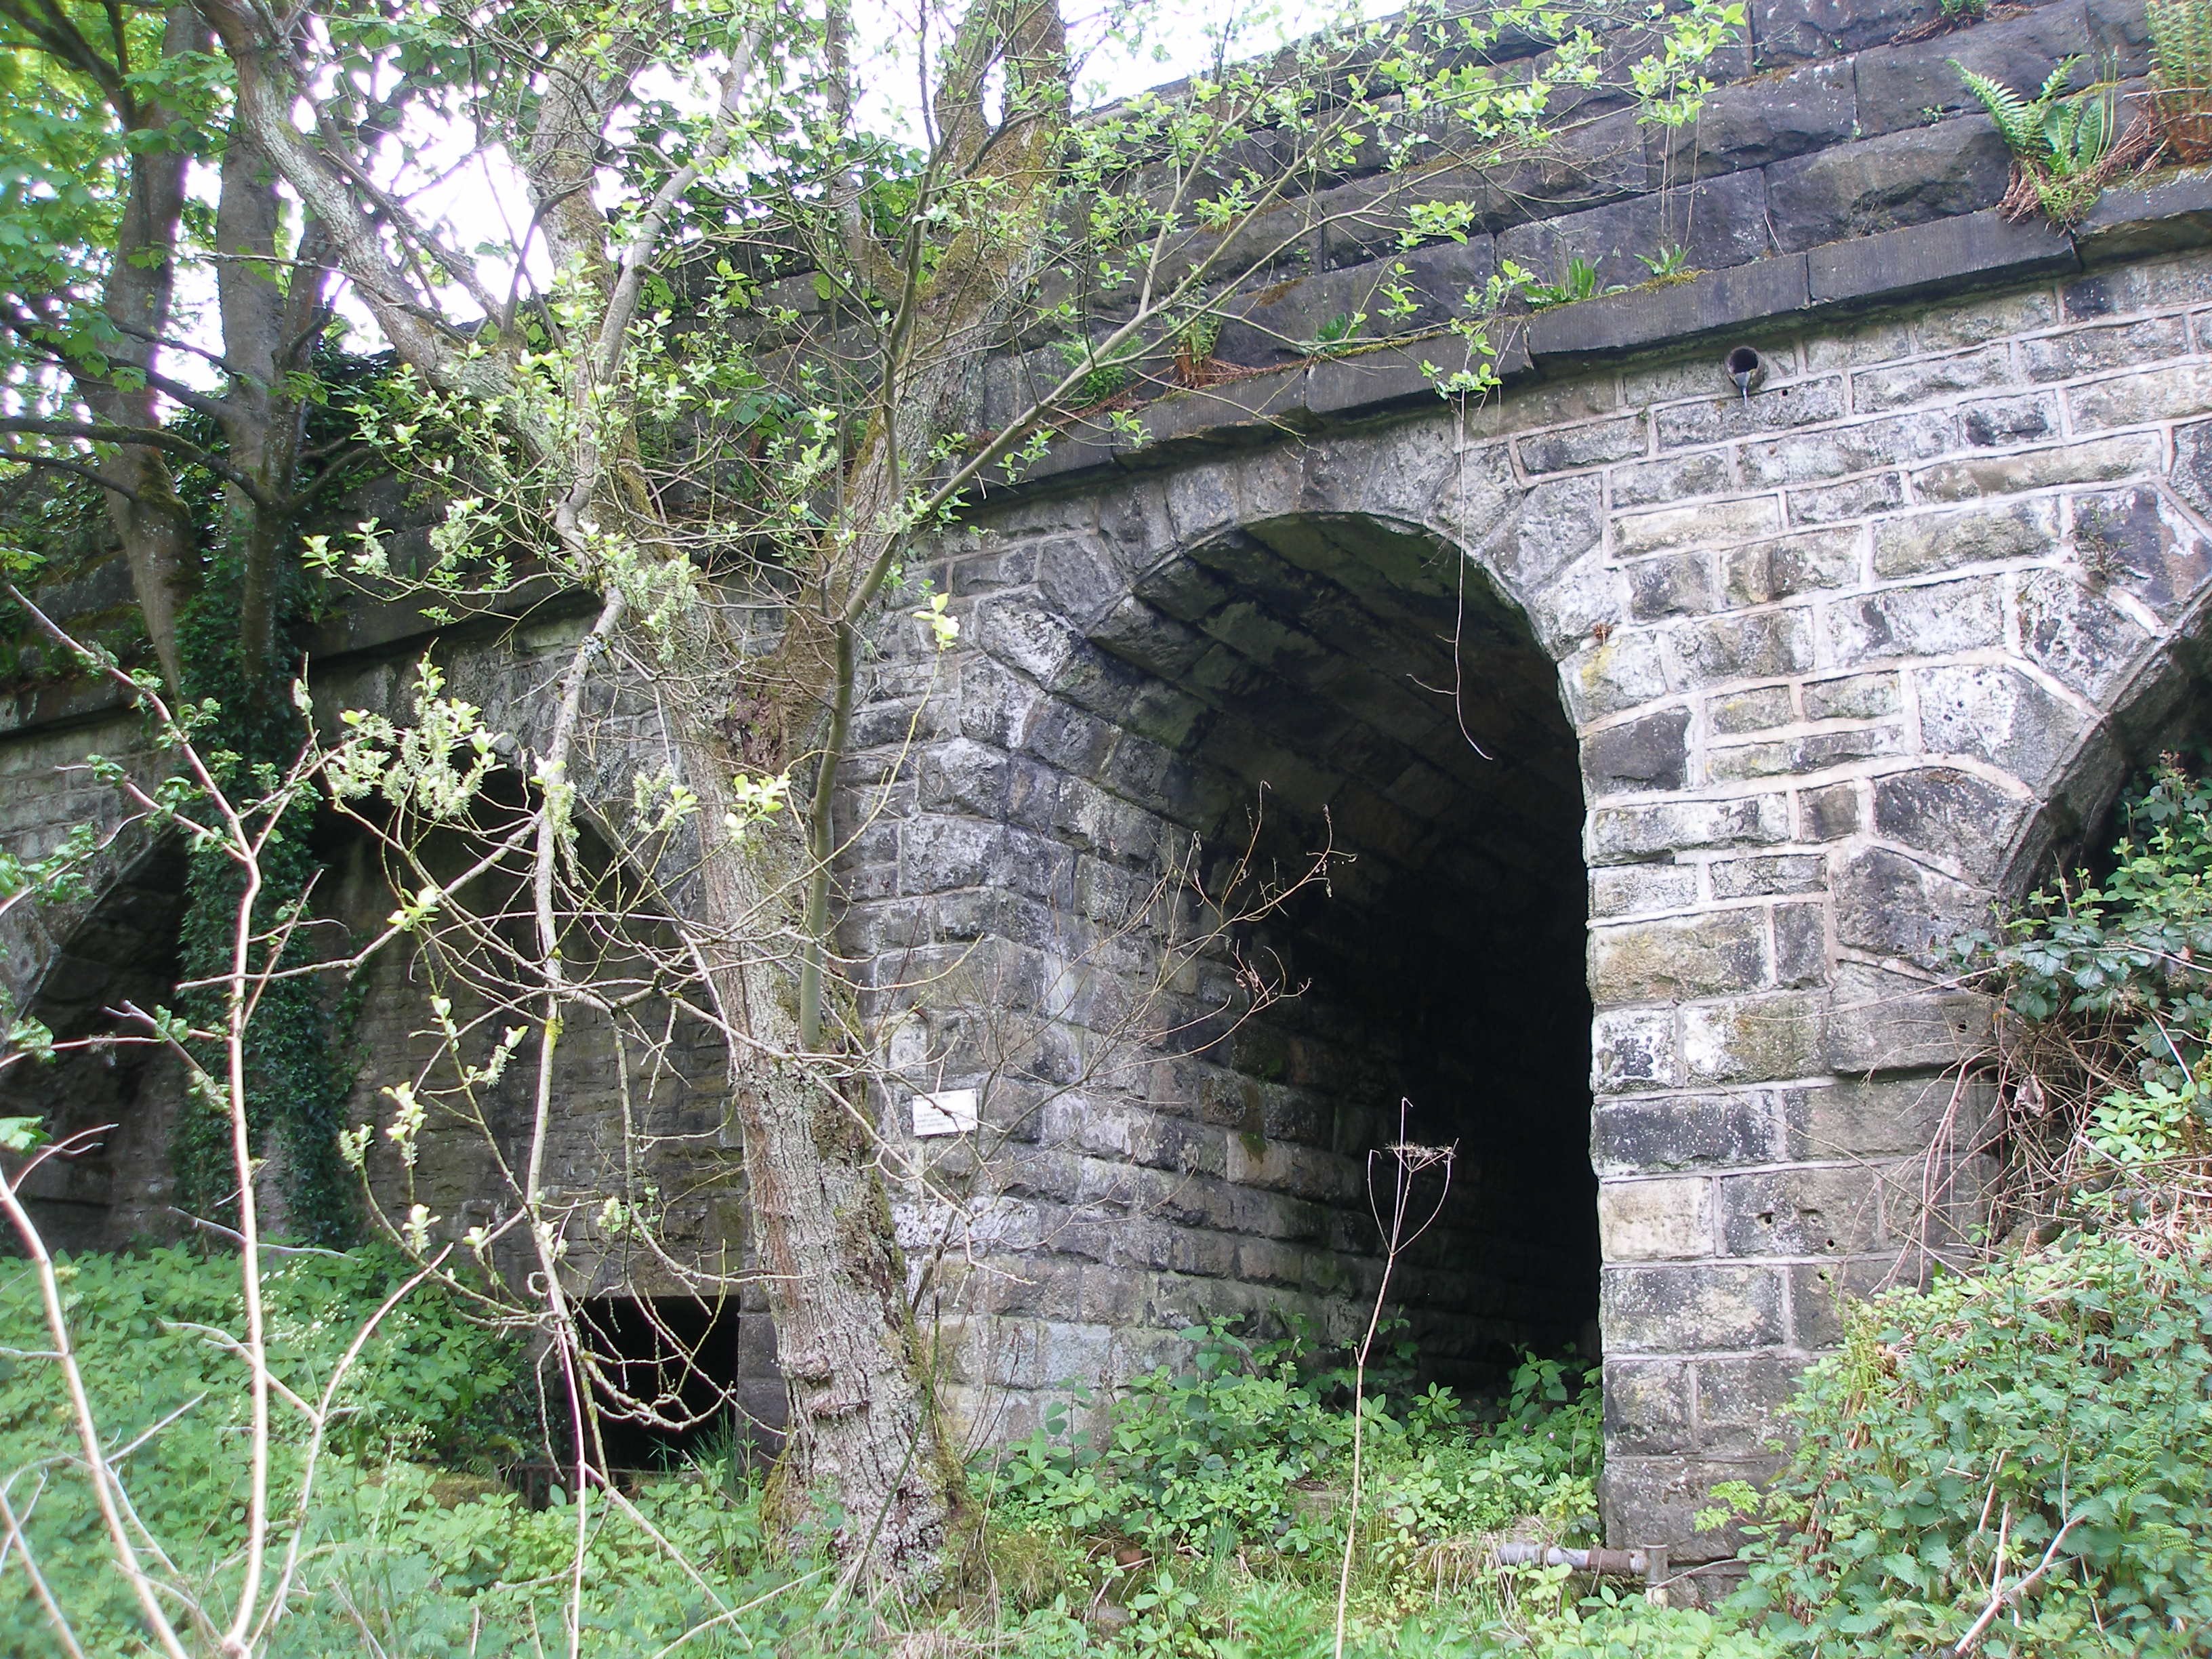
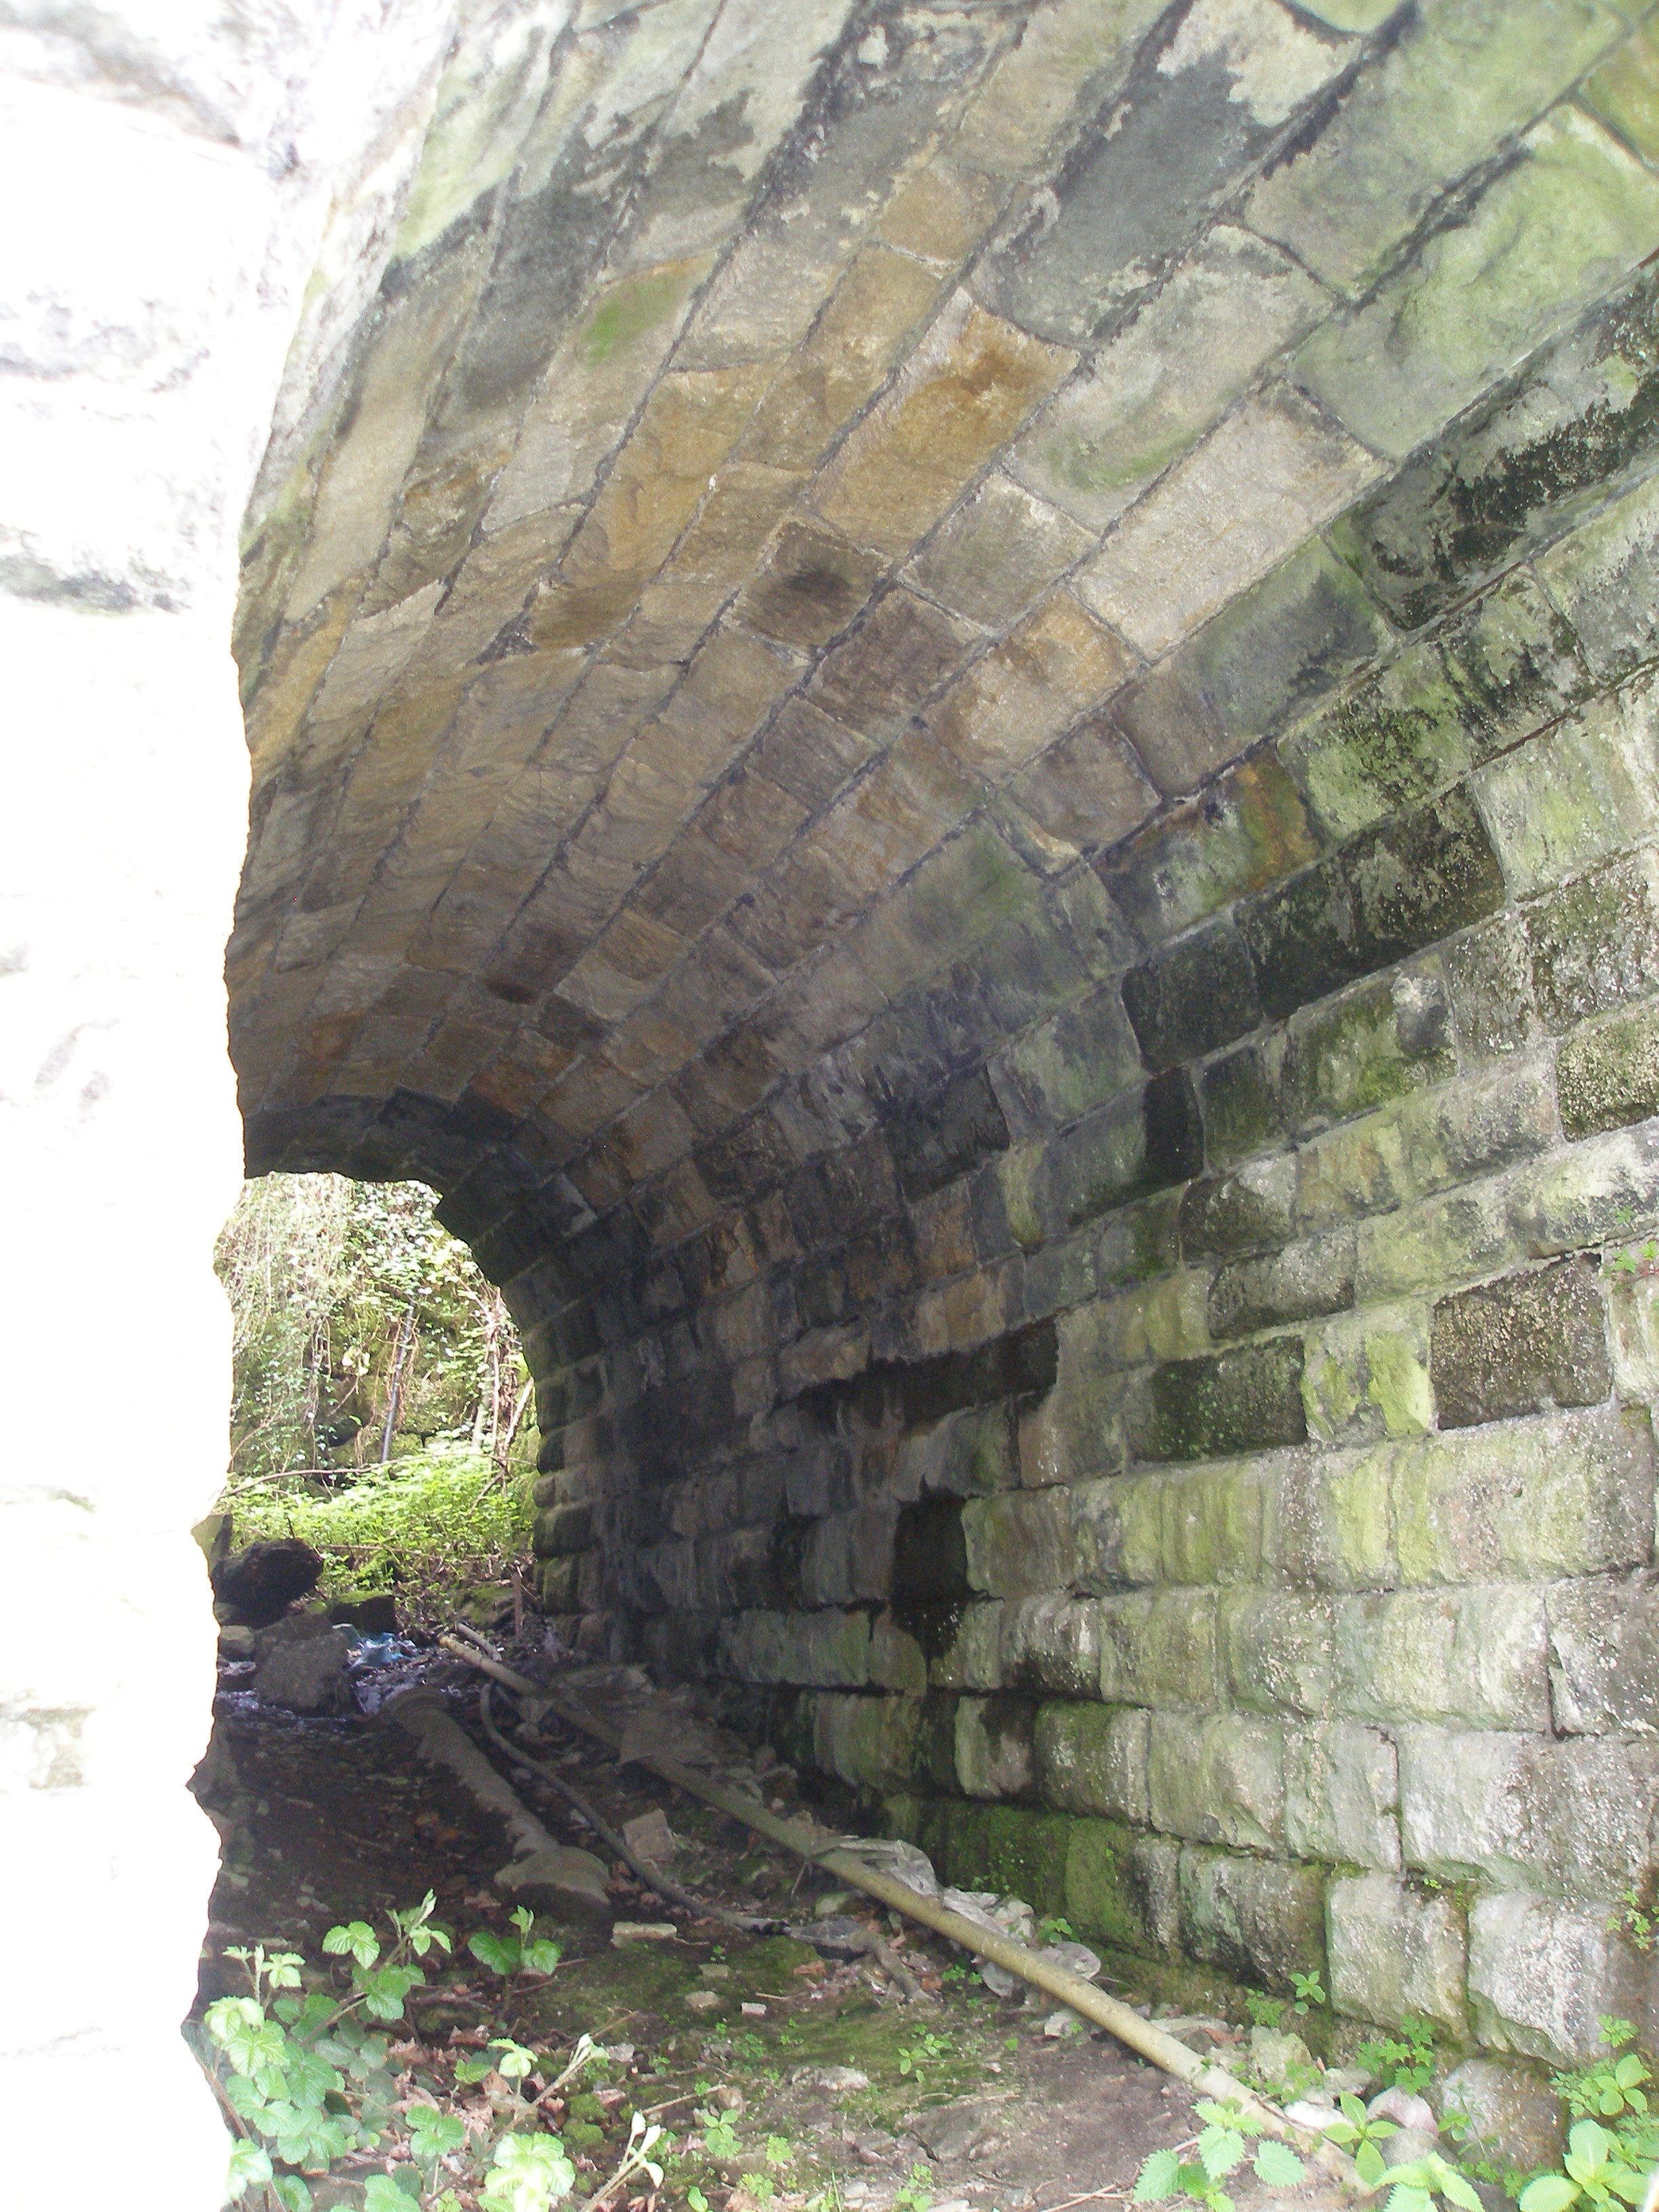
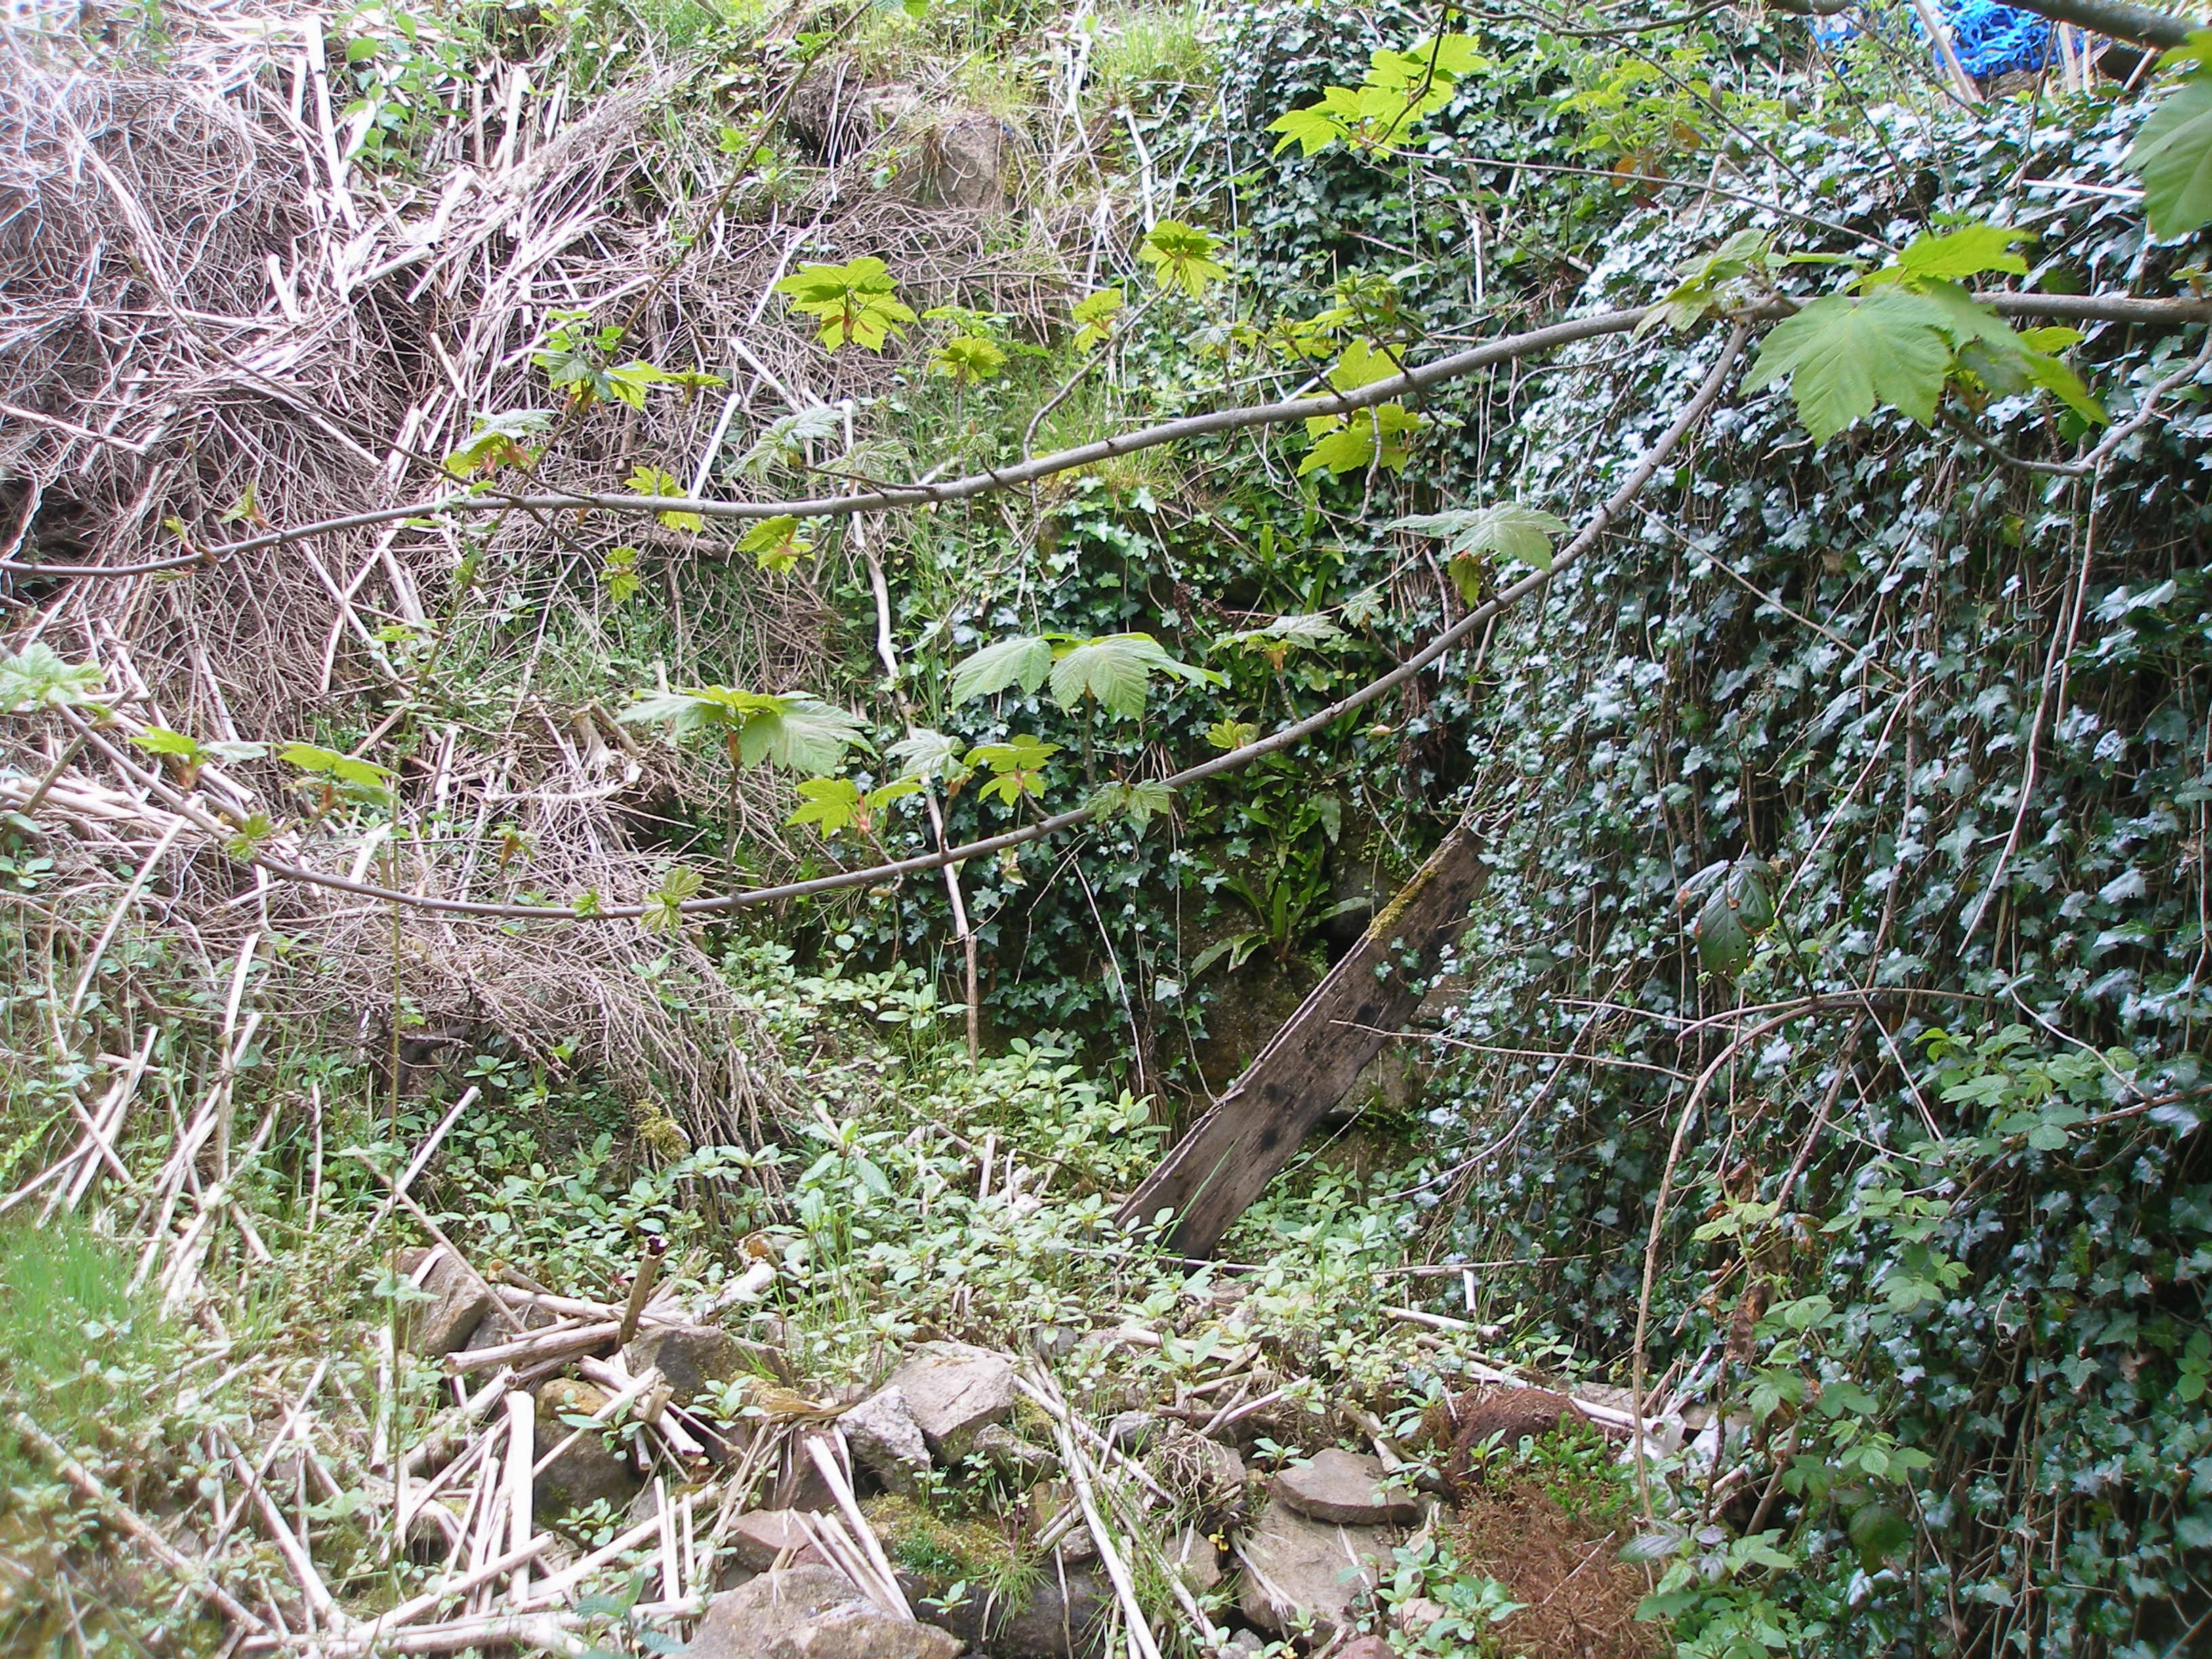
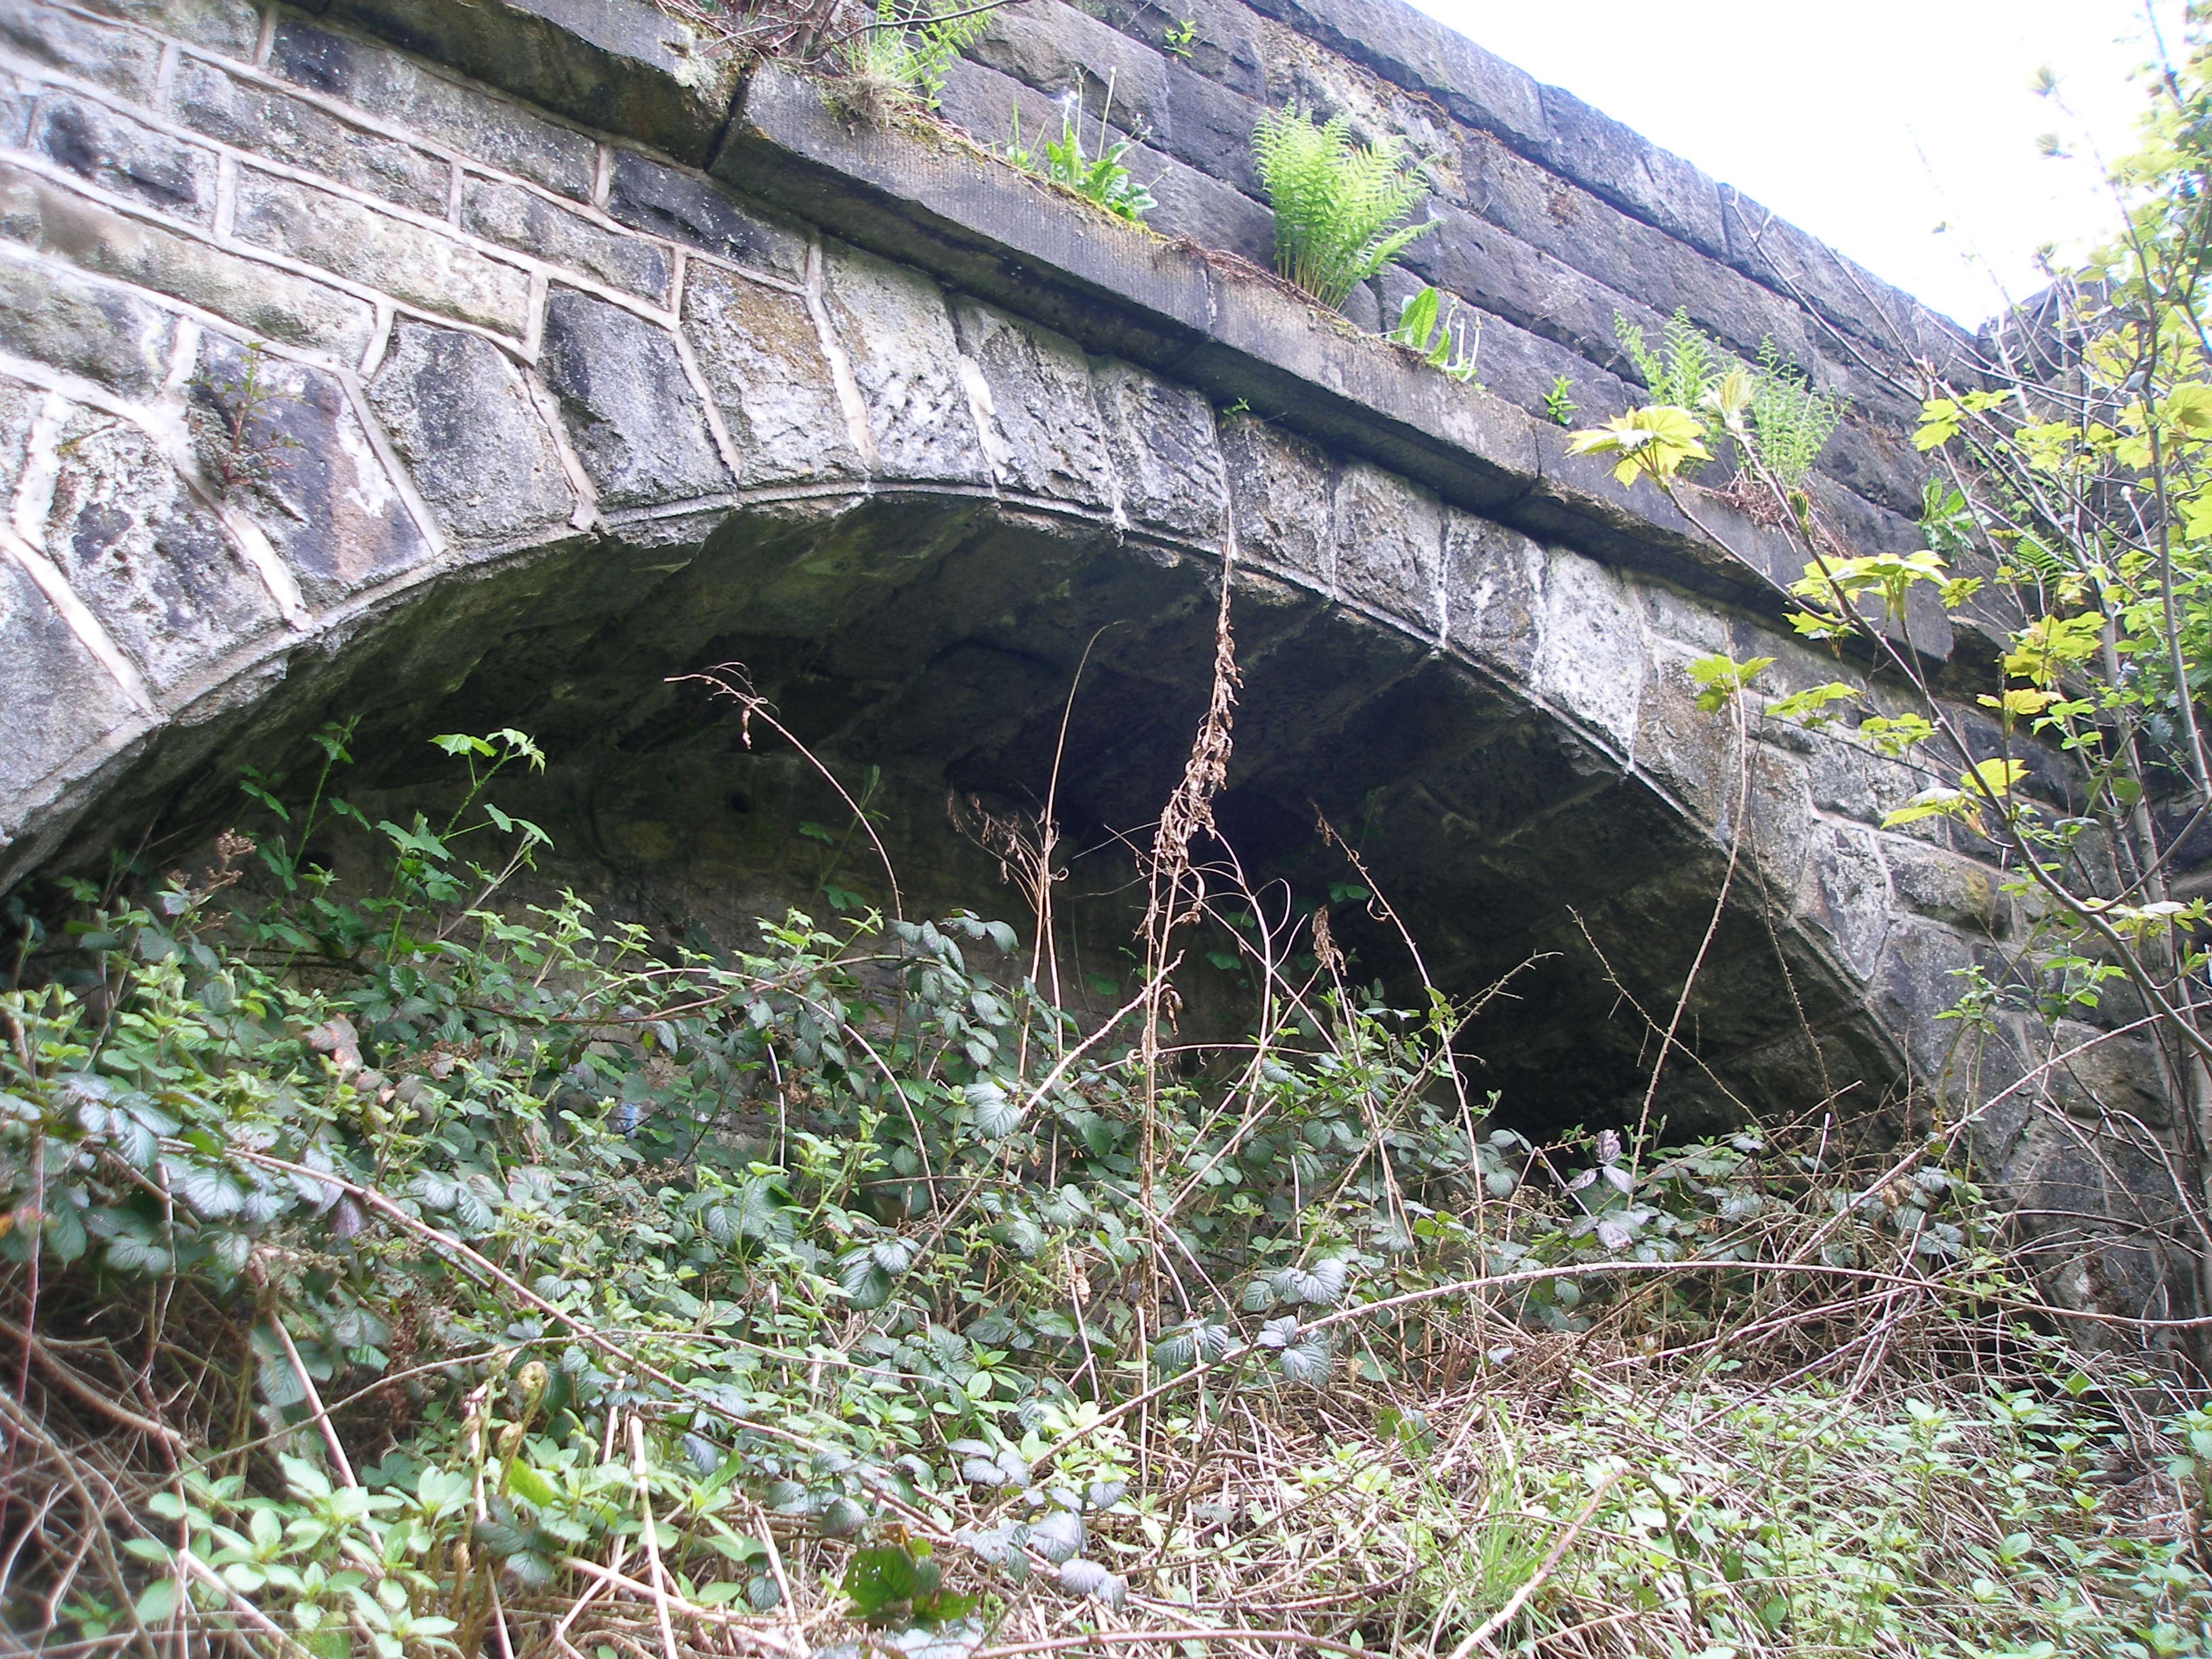
The site has three arches at its western end; the first arch from the Manchester end of the site is illustrated below. The stream emerging from it appears to rise under the railway, and disappears into a culvert towards the road. Click here to see how this arch fitted into the original 'townscape'.
Photo 1: Photo 2:
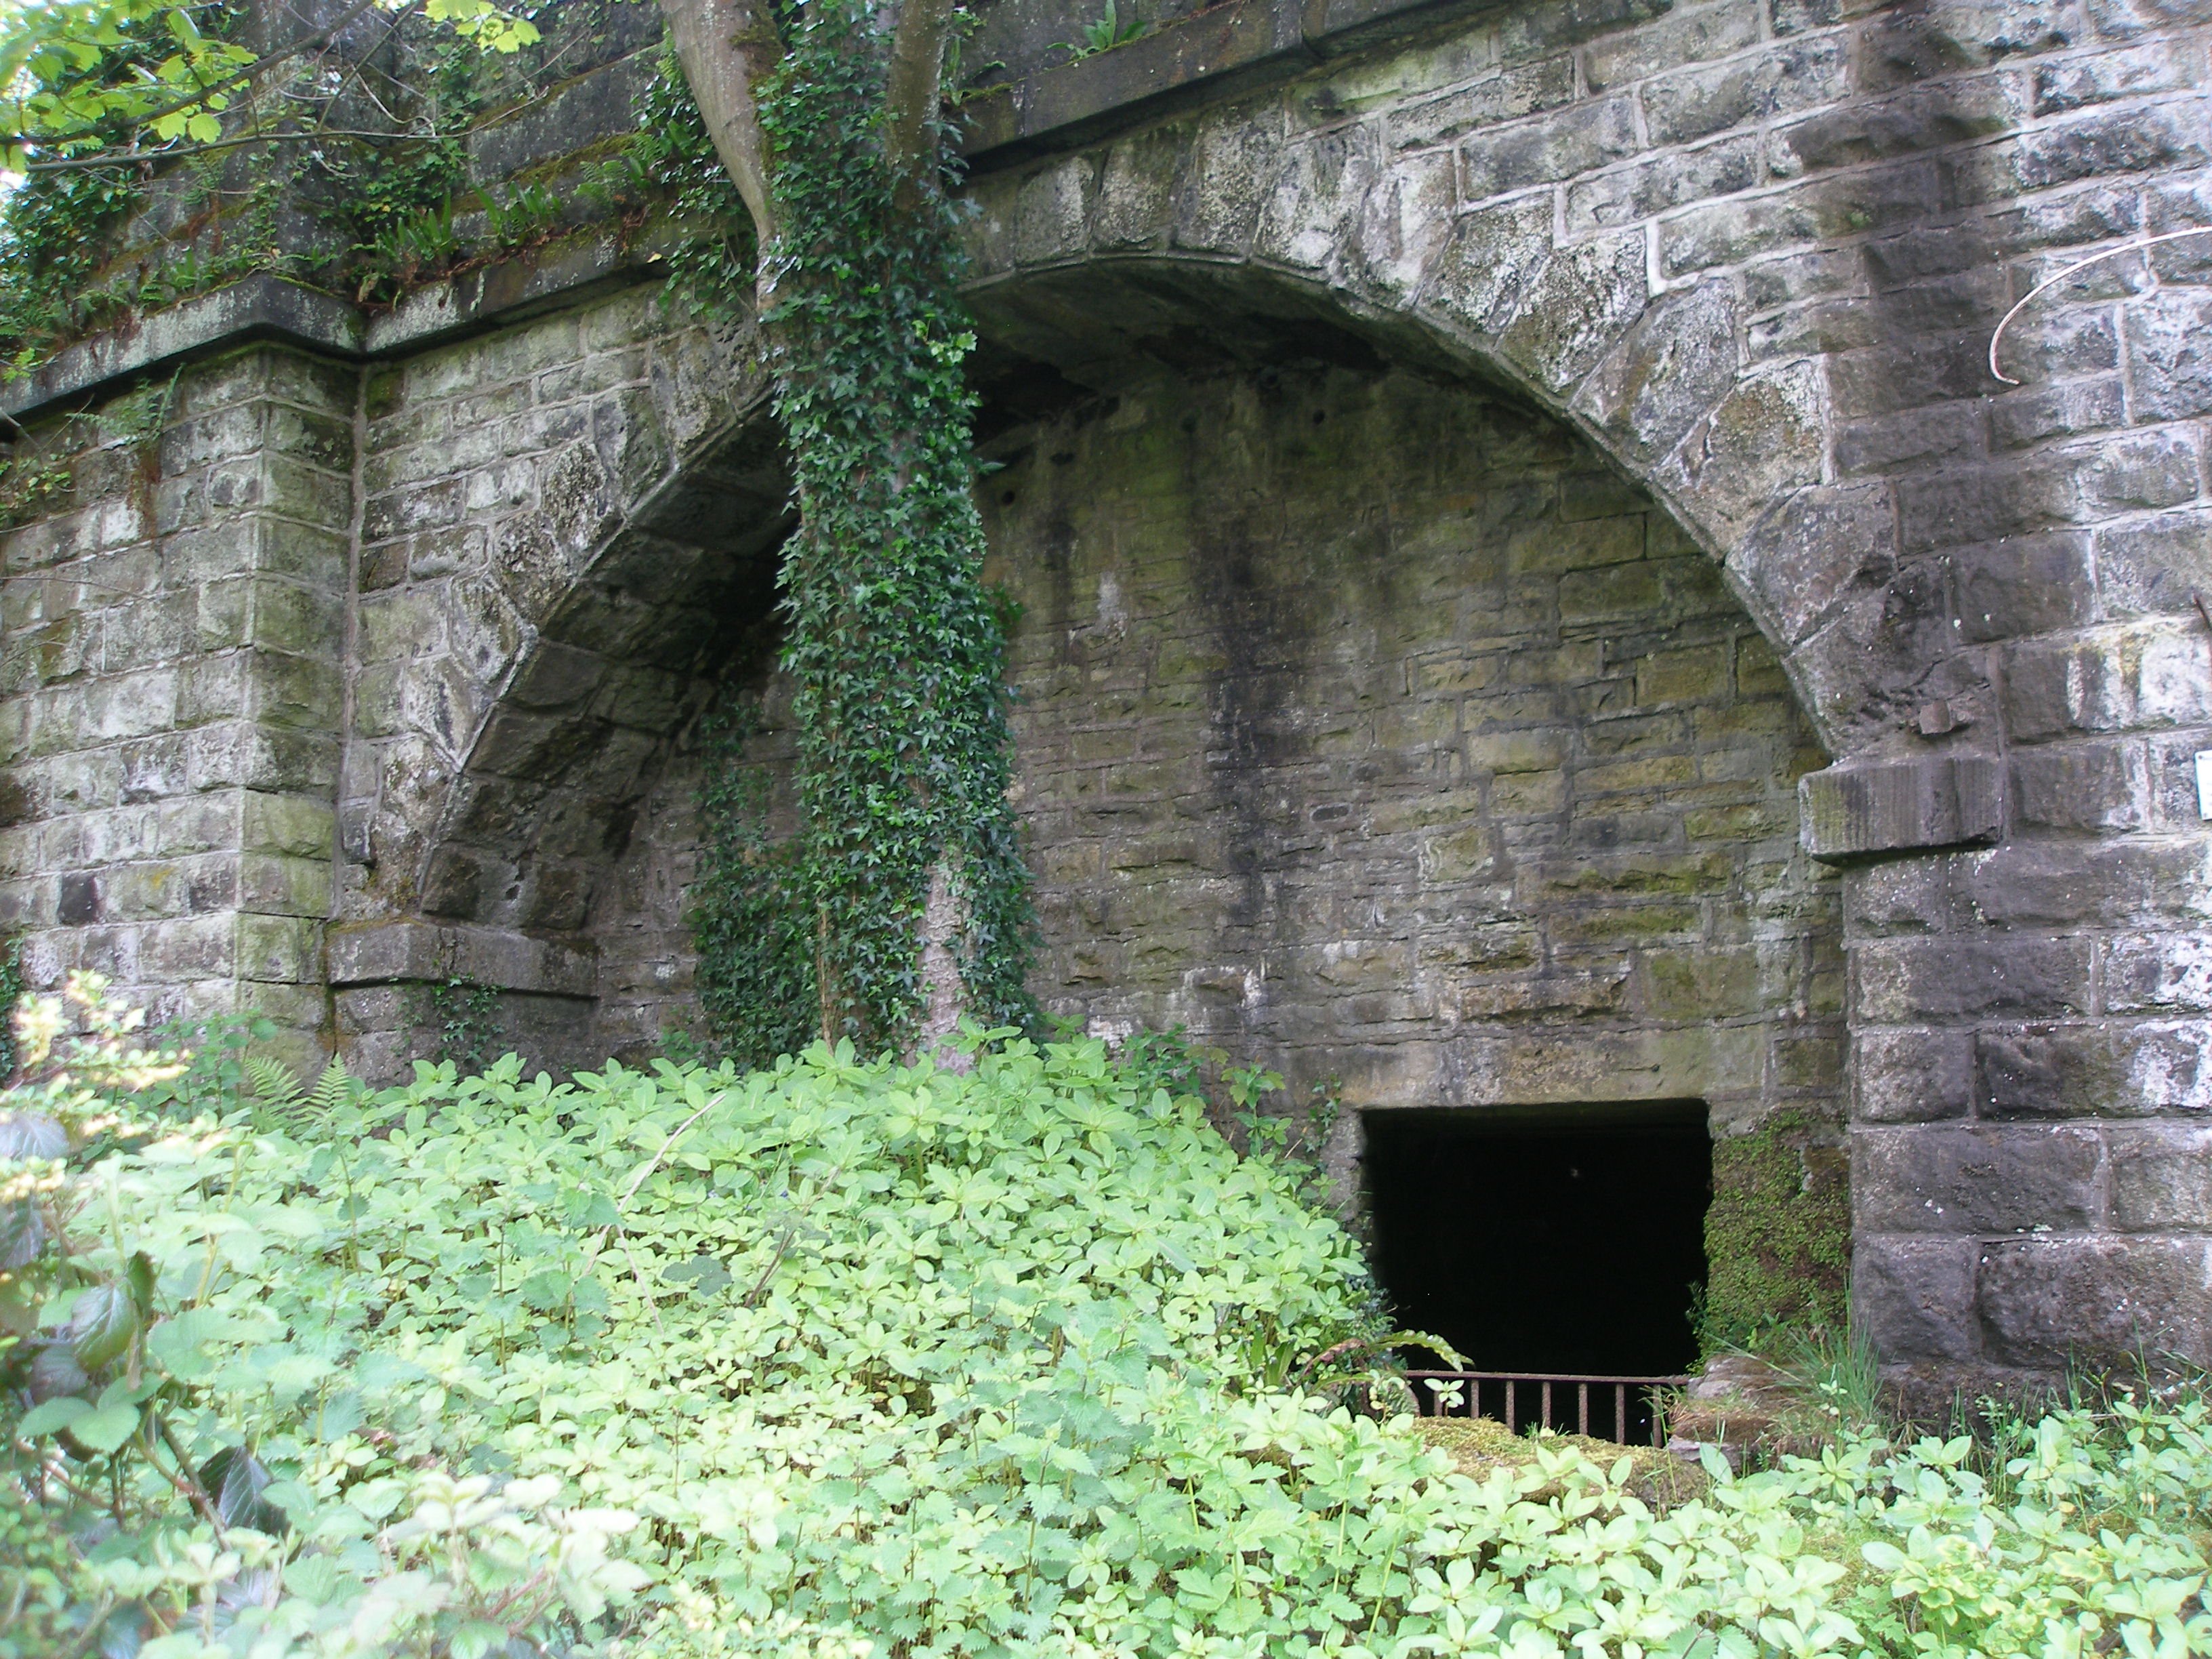
Photo 3:

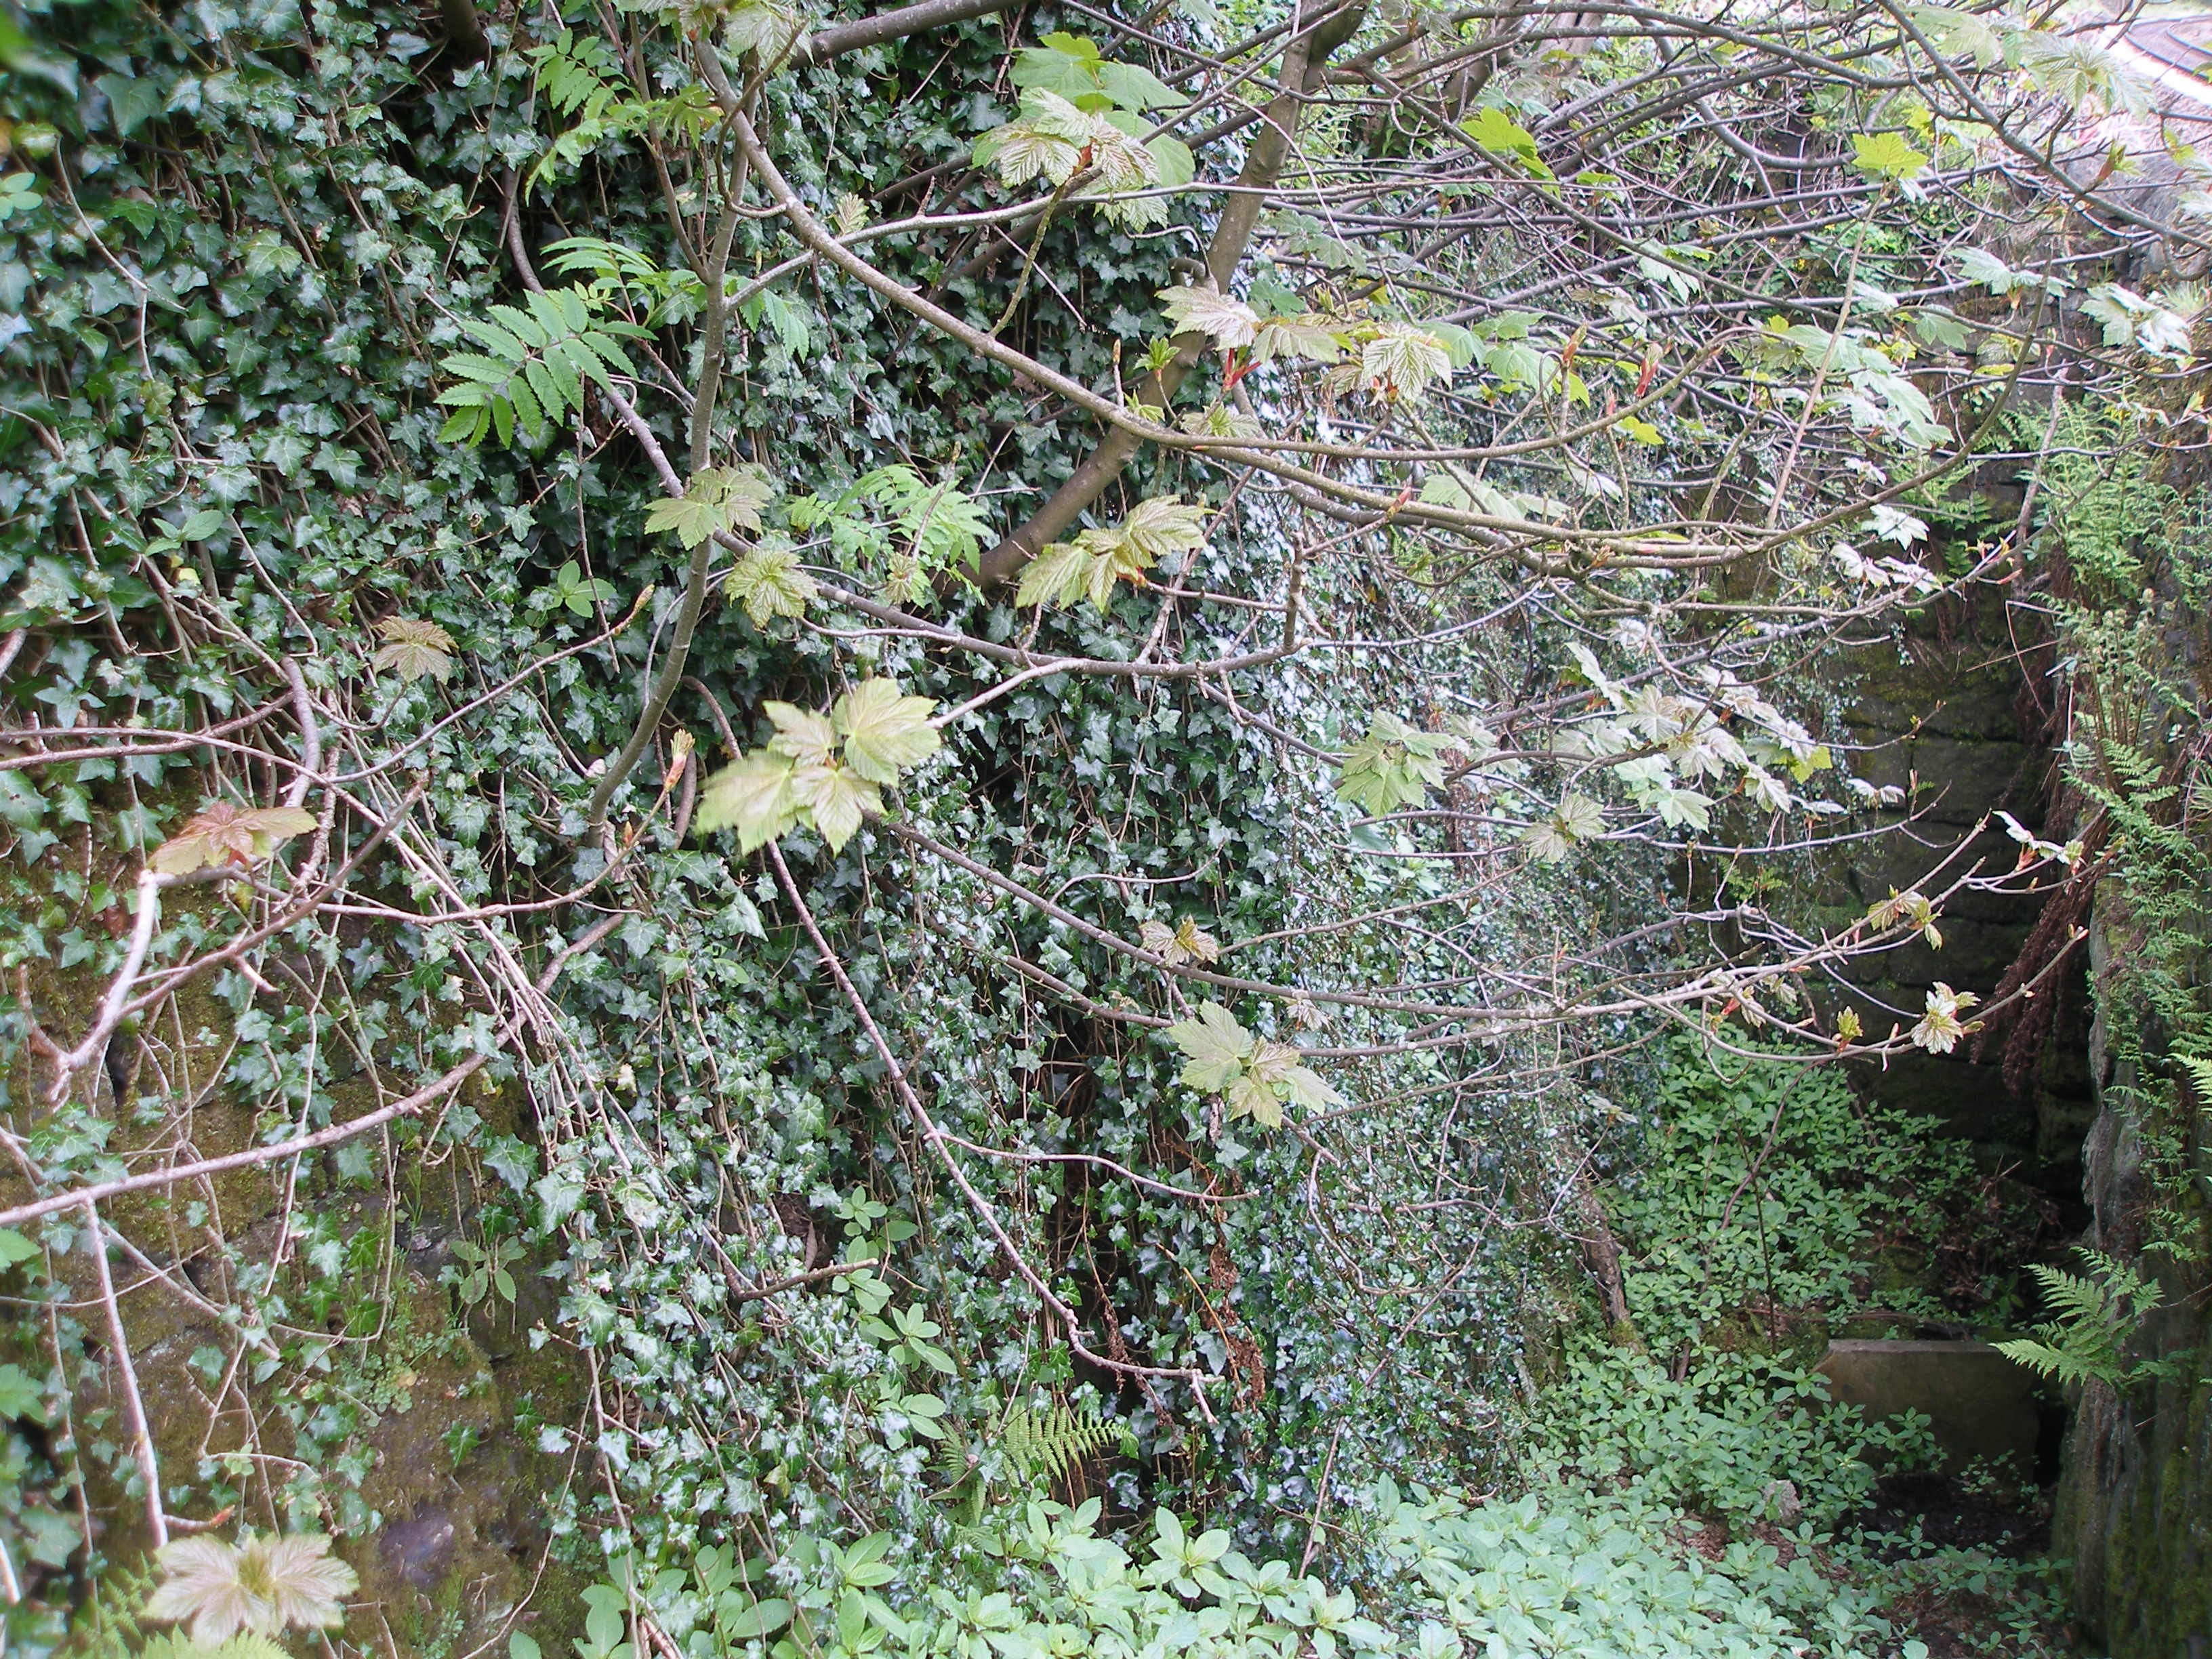
The second arch is an occupation bridge for a footpath which originally serviced the western end of Cockden Mill that stood above the railway at this point, and also led to steps up to Higher Eastwood. Click here to see the site in 1912 when the mill was fully functioning. The three 'arches' are in the centre of the 1912 photograph, and the original Down platform started immediately after the 'third' arch.
Photo 4: Photo 5:
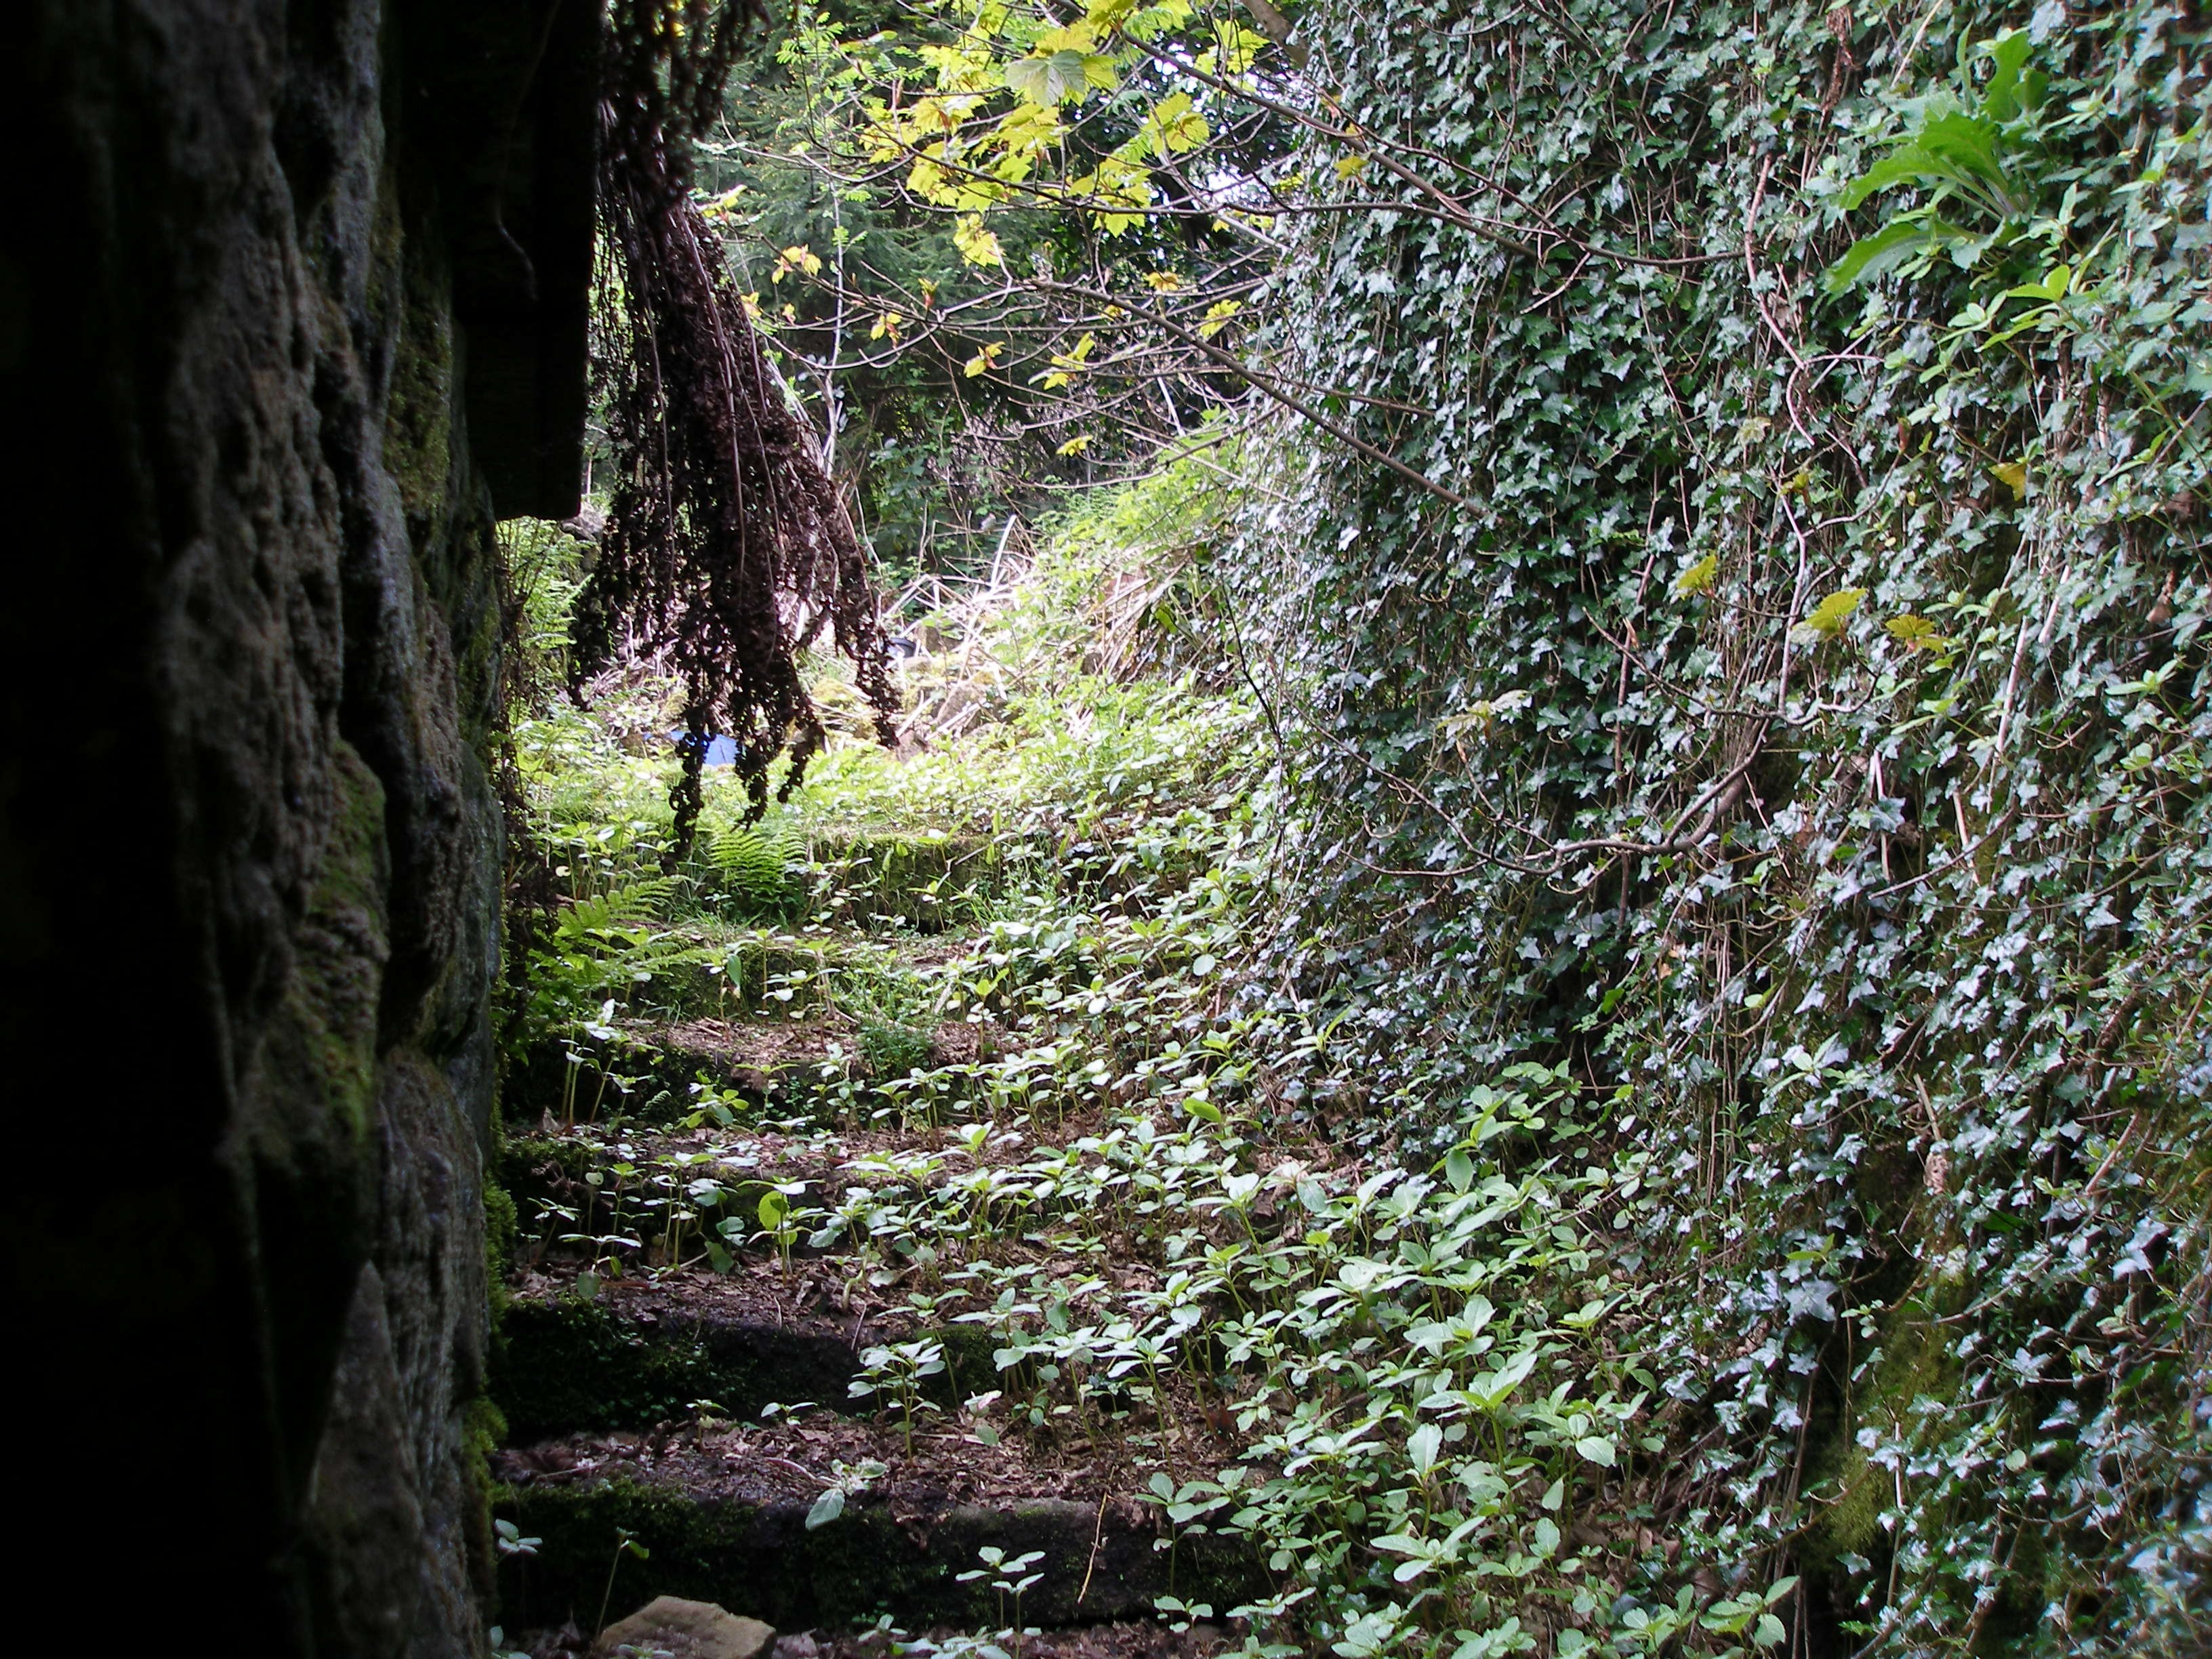
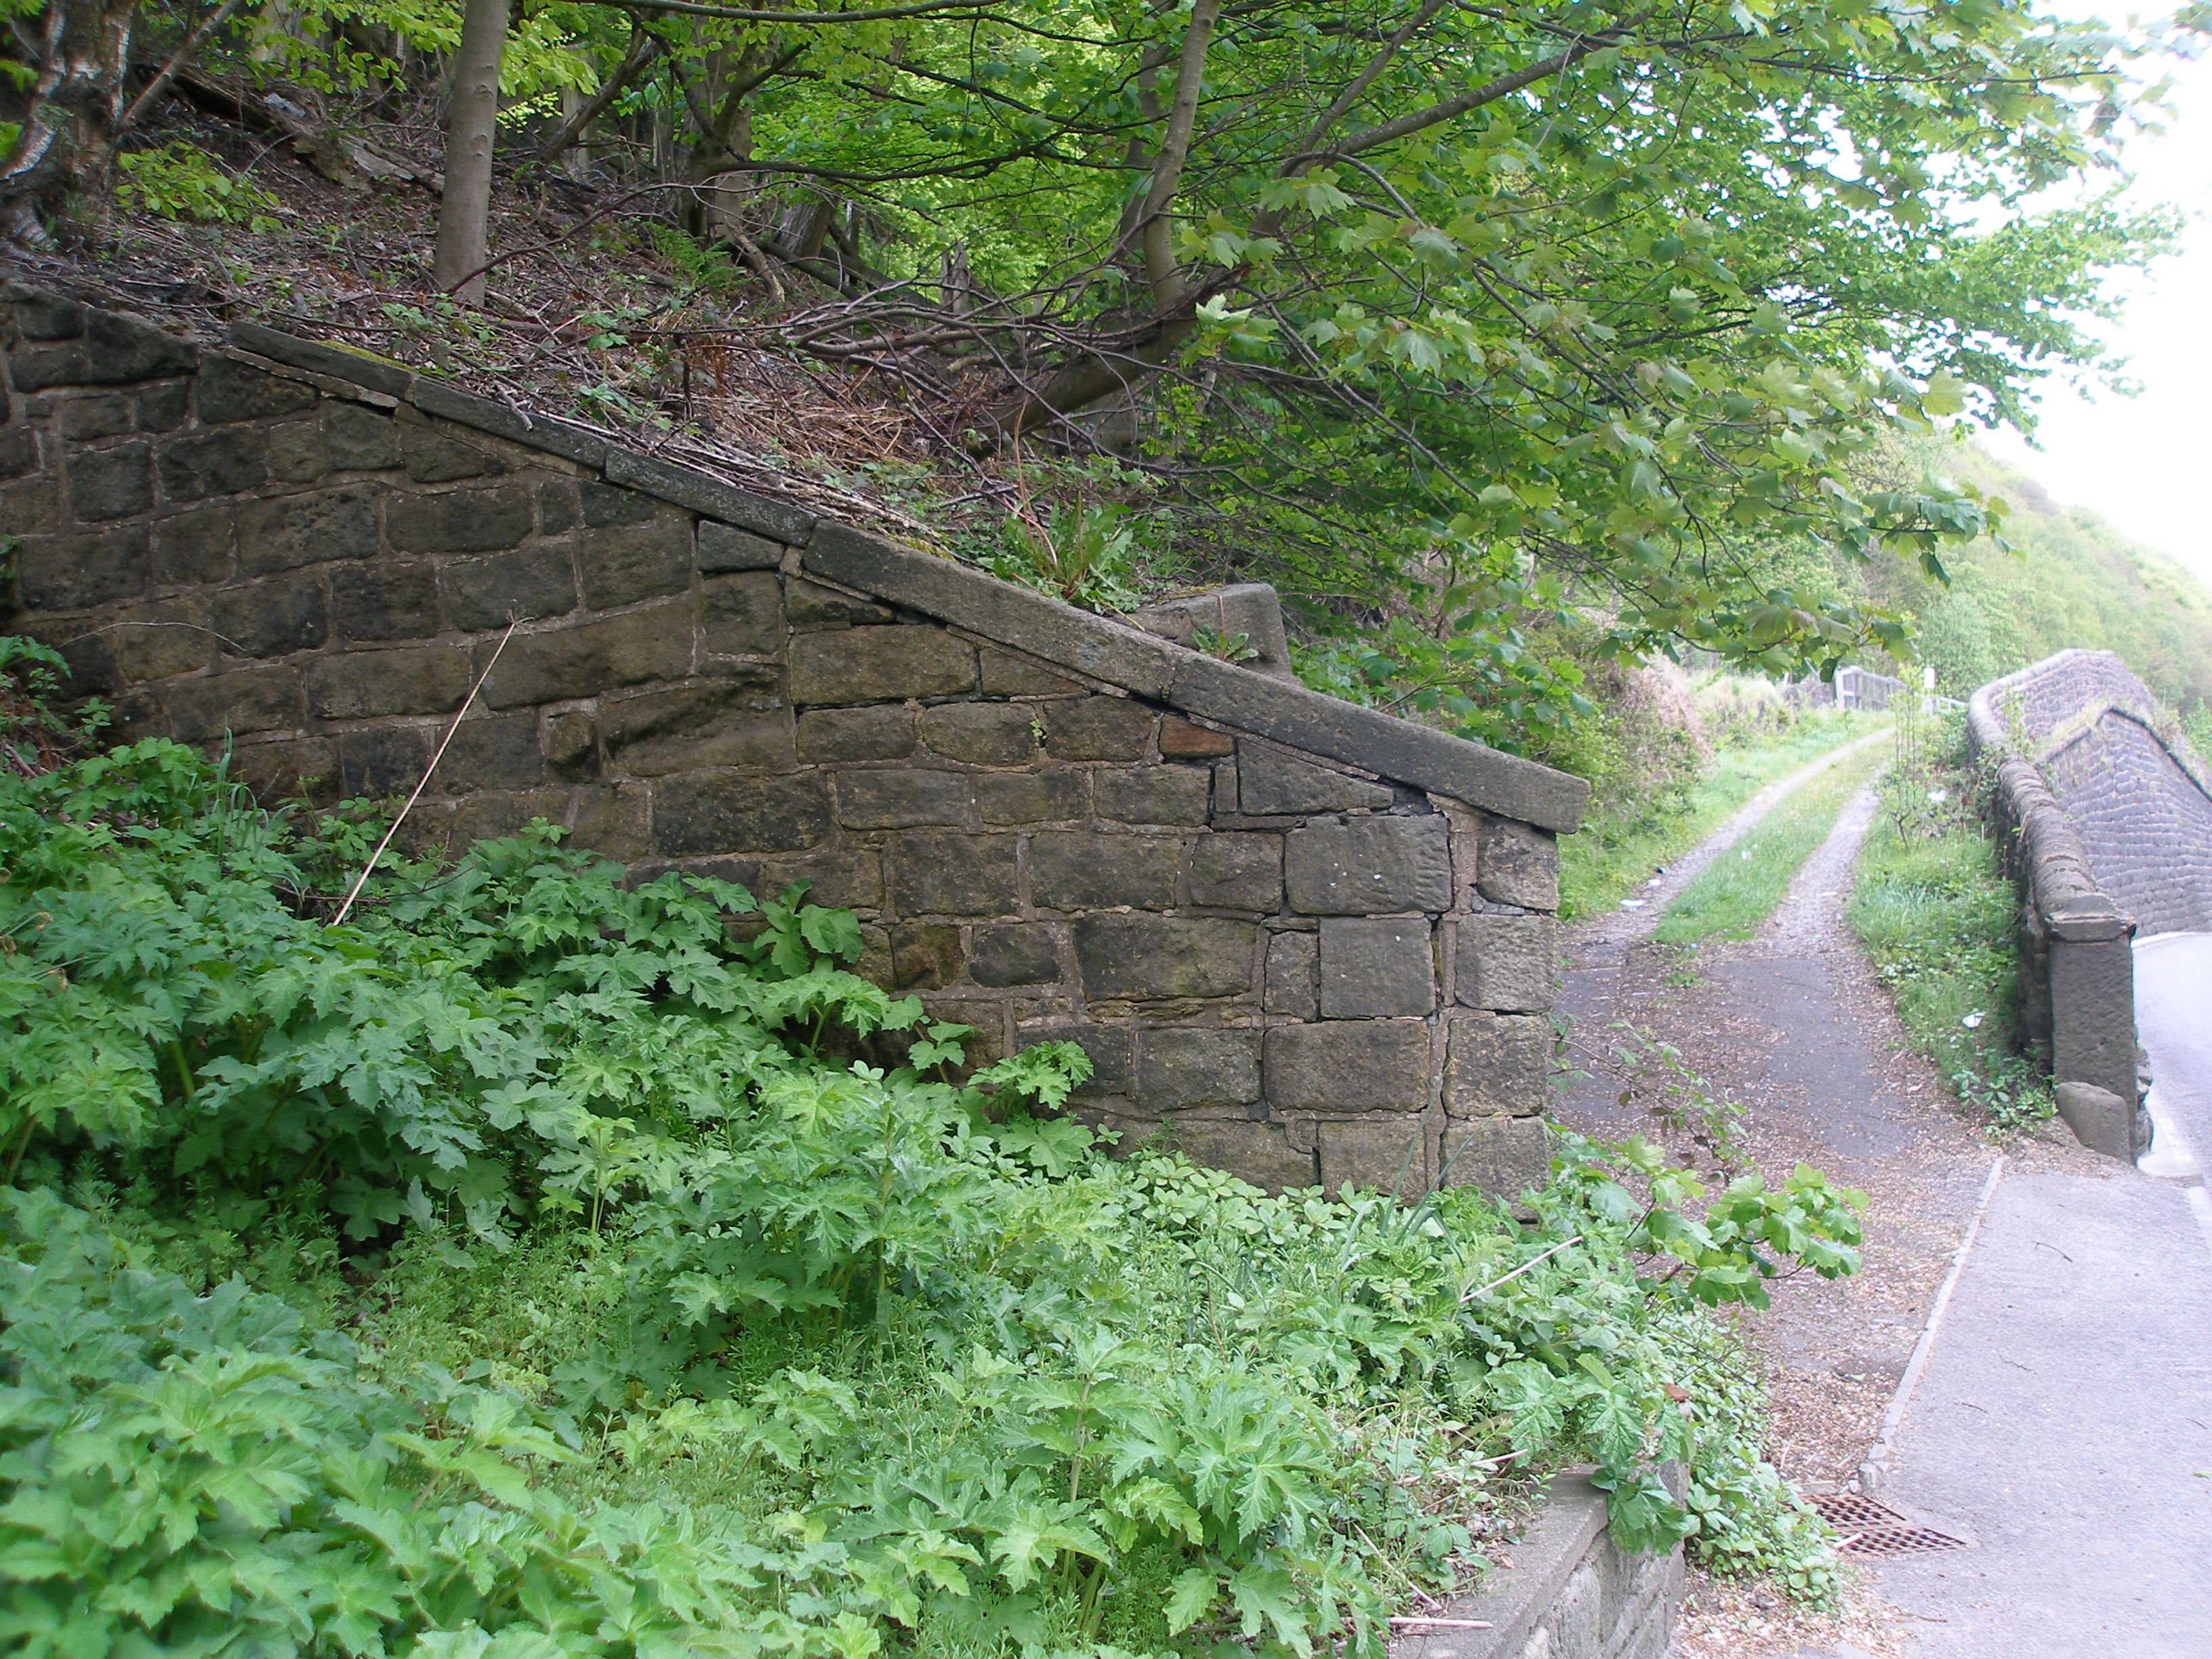
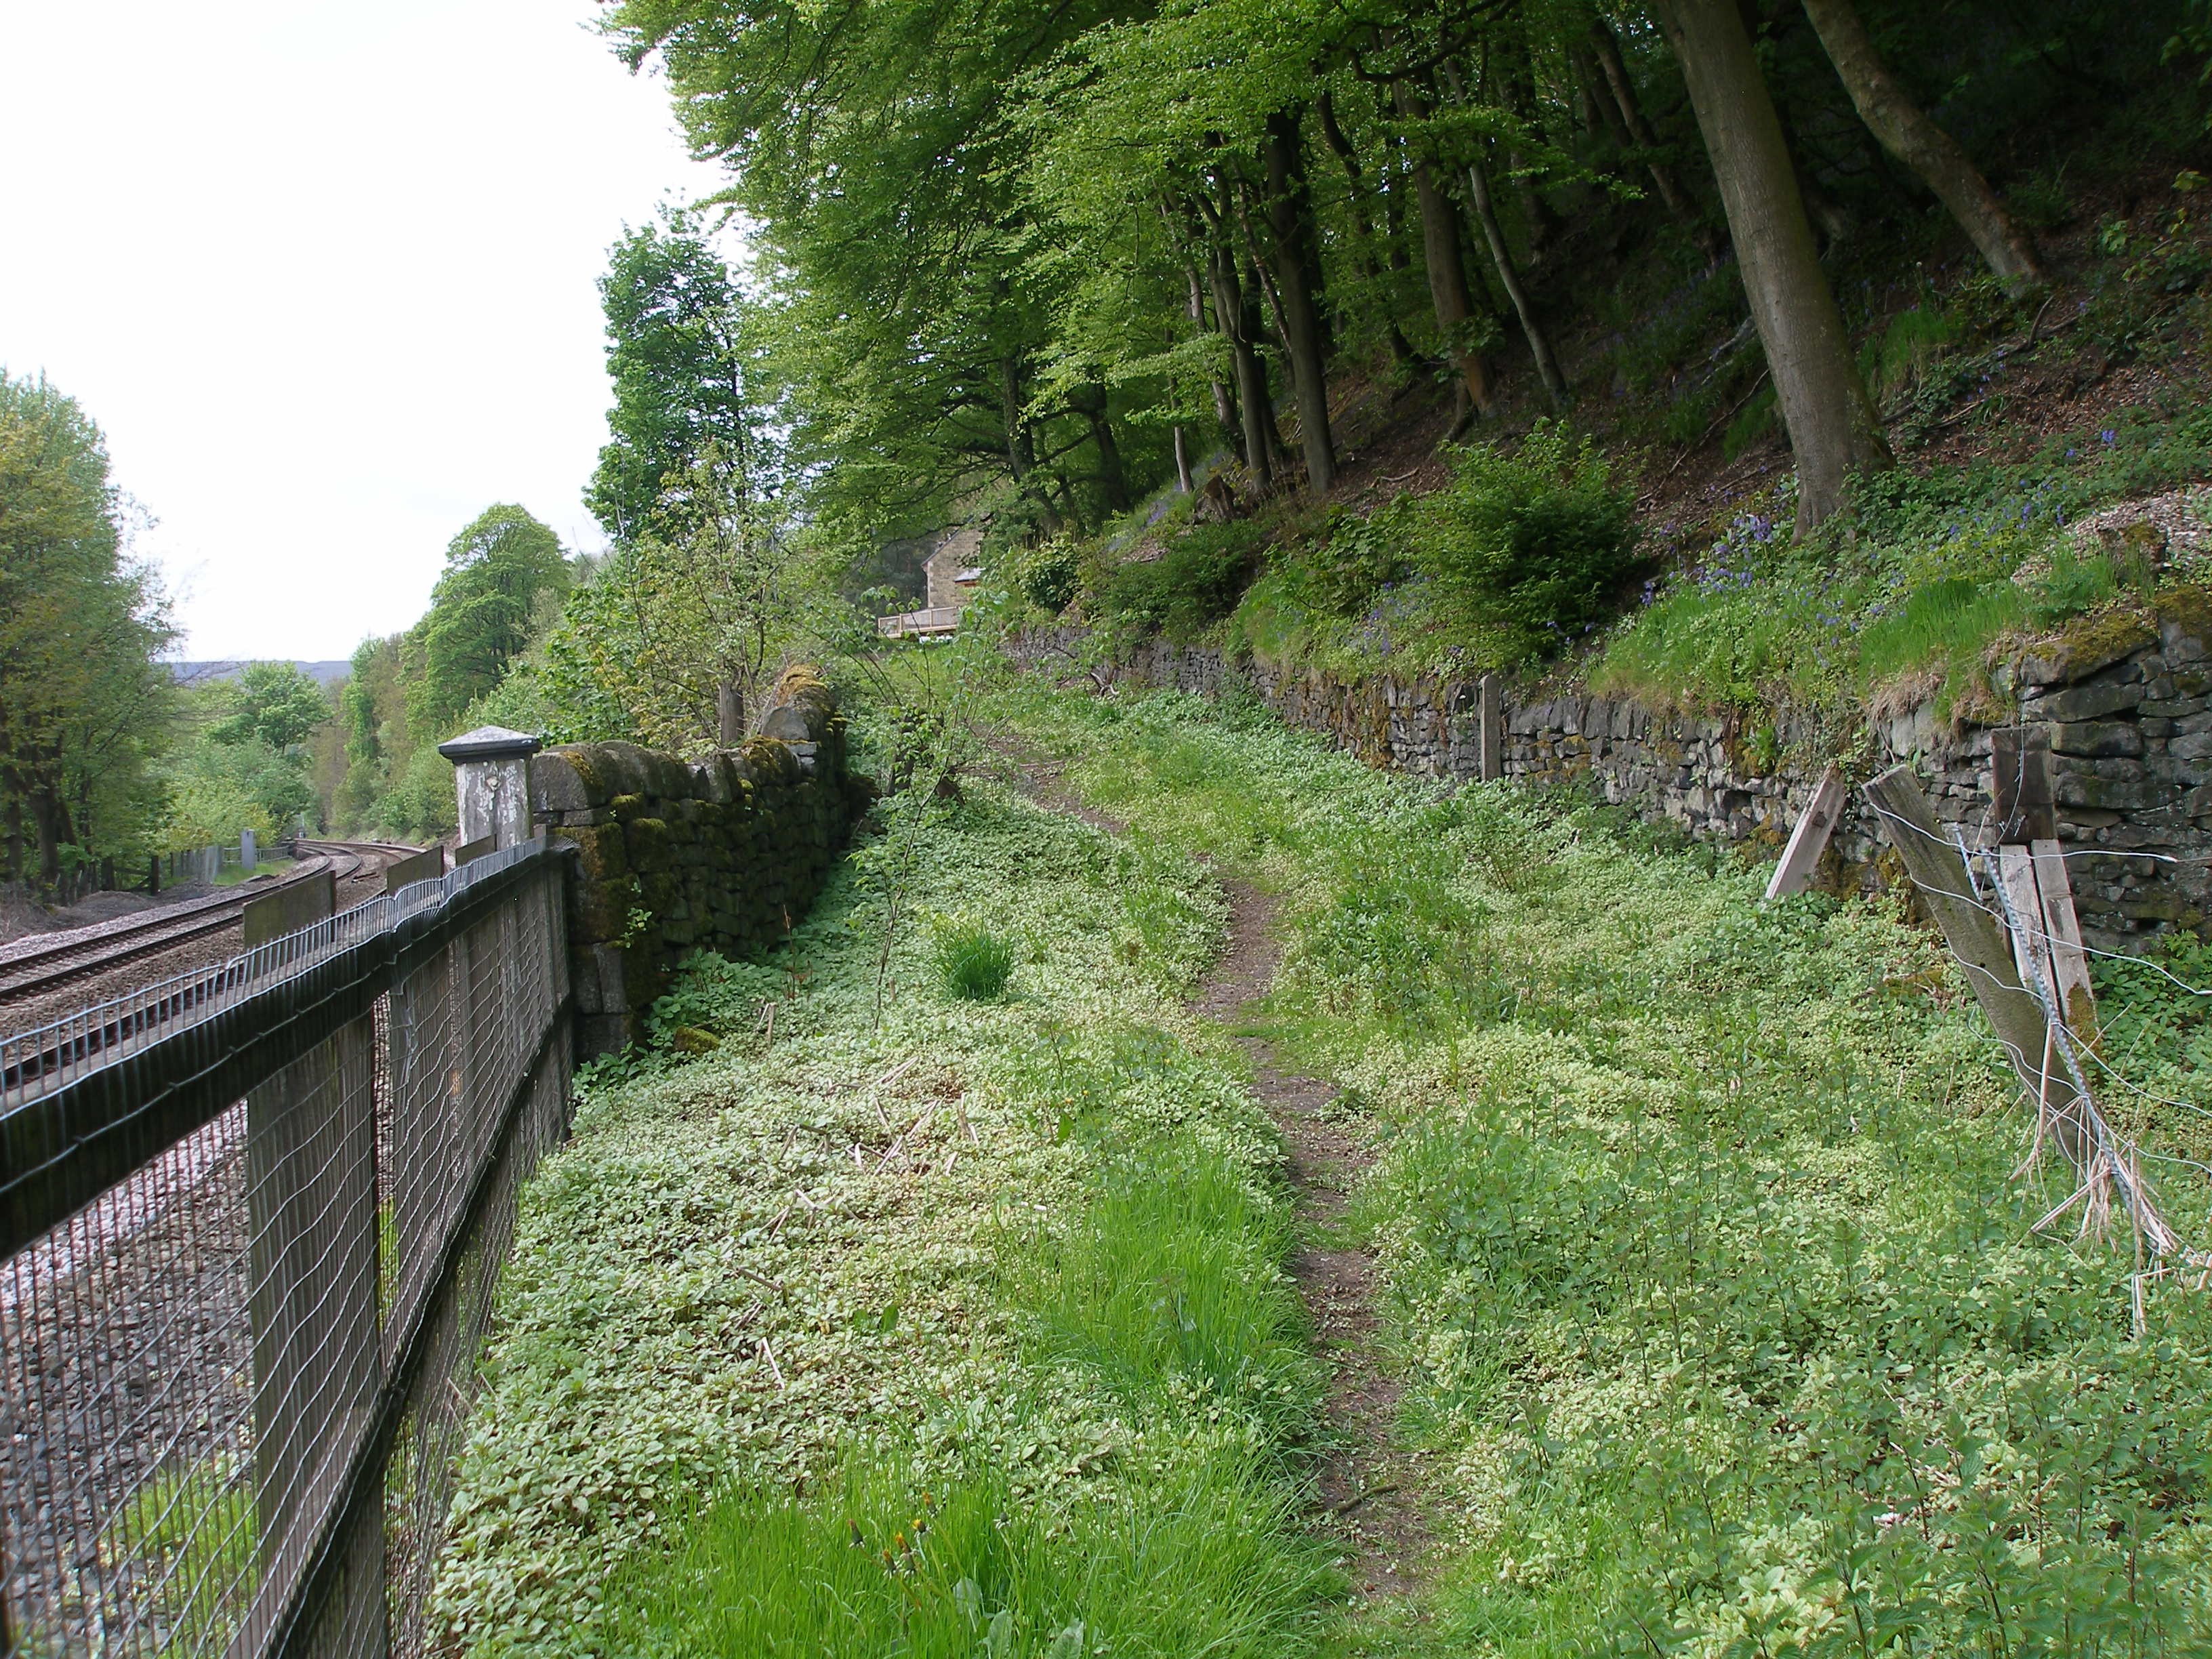
The entrance to the bridge. Click here for an alternative At the far end, the bridge exits at the bottom of a flight of steps
'recent' view. which lead up to track level and are parallel to the railway.
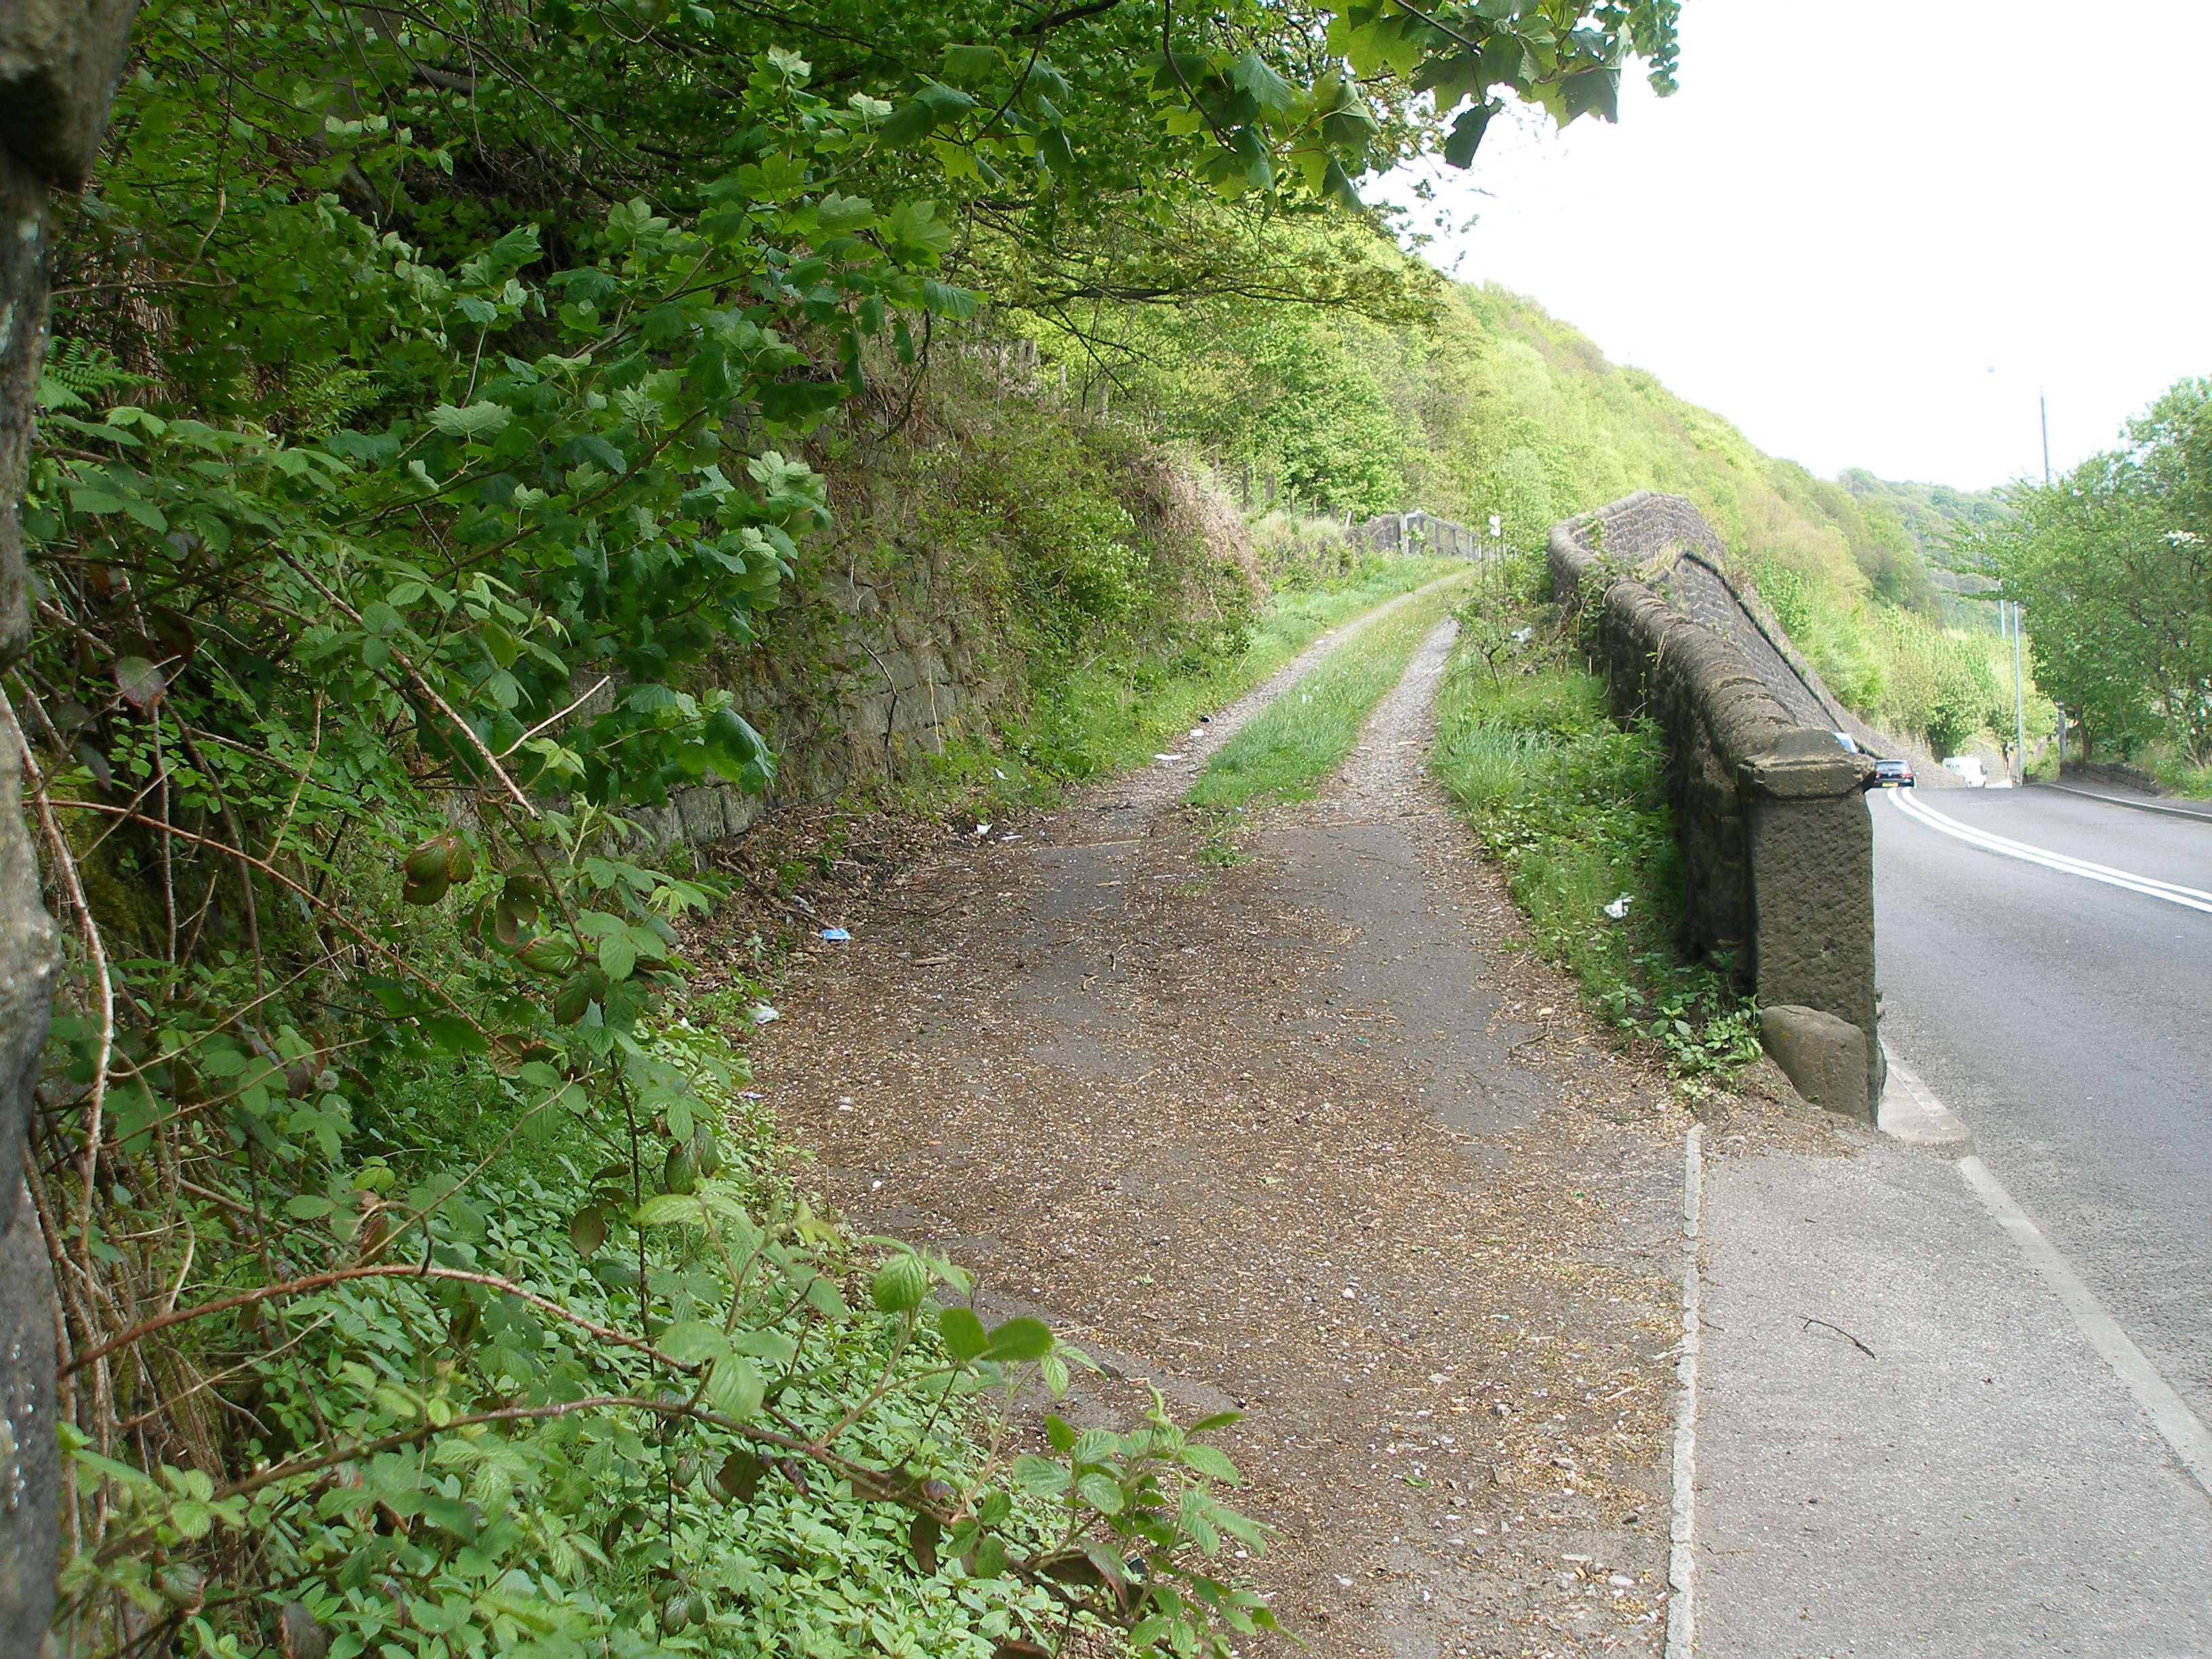
Photo 6: Photo 7:
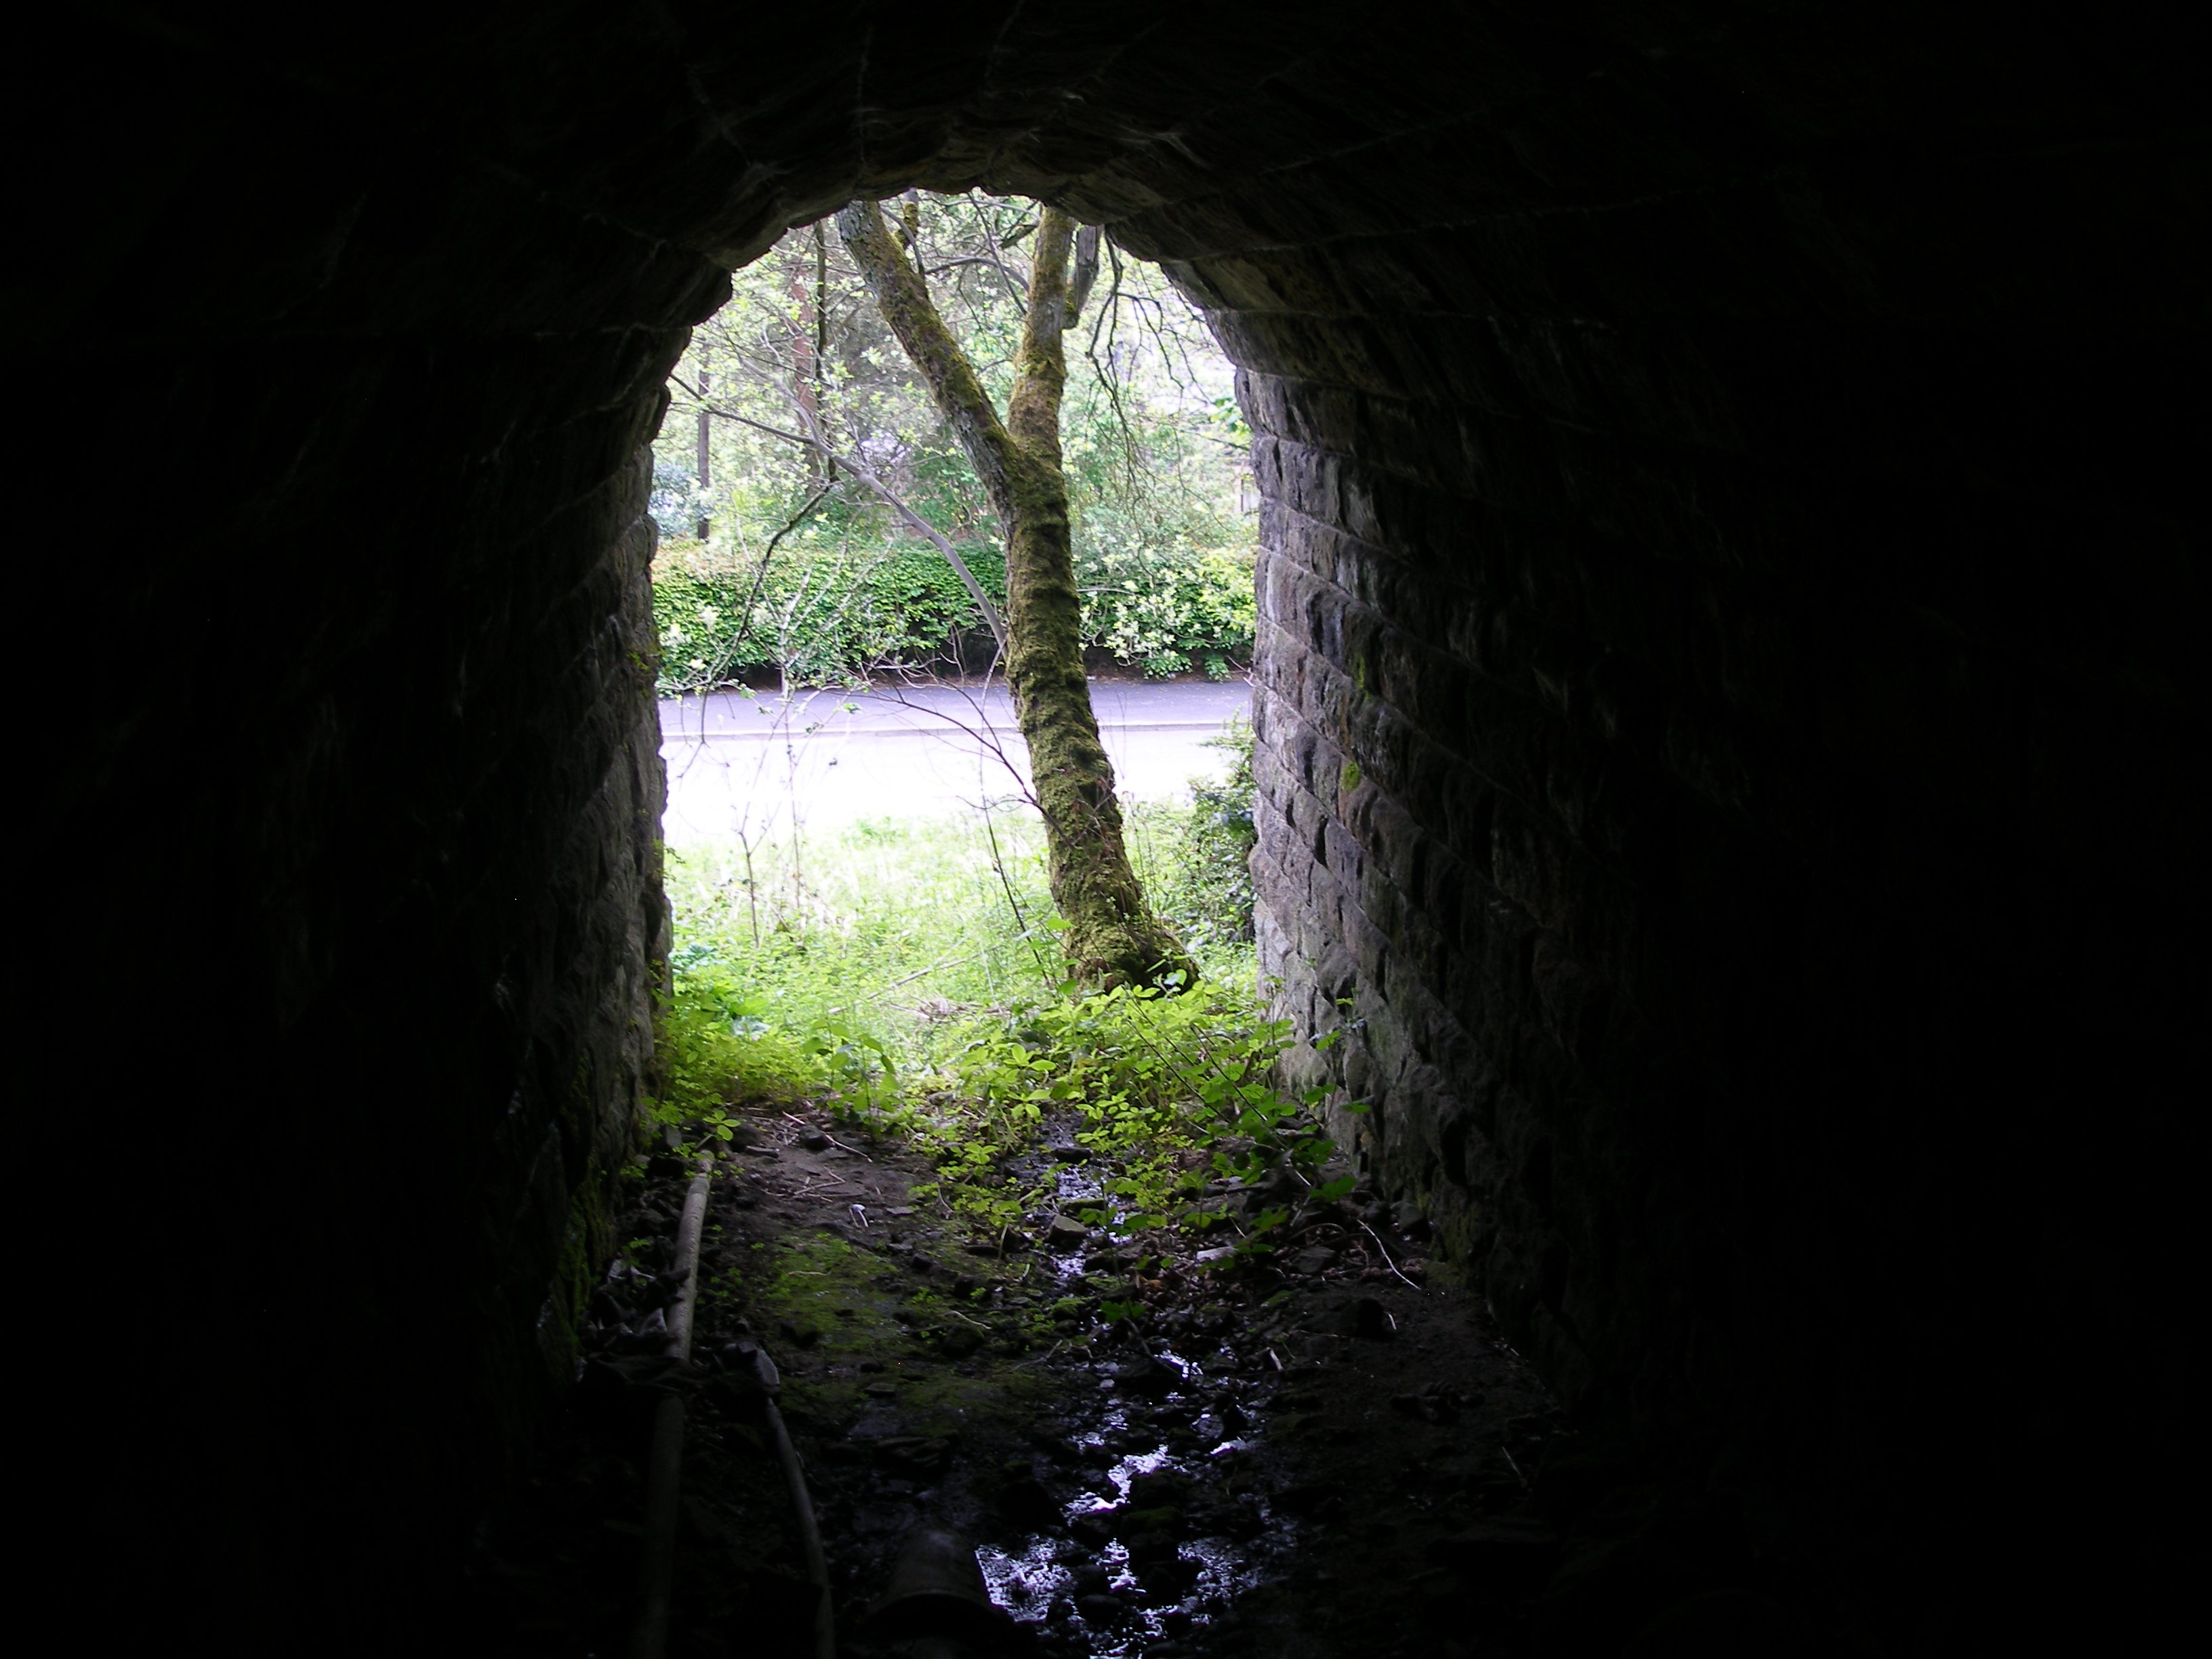
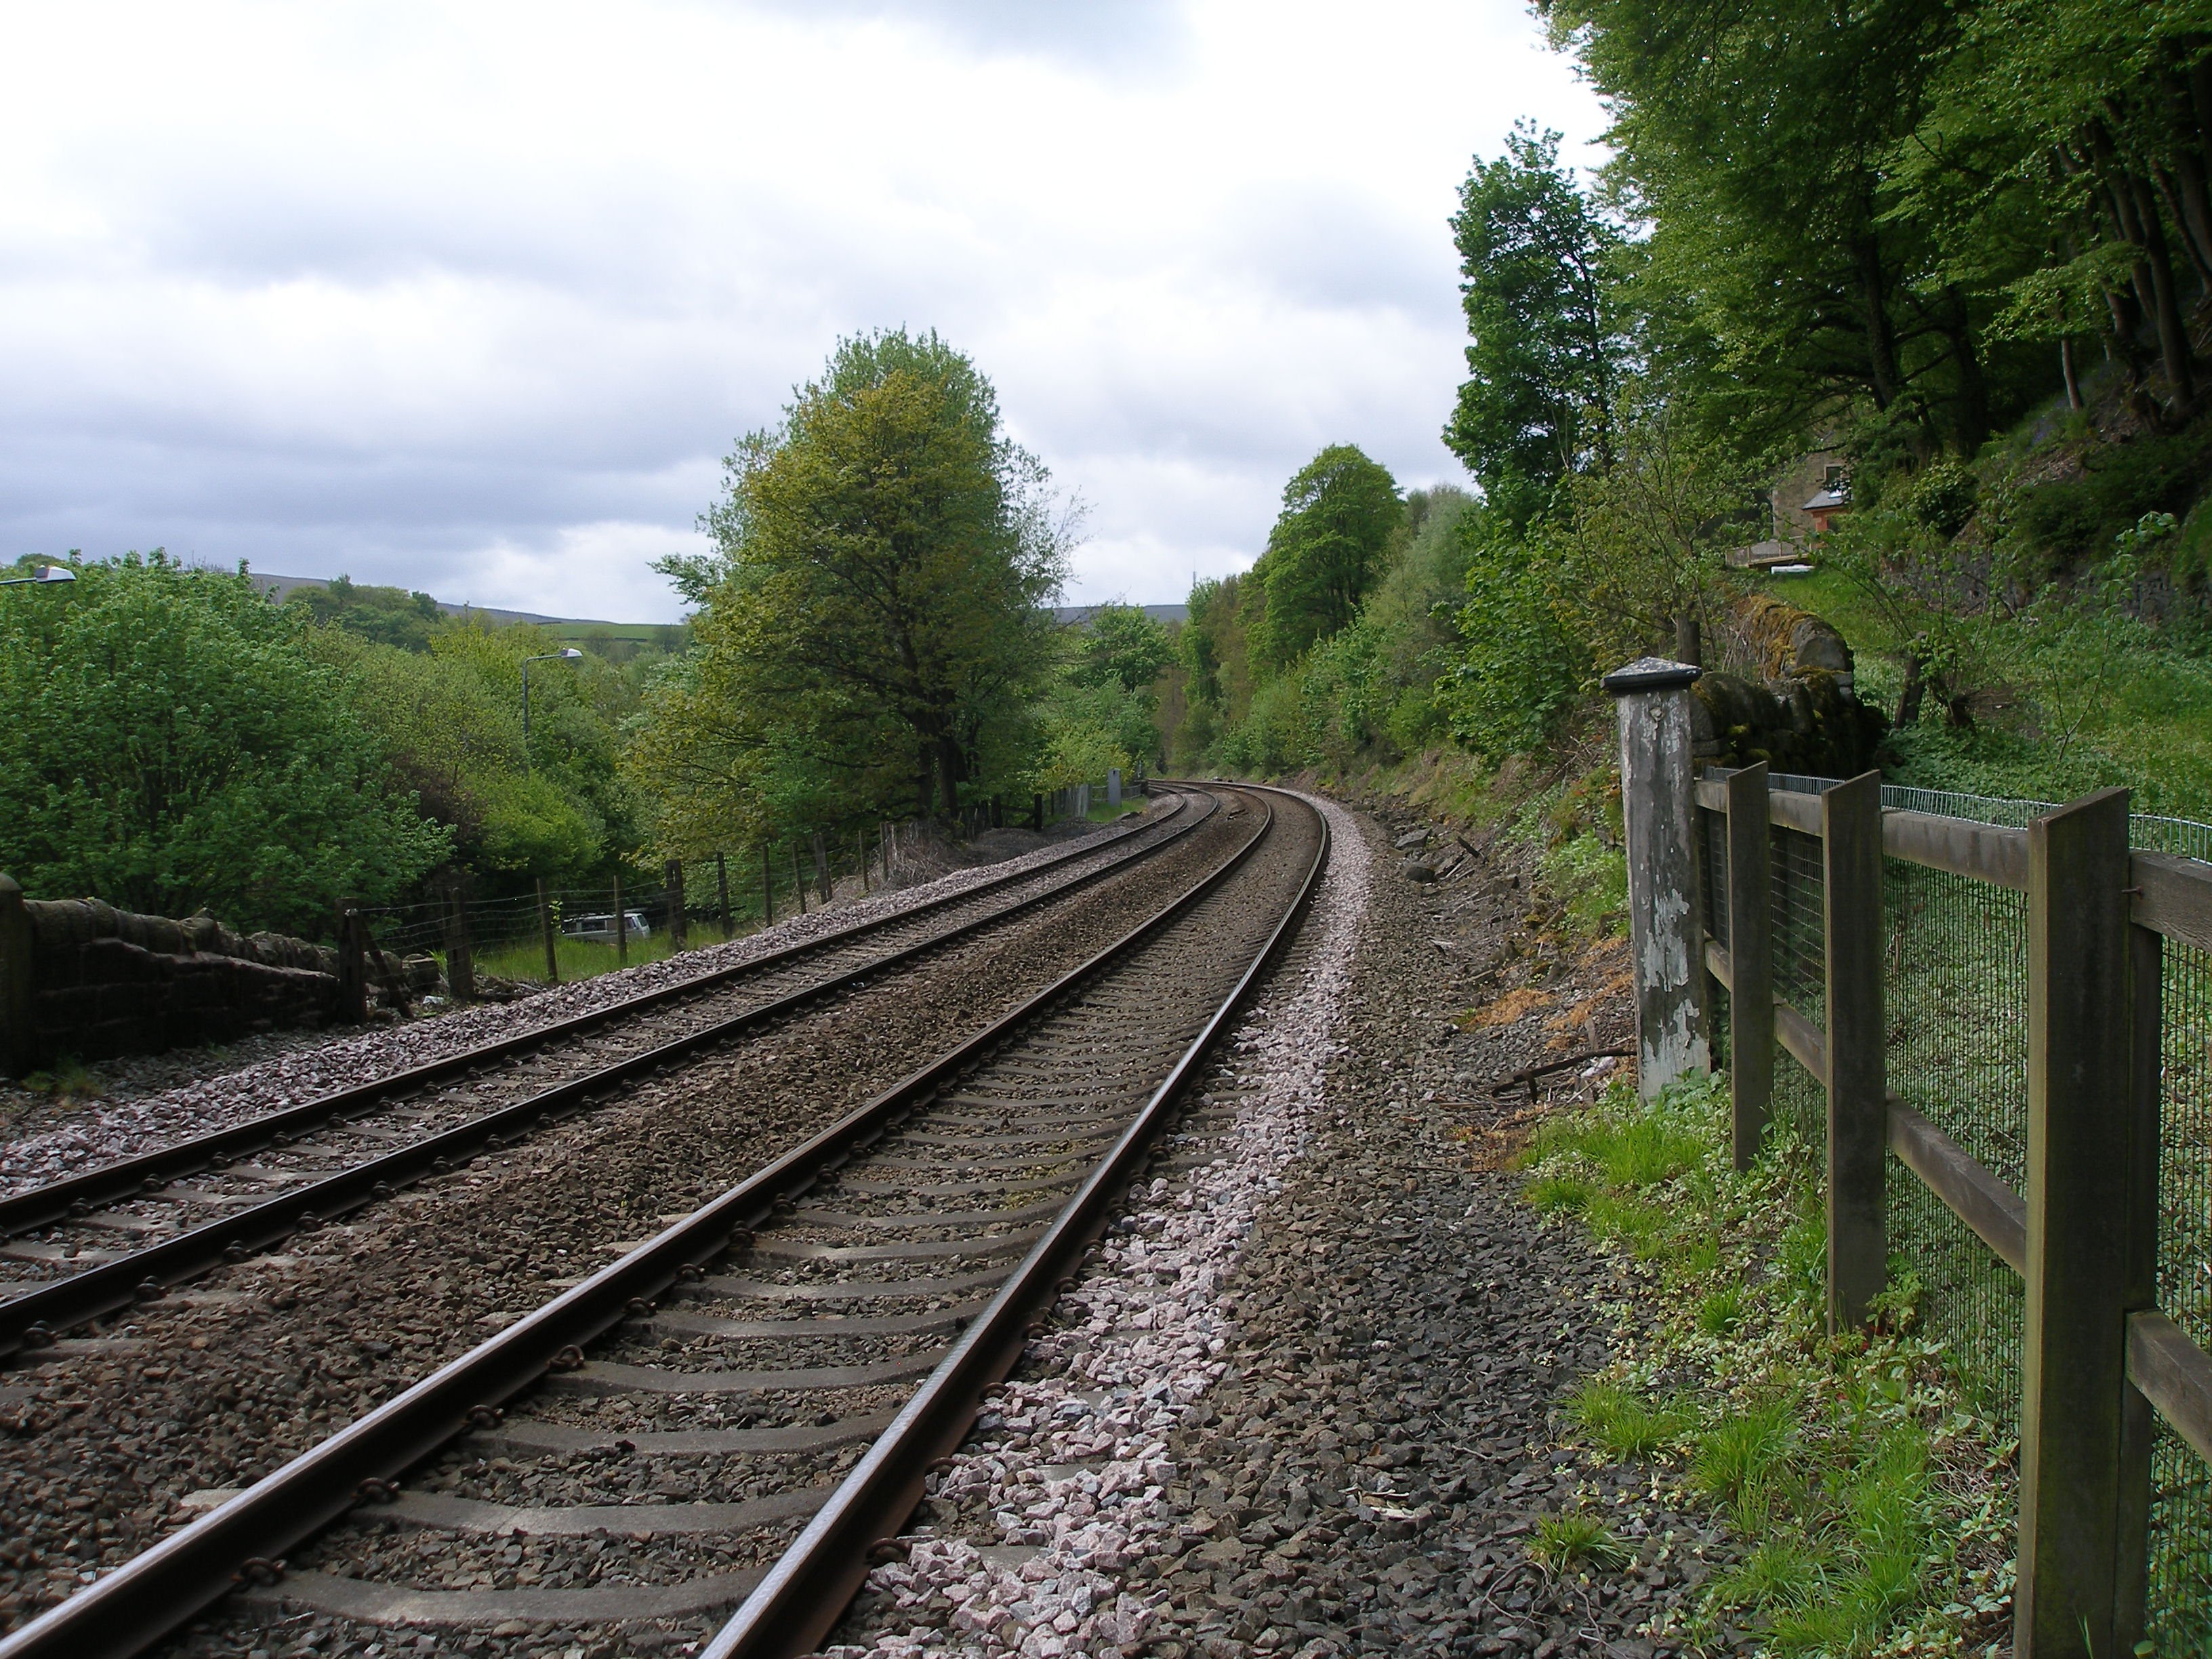
Looking away from the road.... and looking back towards the road.
Photo 8: Photo 9:
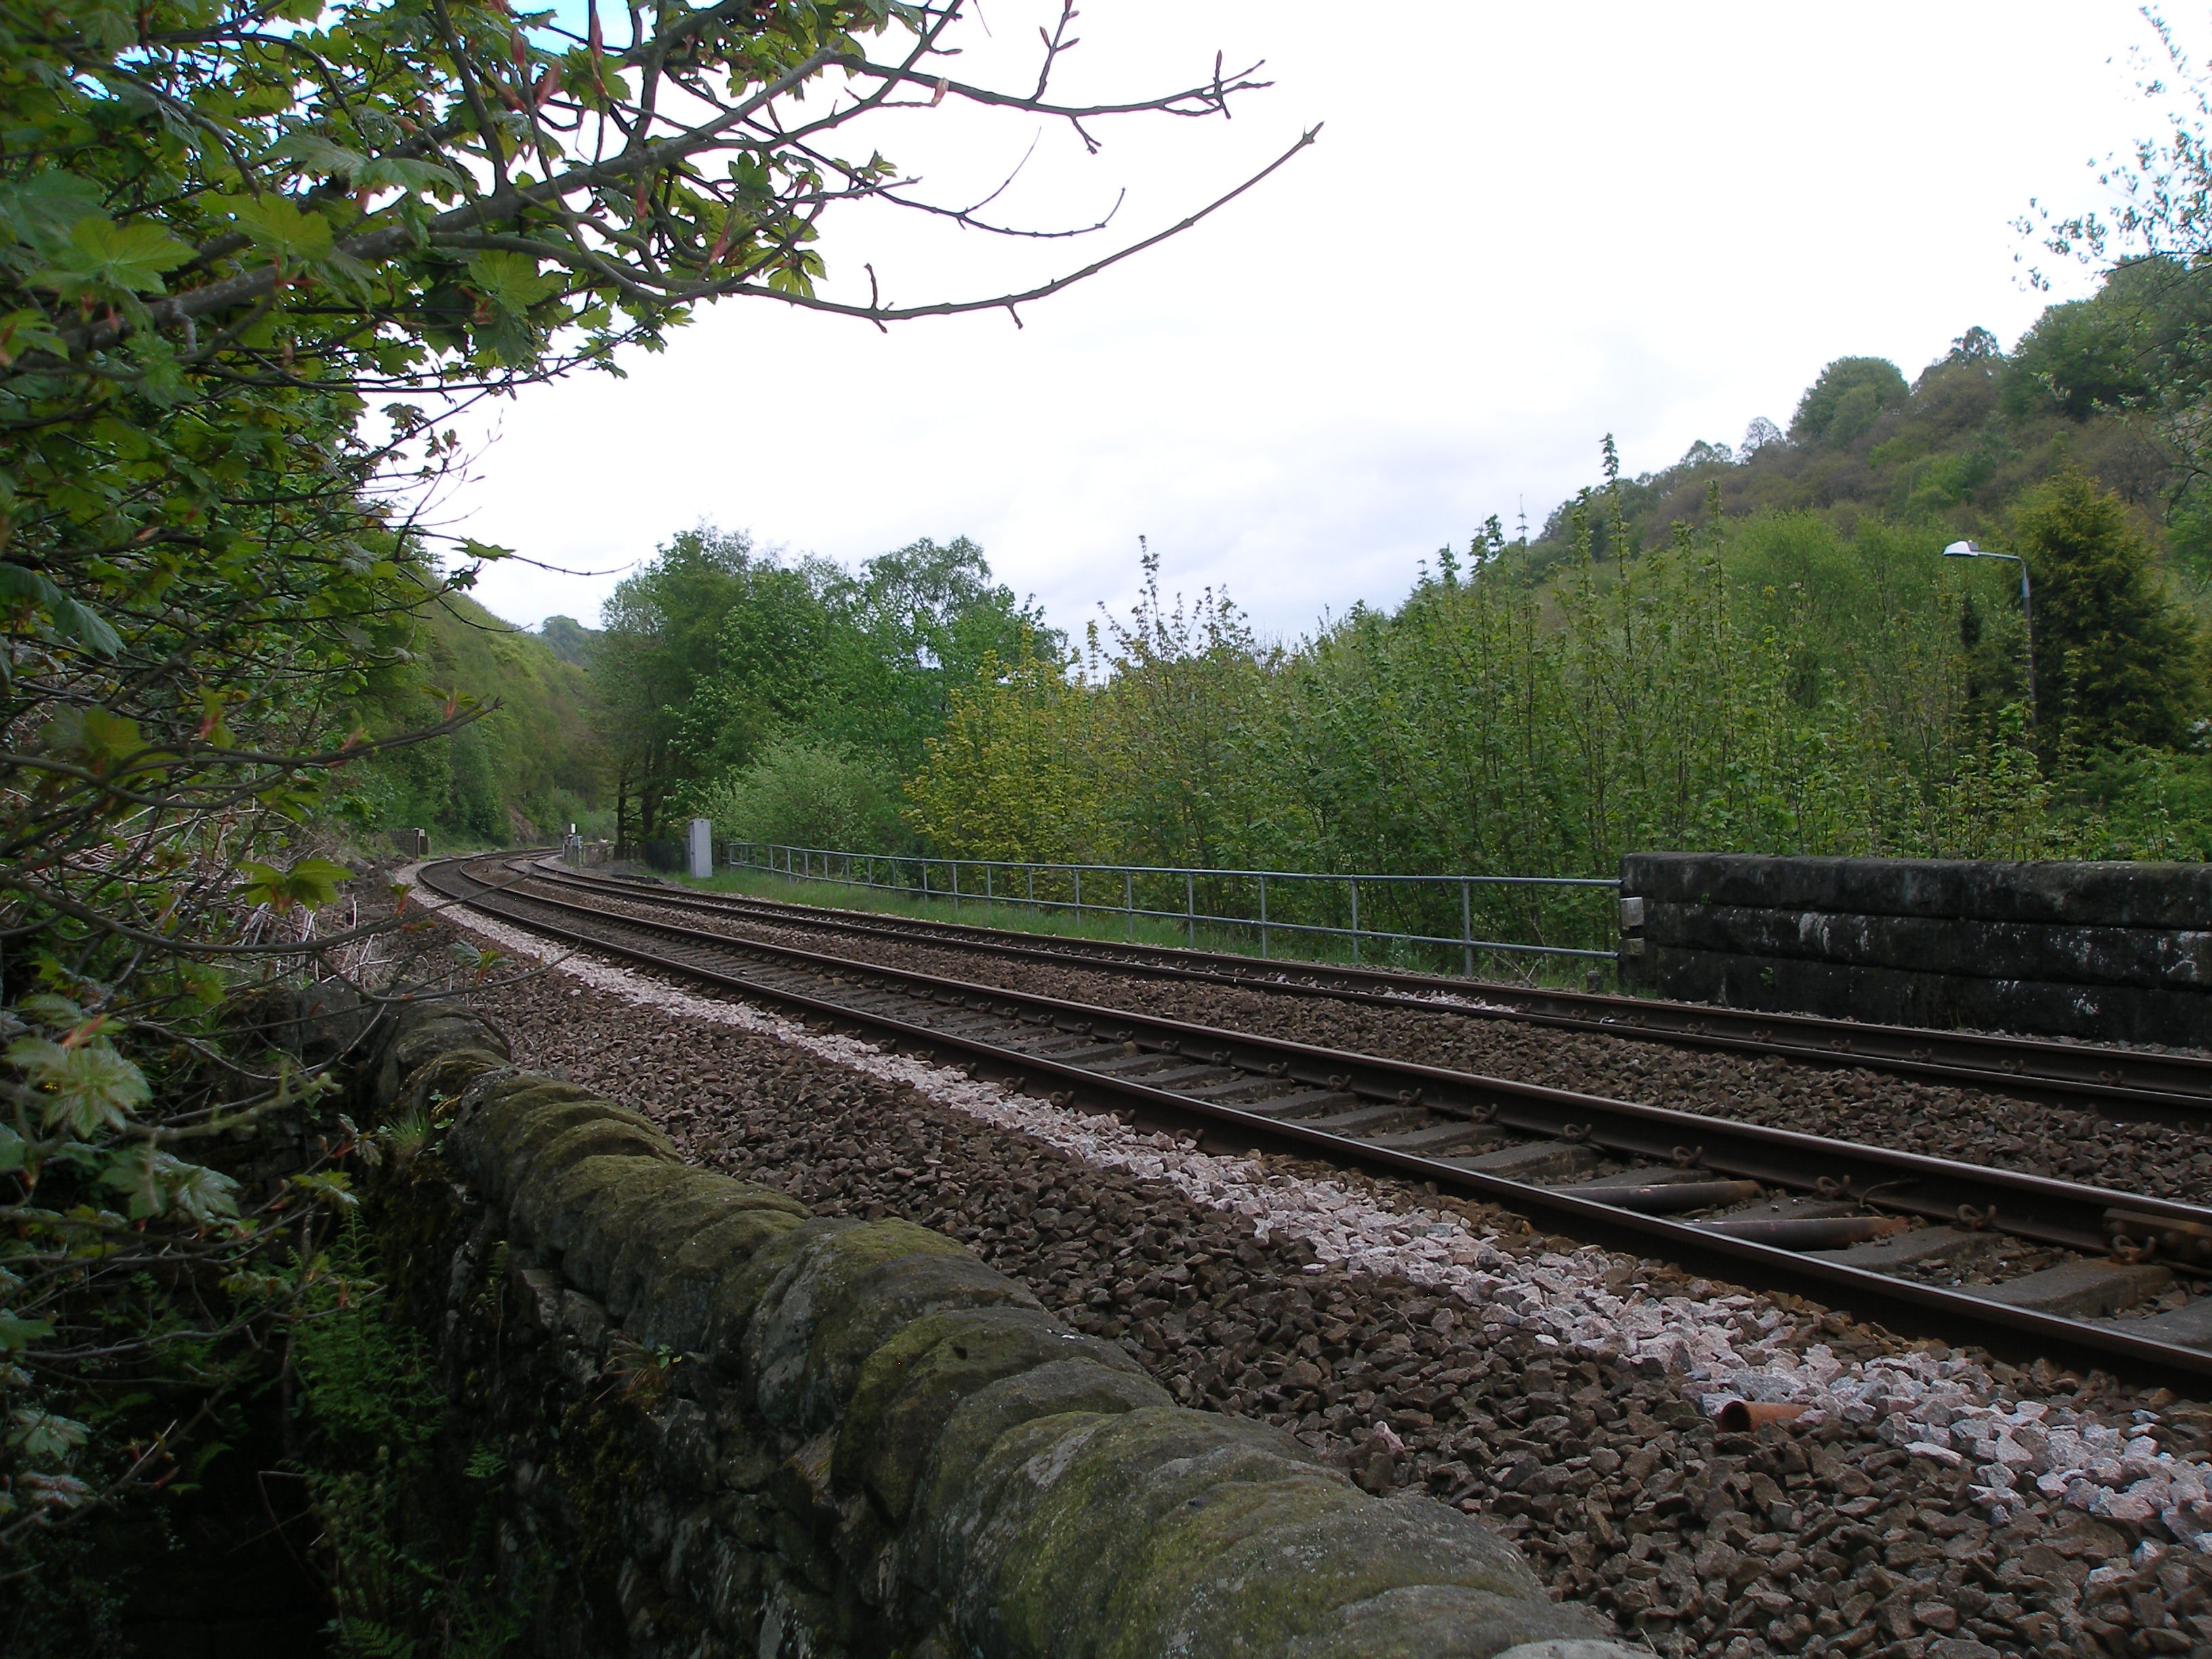
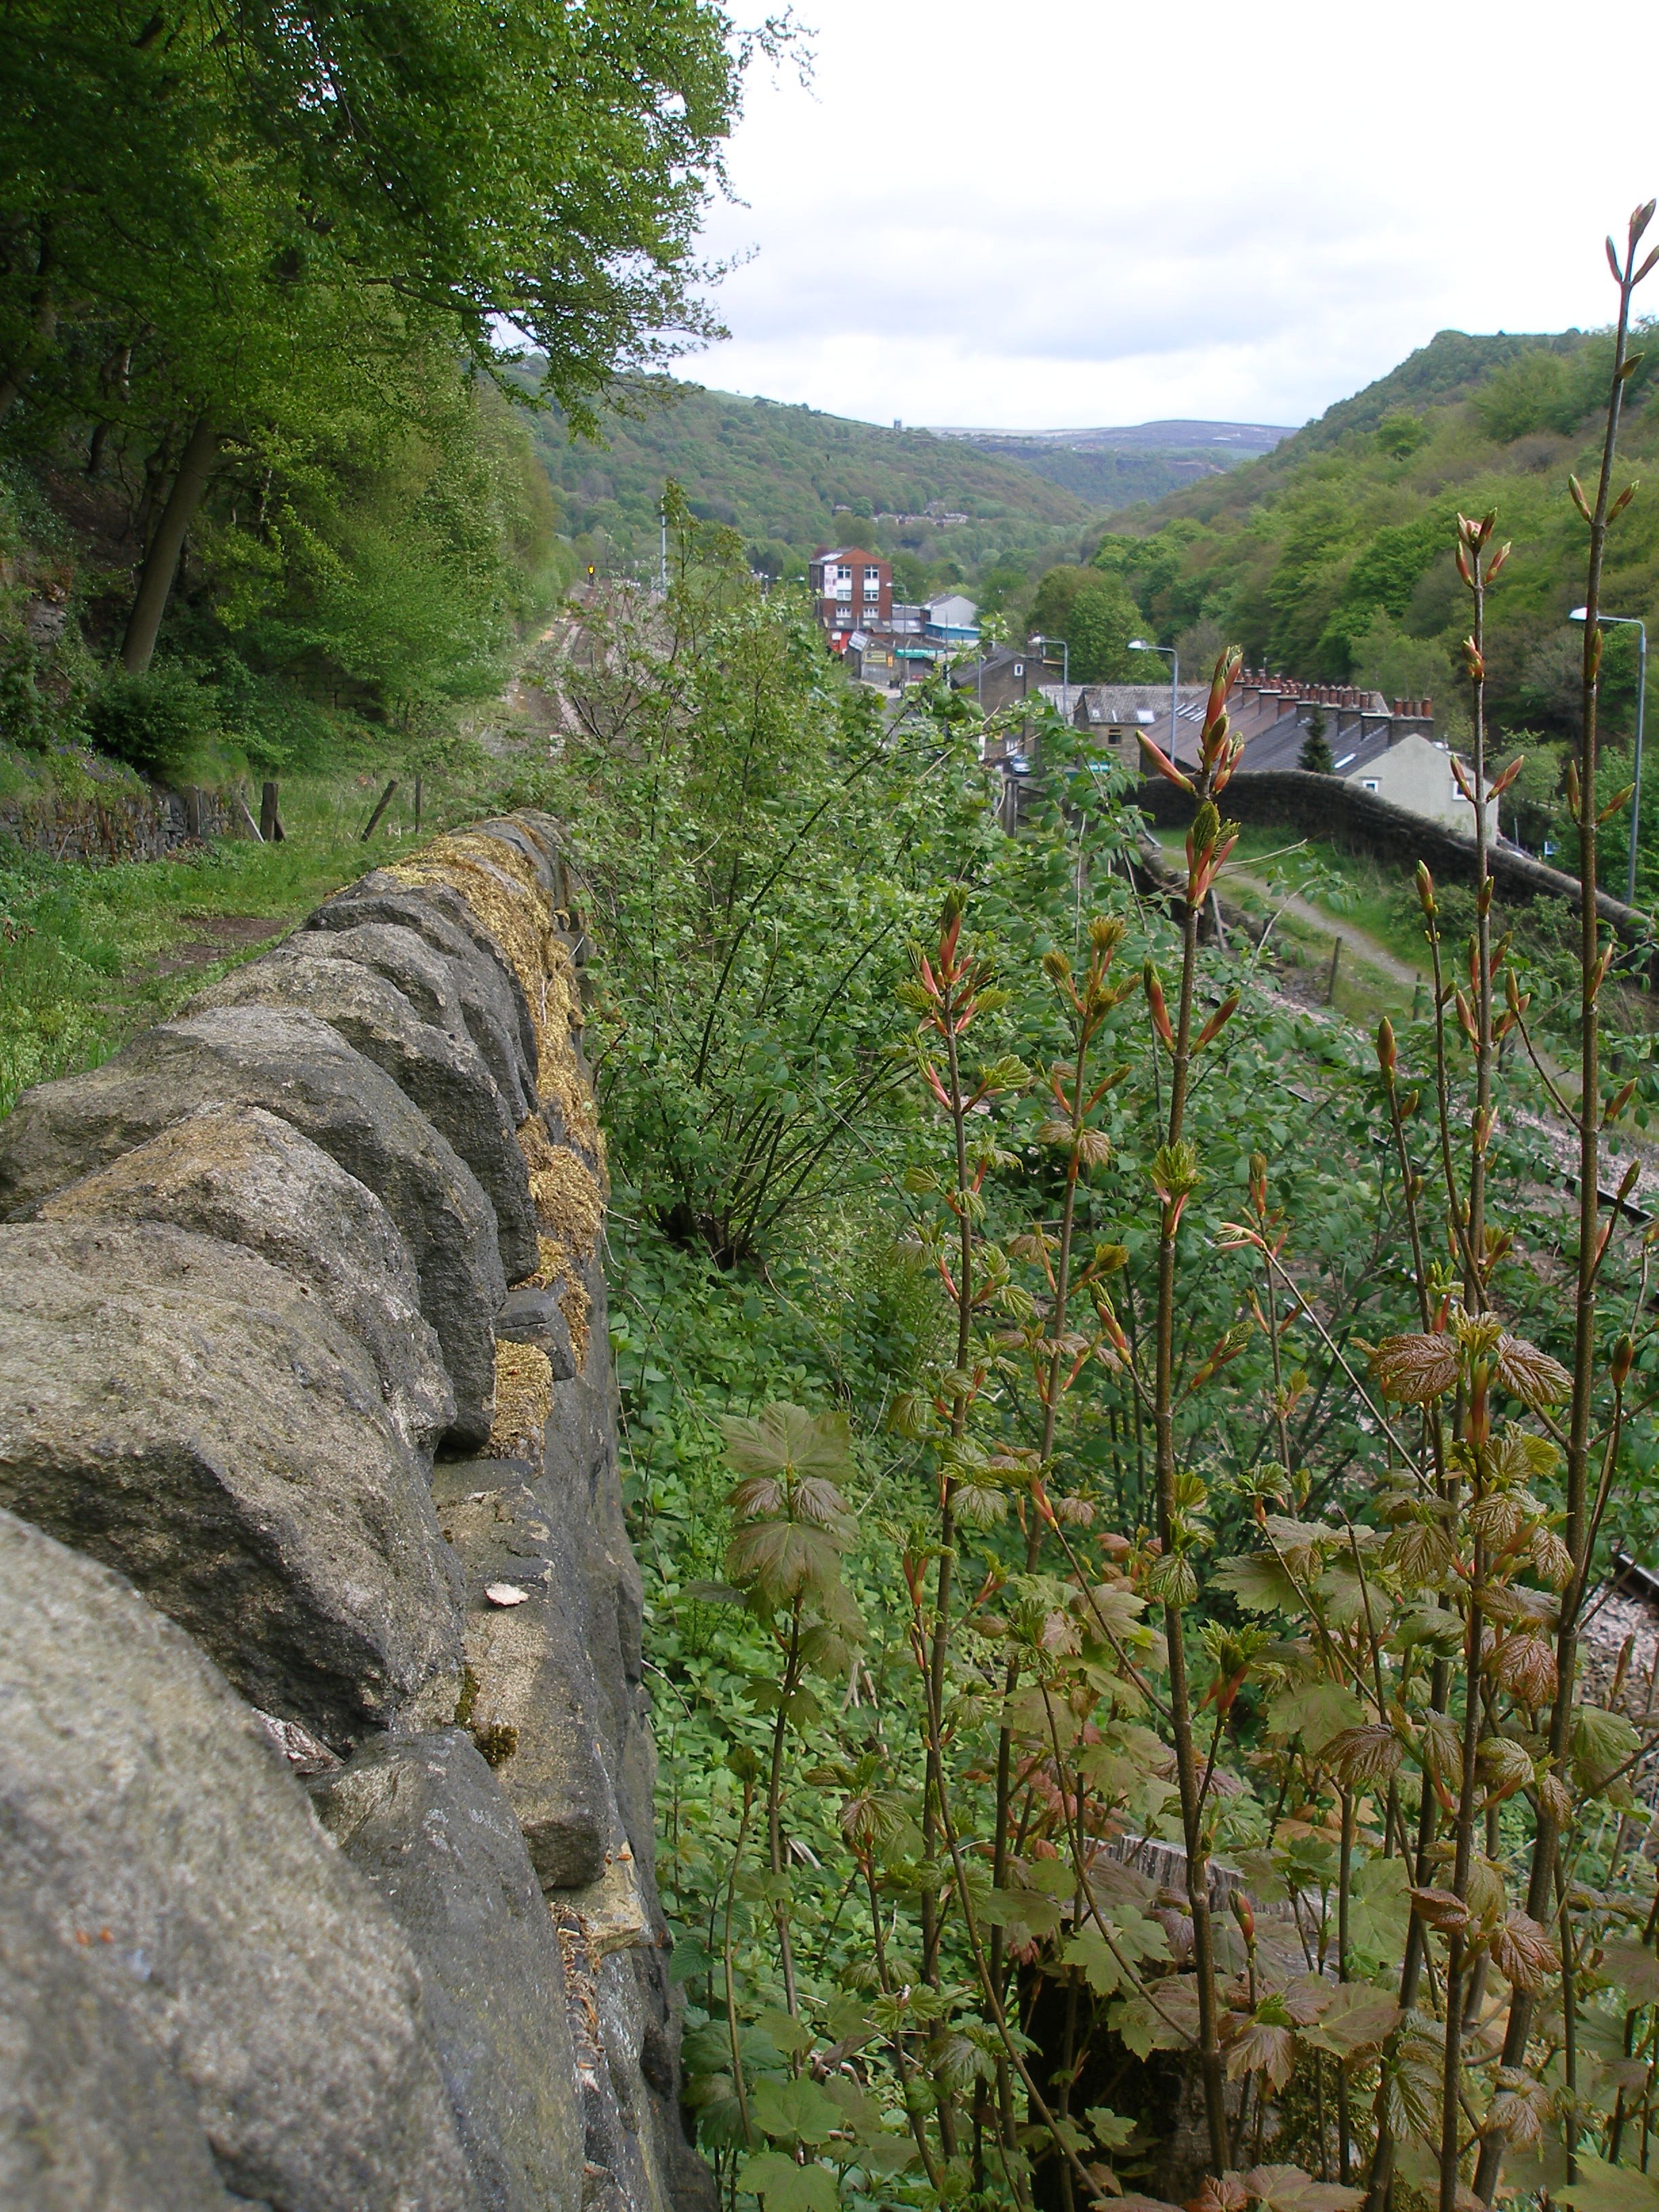
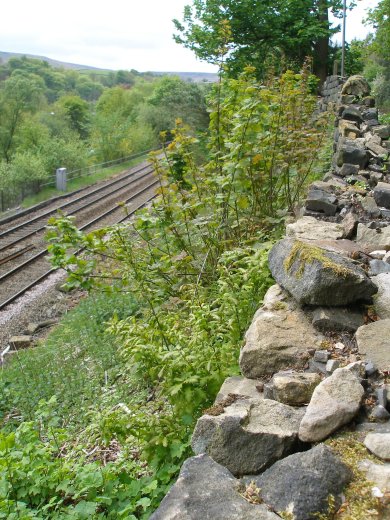
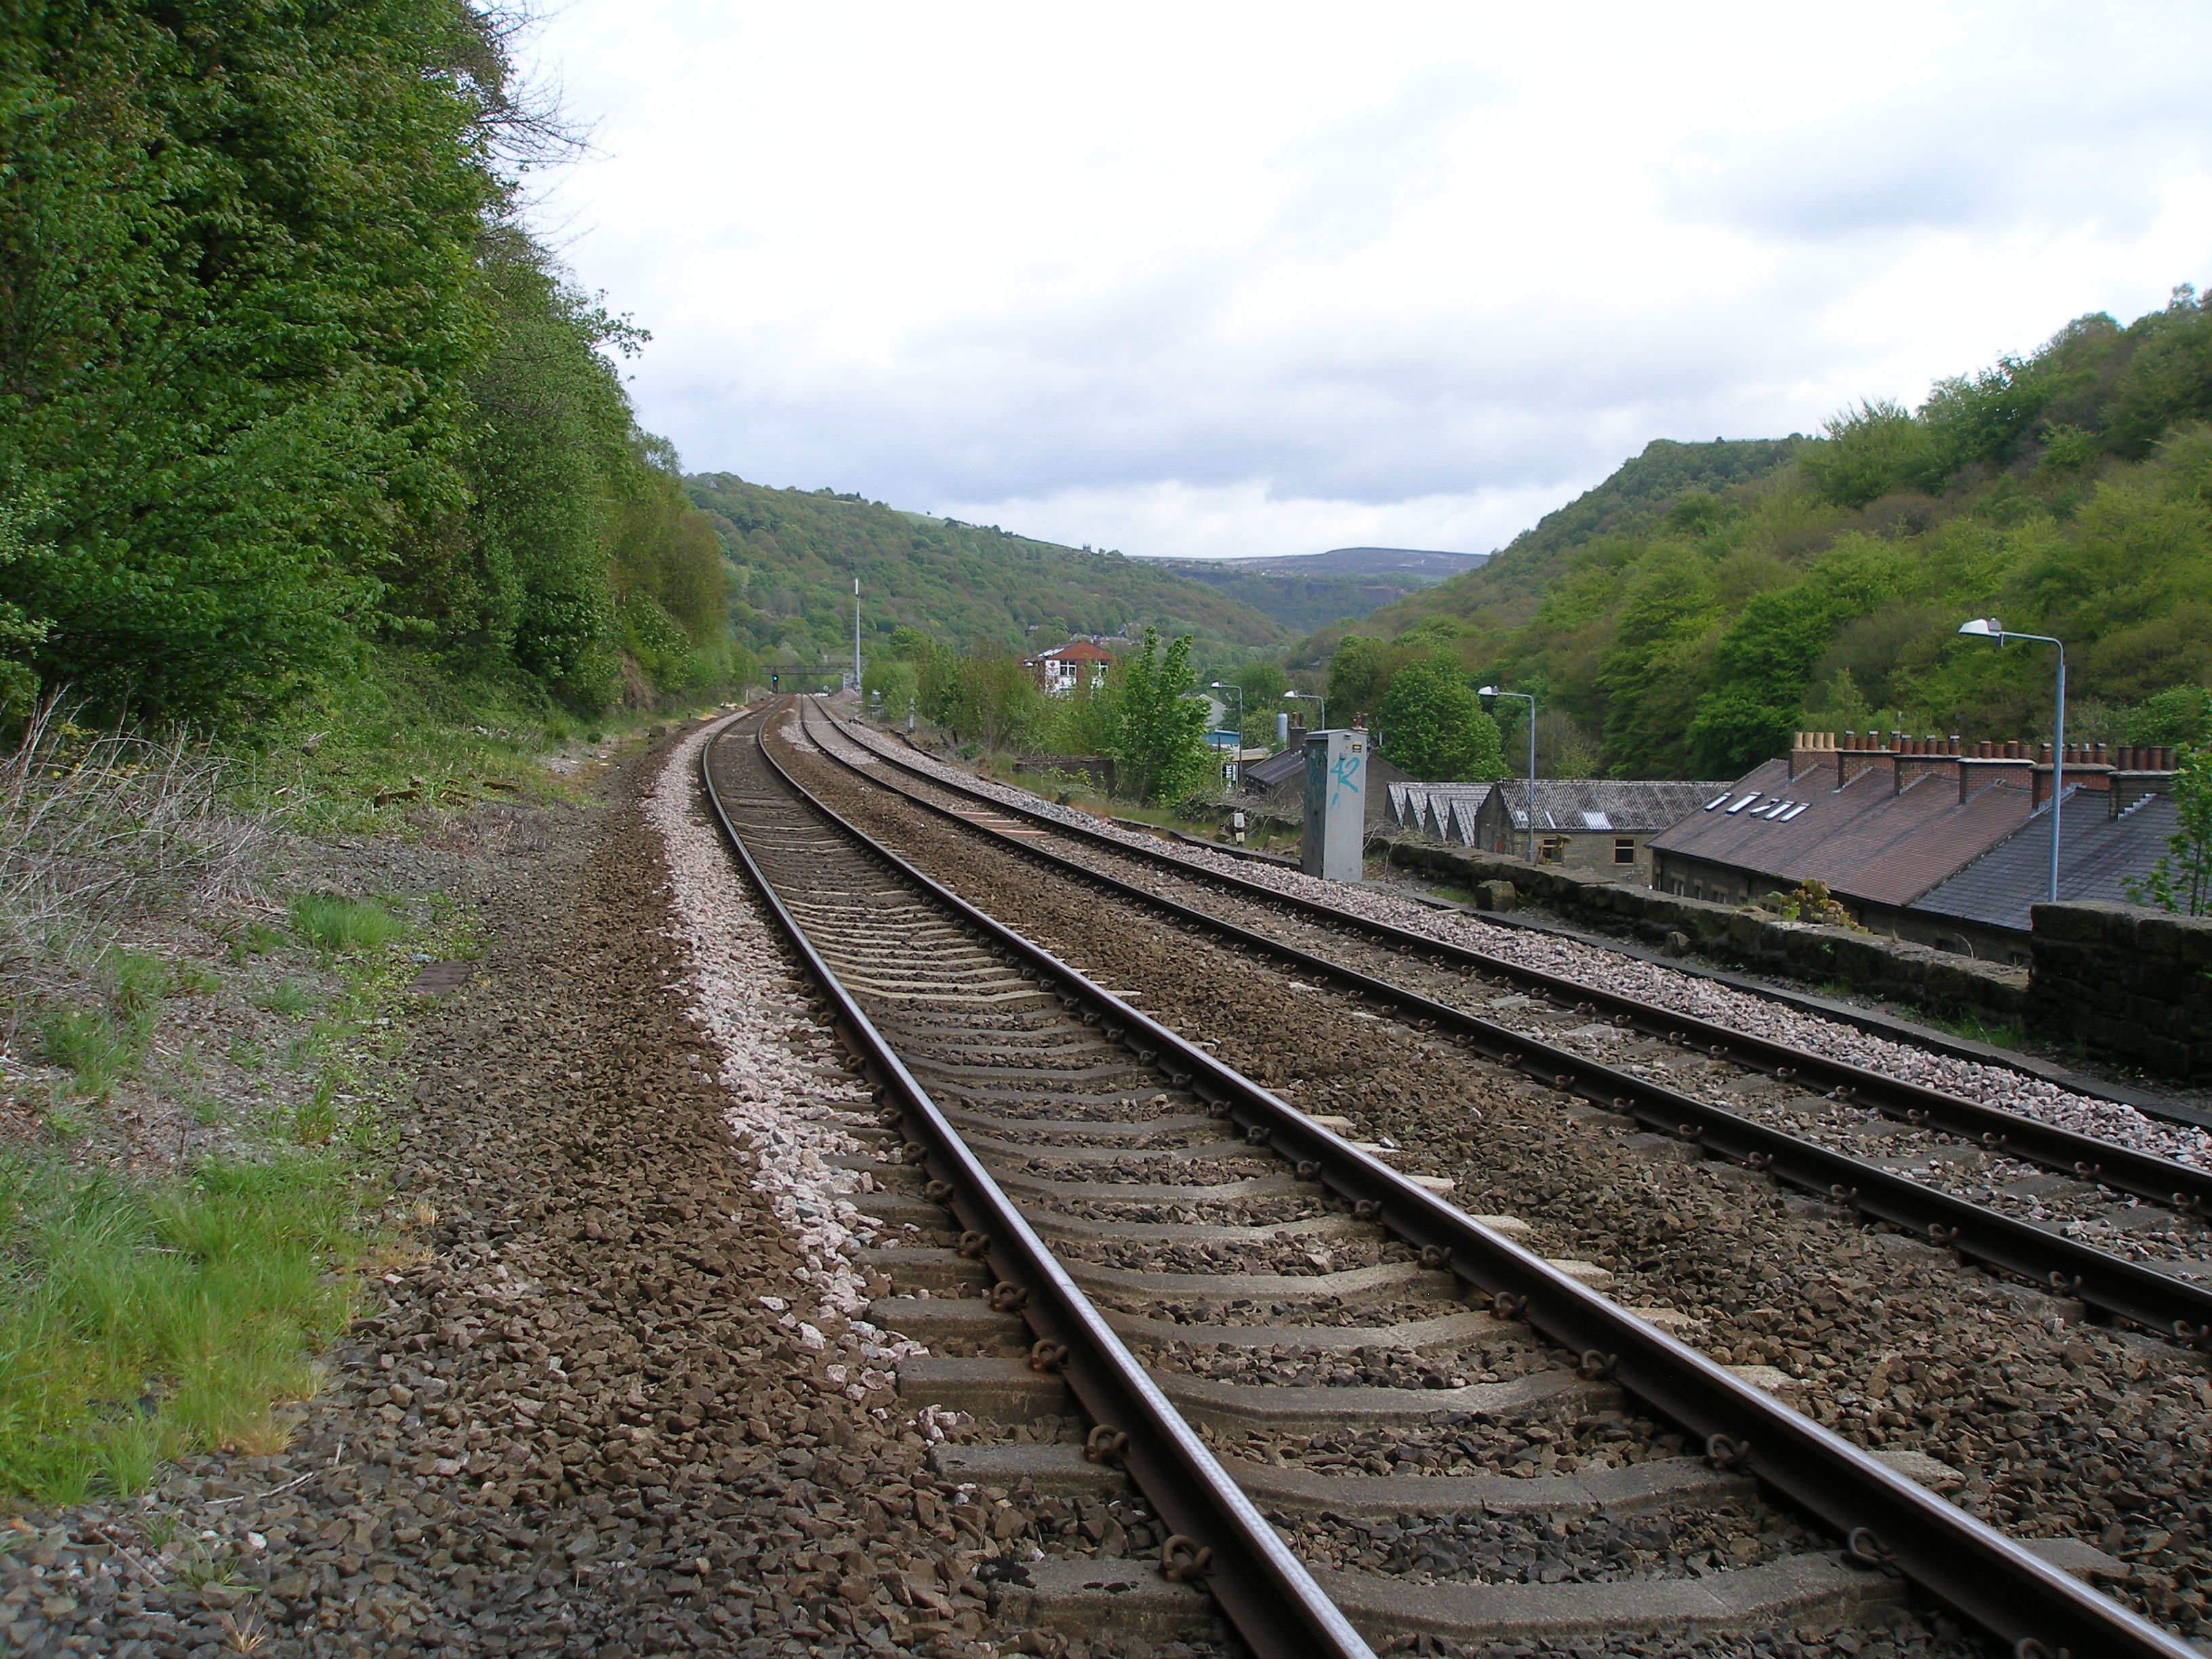
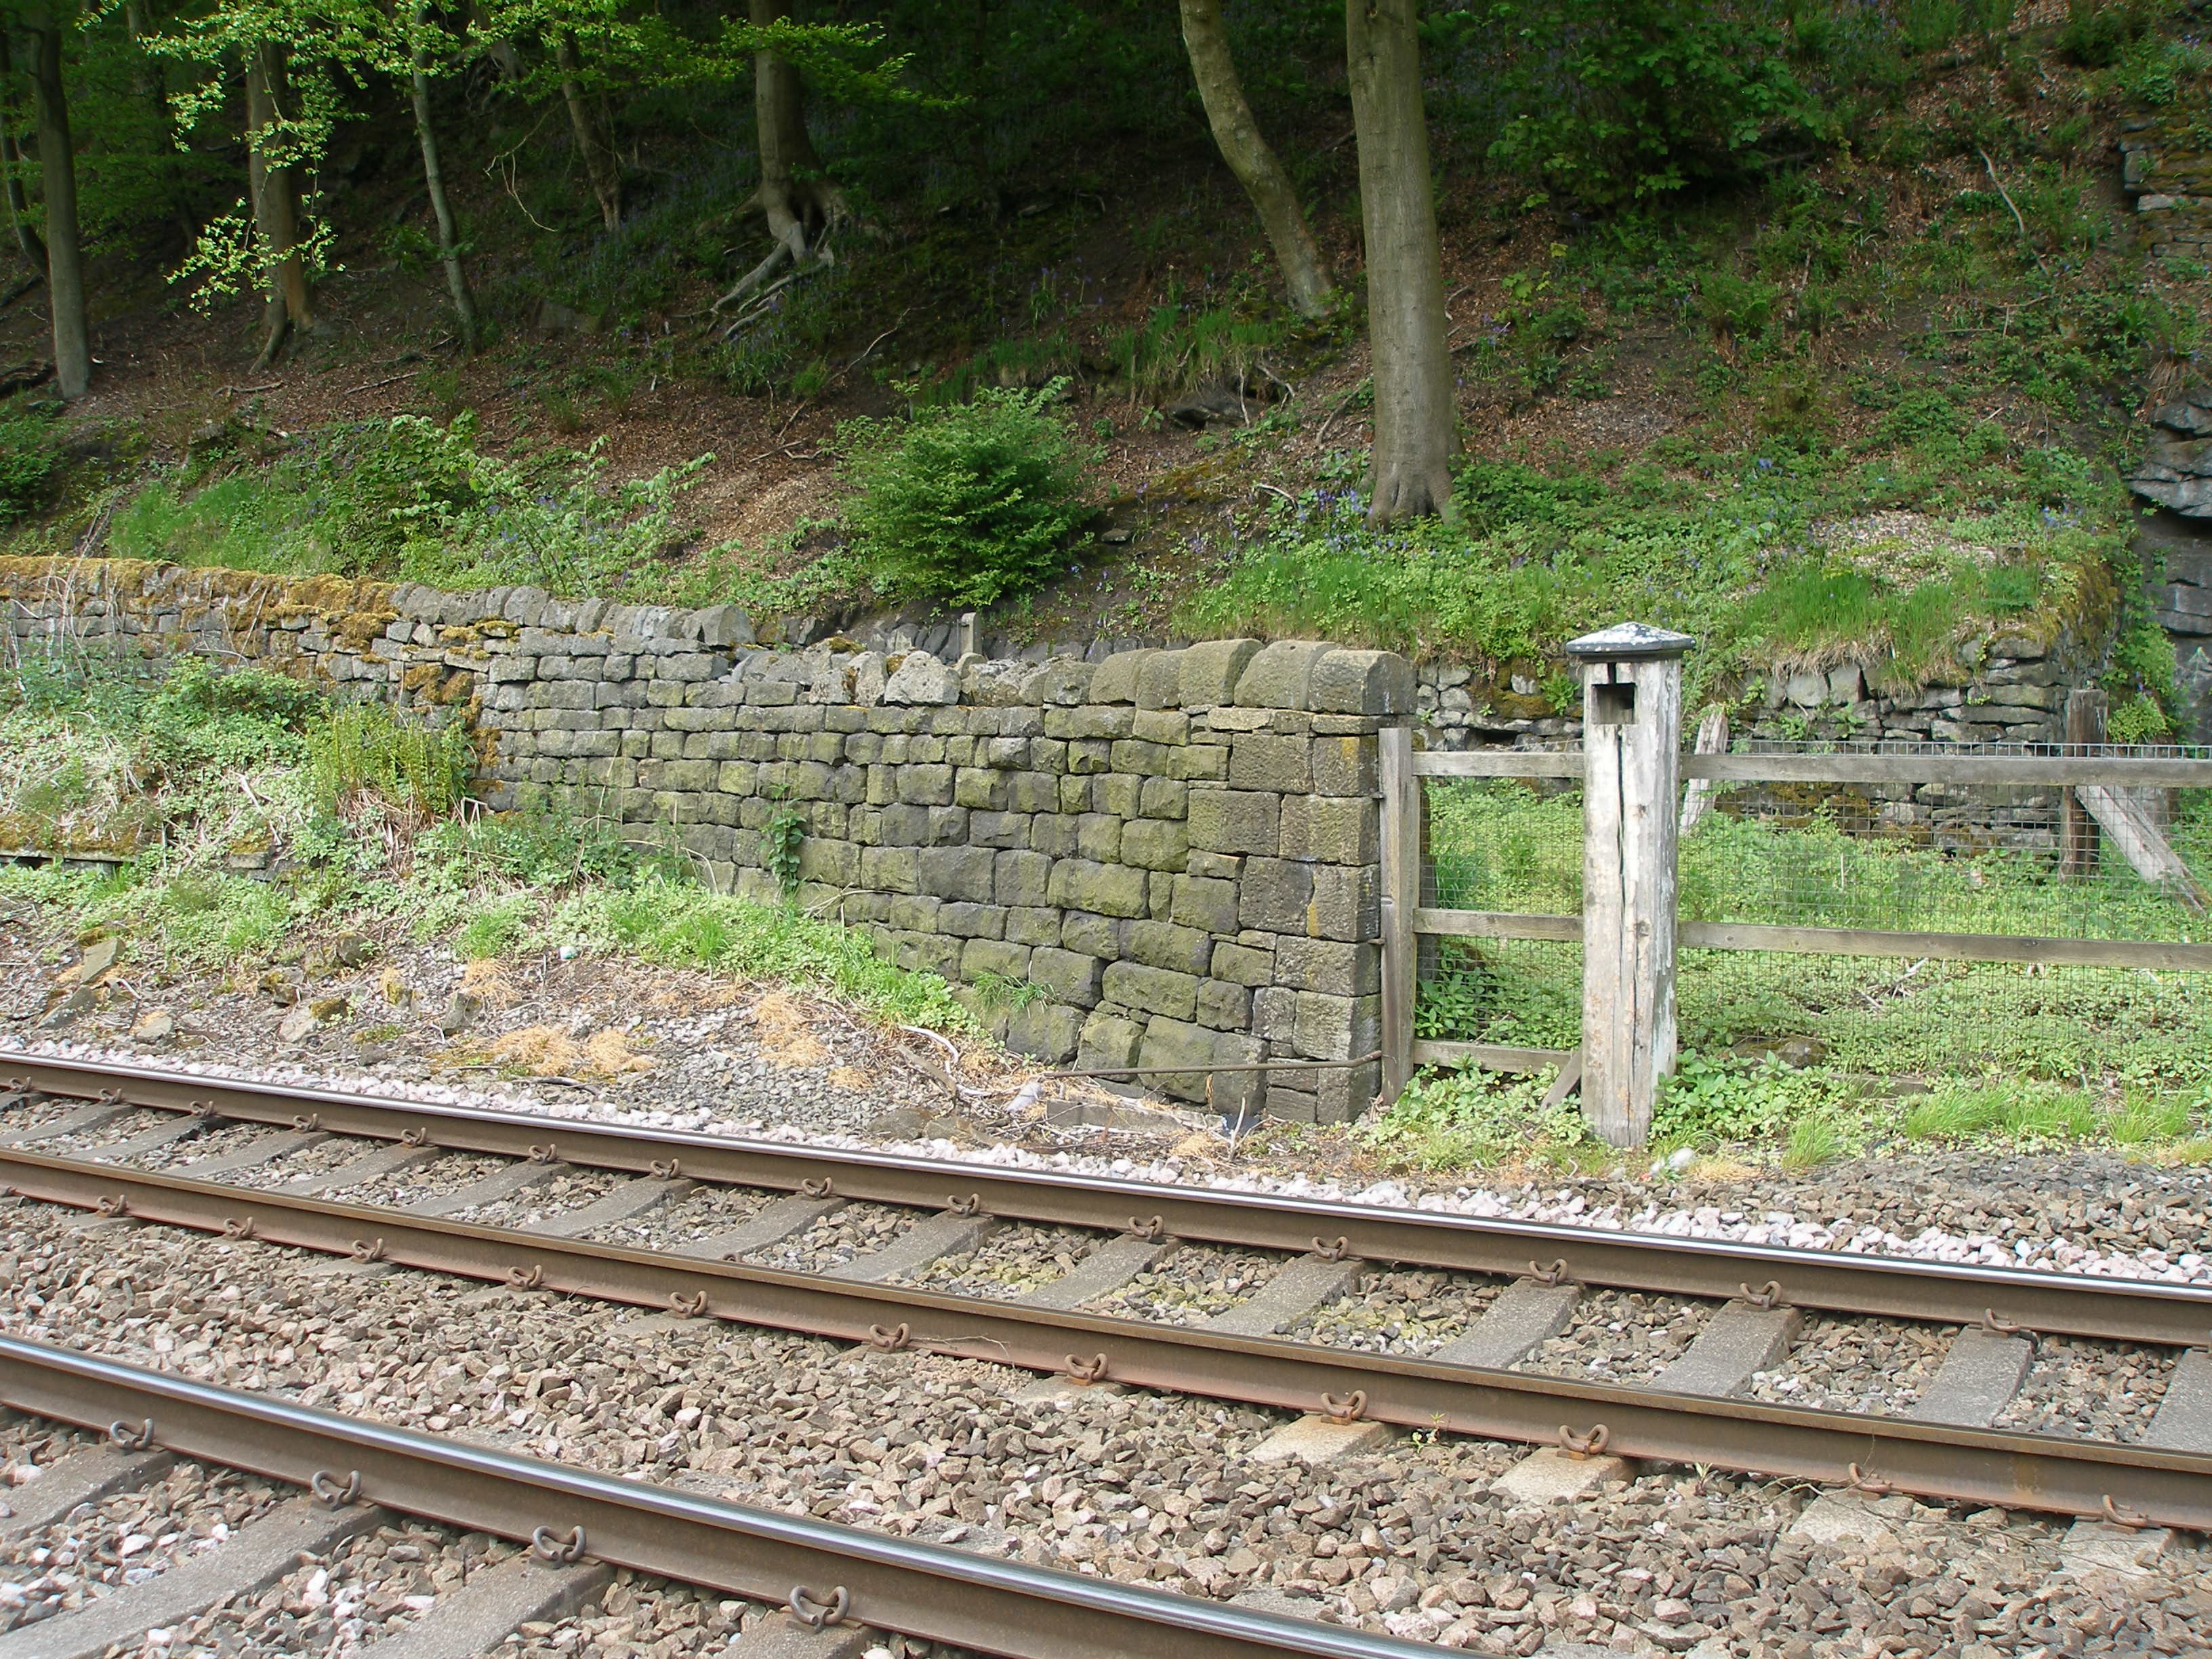
Looking over the boundary wall at the top of the steps Looking across the railway from the top of the steps
towards Leeds. The original 'Down' platform started just
beyond the stone wall in the foreground to the left of the
track.
Photo 10: Photo 11:
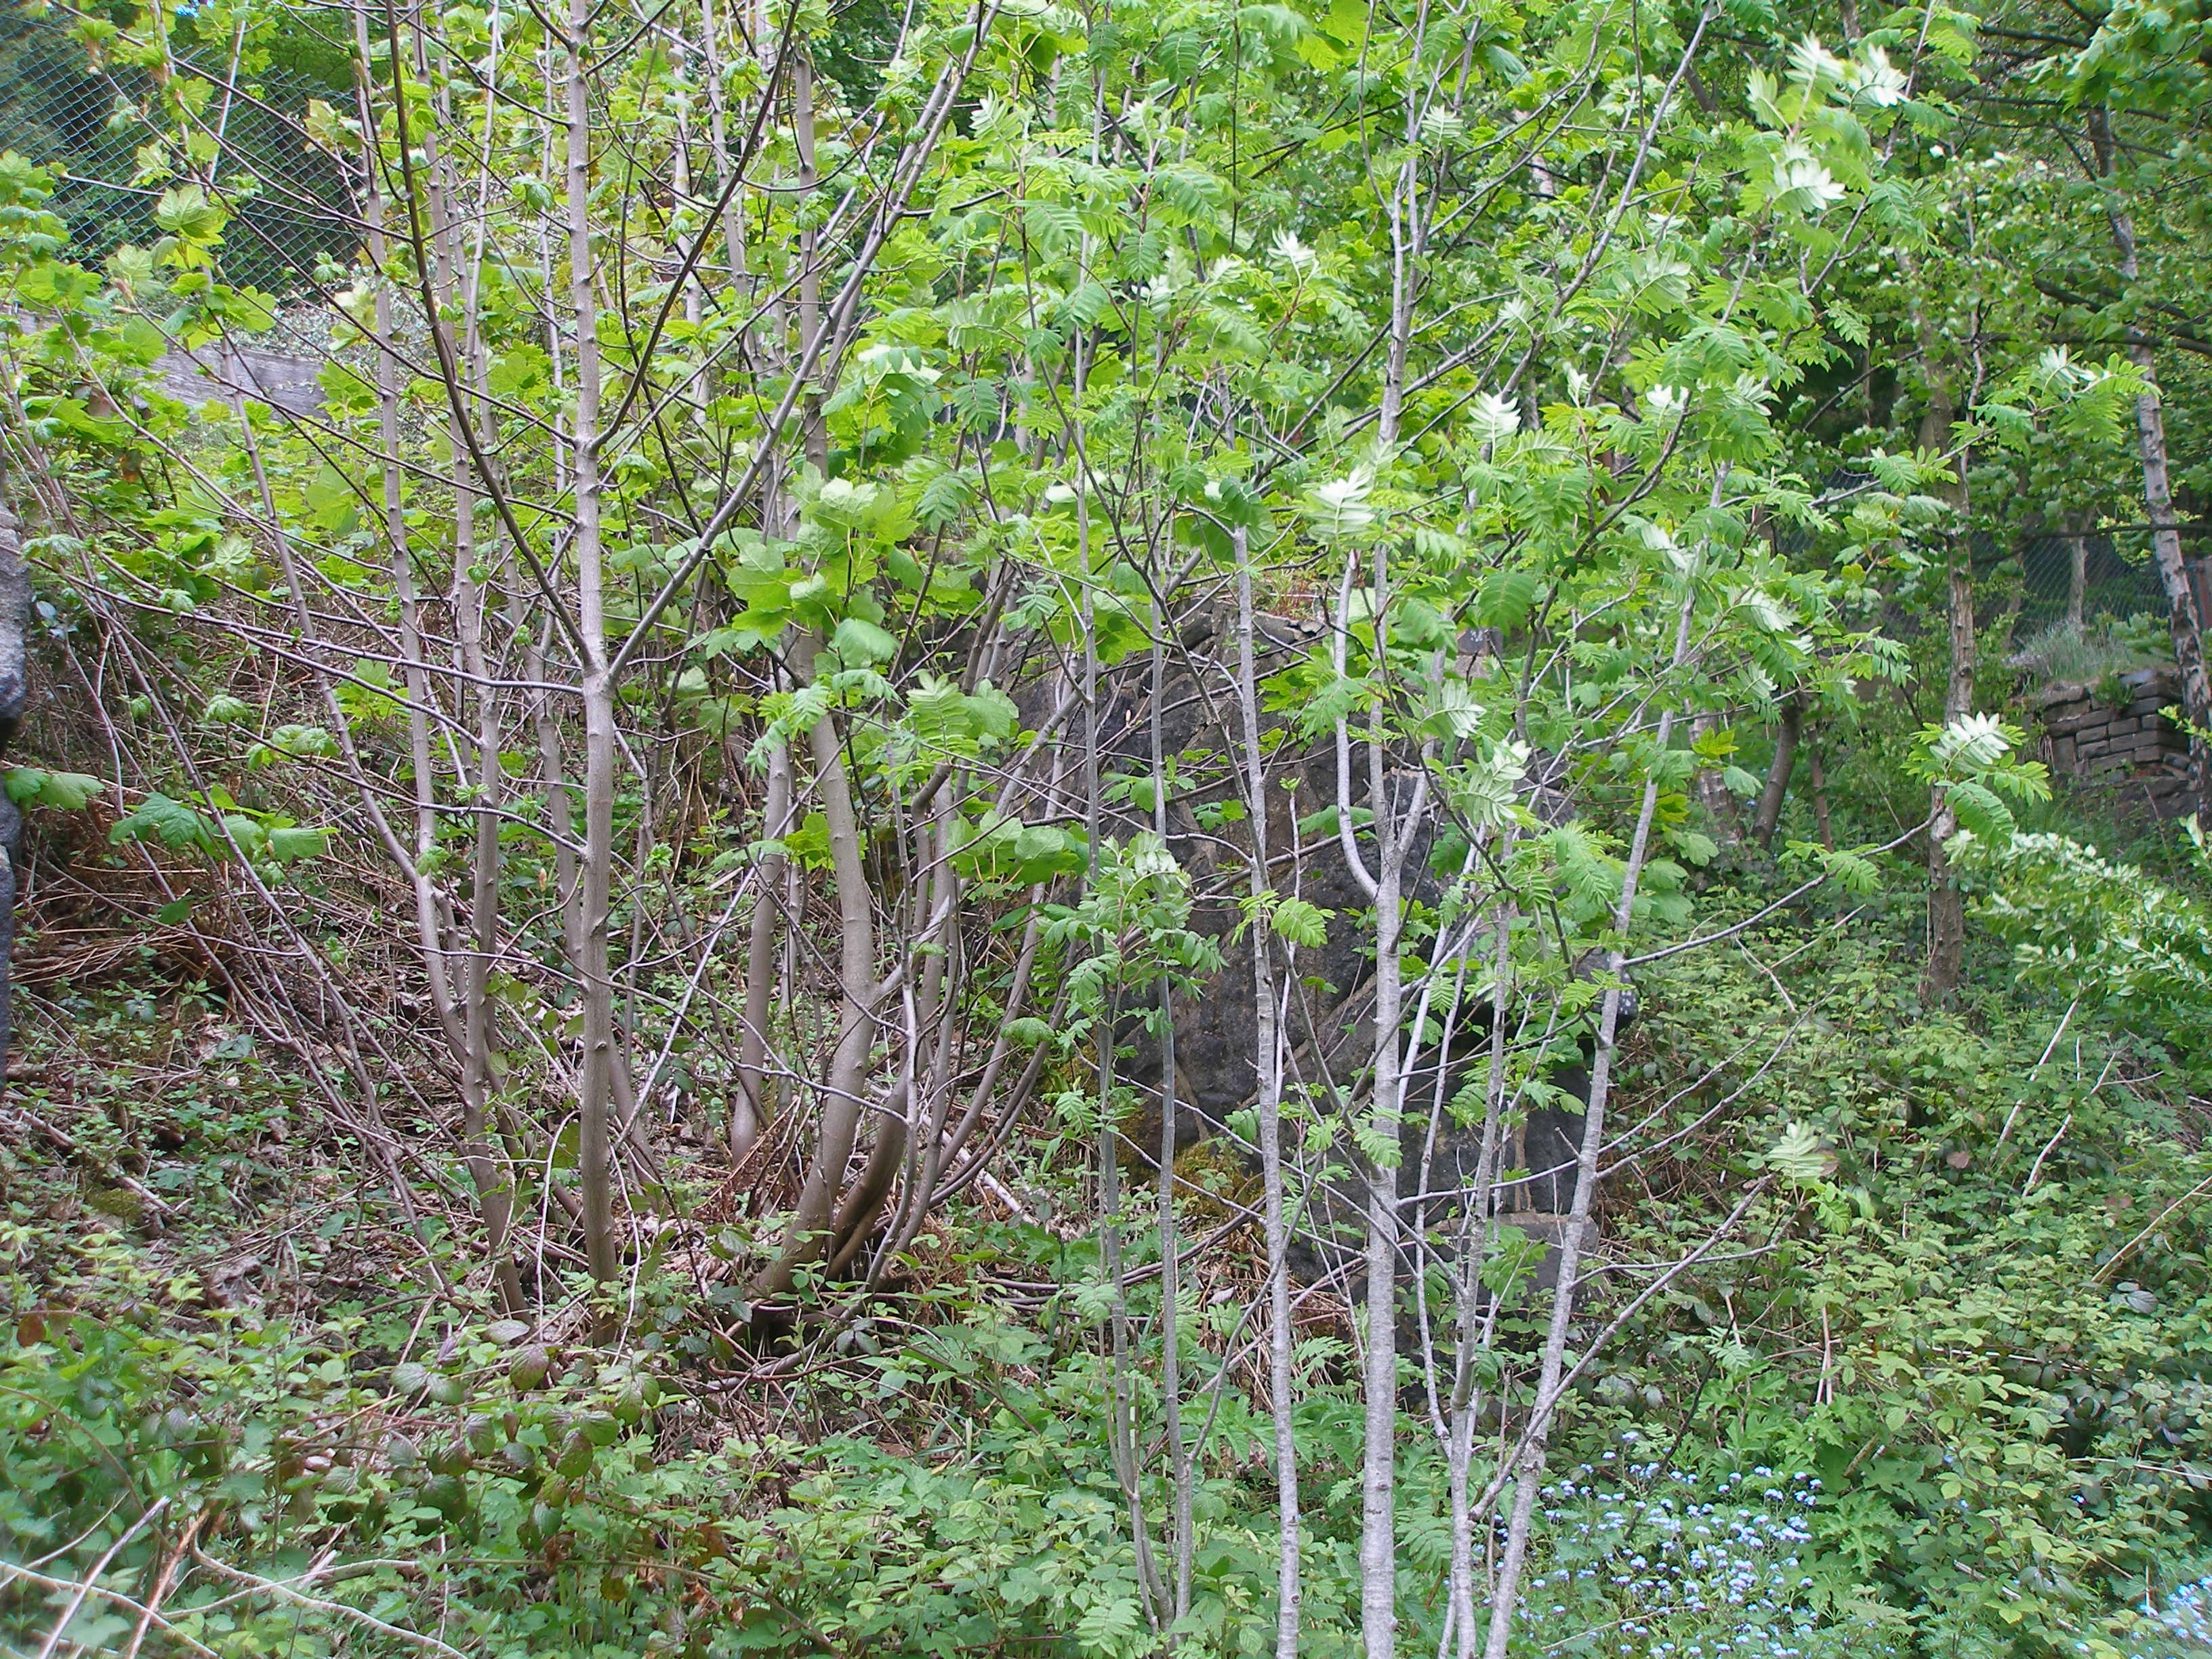
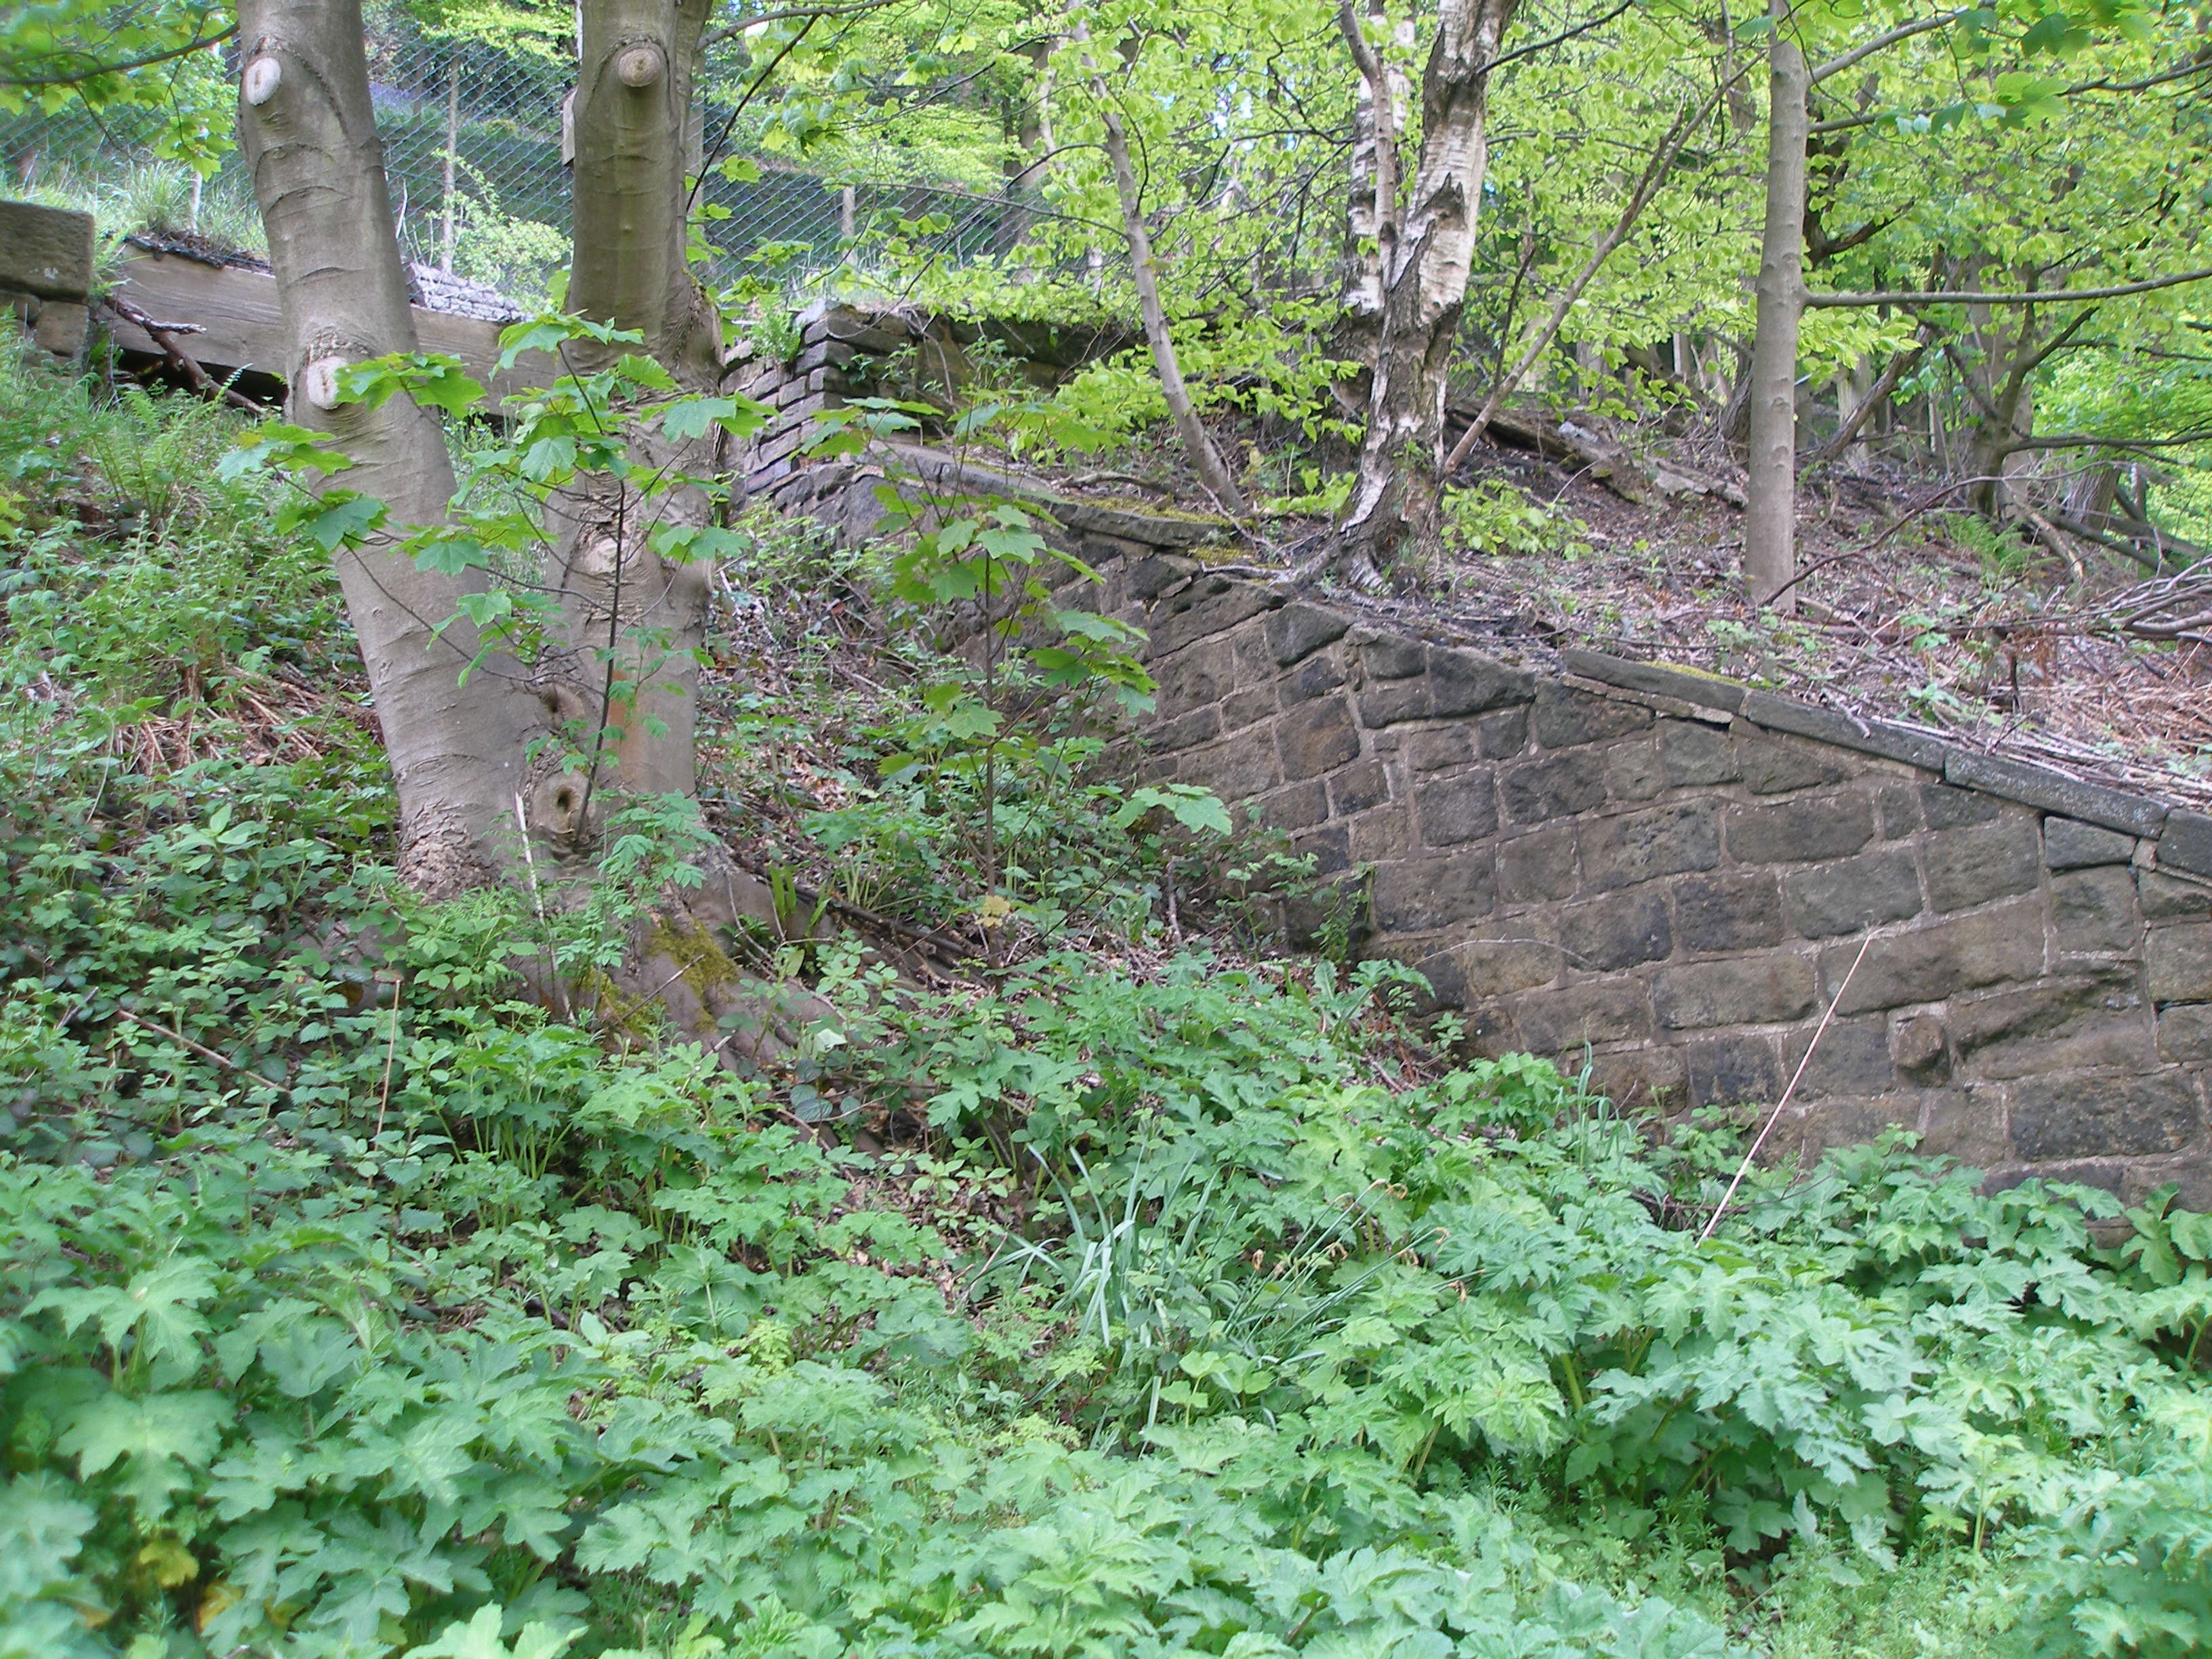
At the top of the steps, a recess is formed in the hillside. This Looking down the steps (towards Leeds) with the railway to
view is looking away from the railway with the steps leading to the right.
down to the right. This area gave access to the mill that used
to be above the railway at this point, & to a footpath to
Upper Eastwood. Click here to see what this area originally
looked like.
Photo 12:
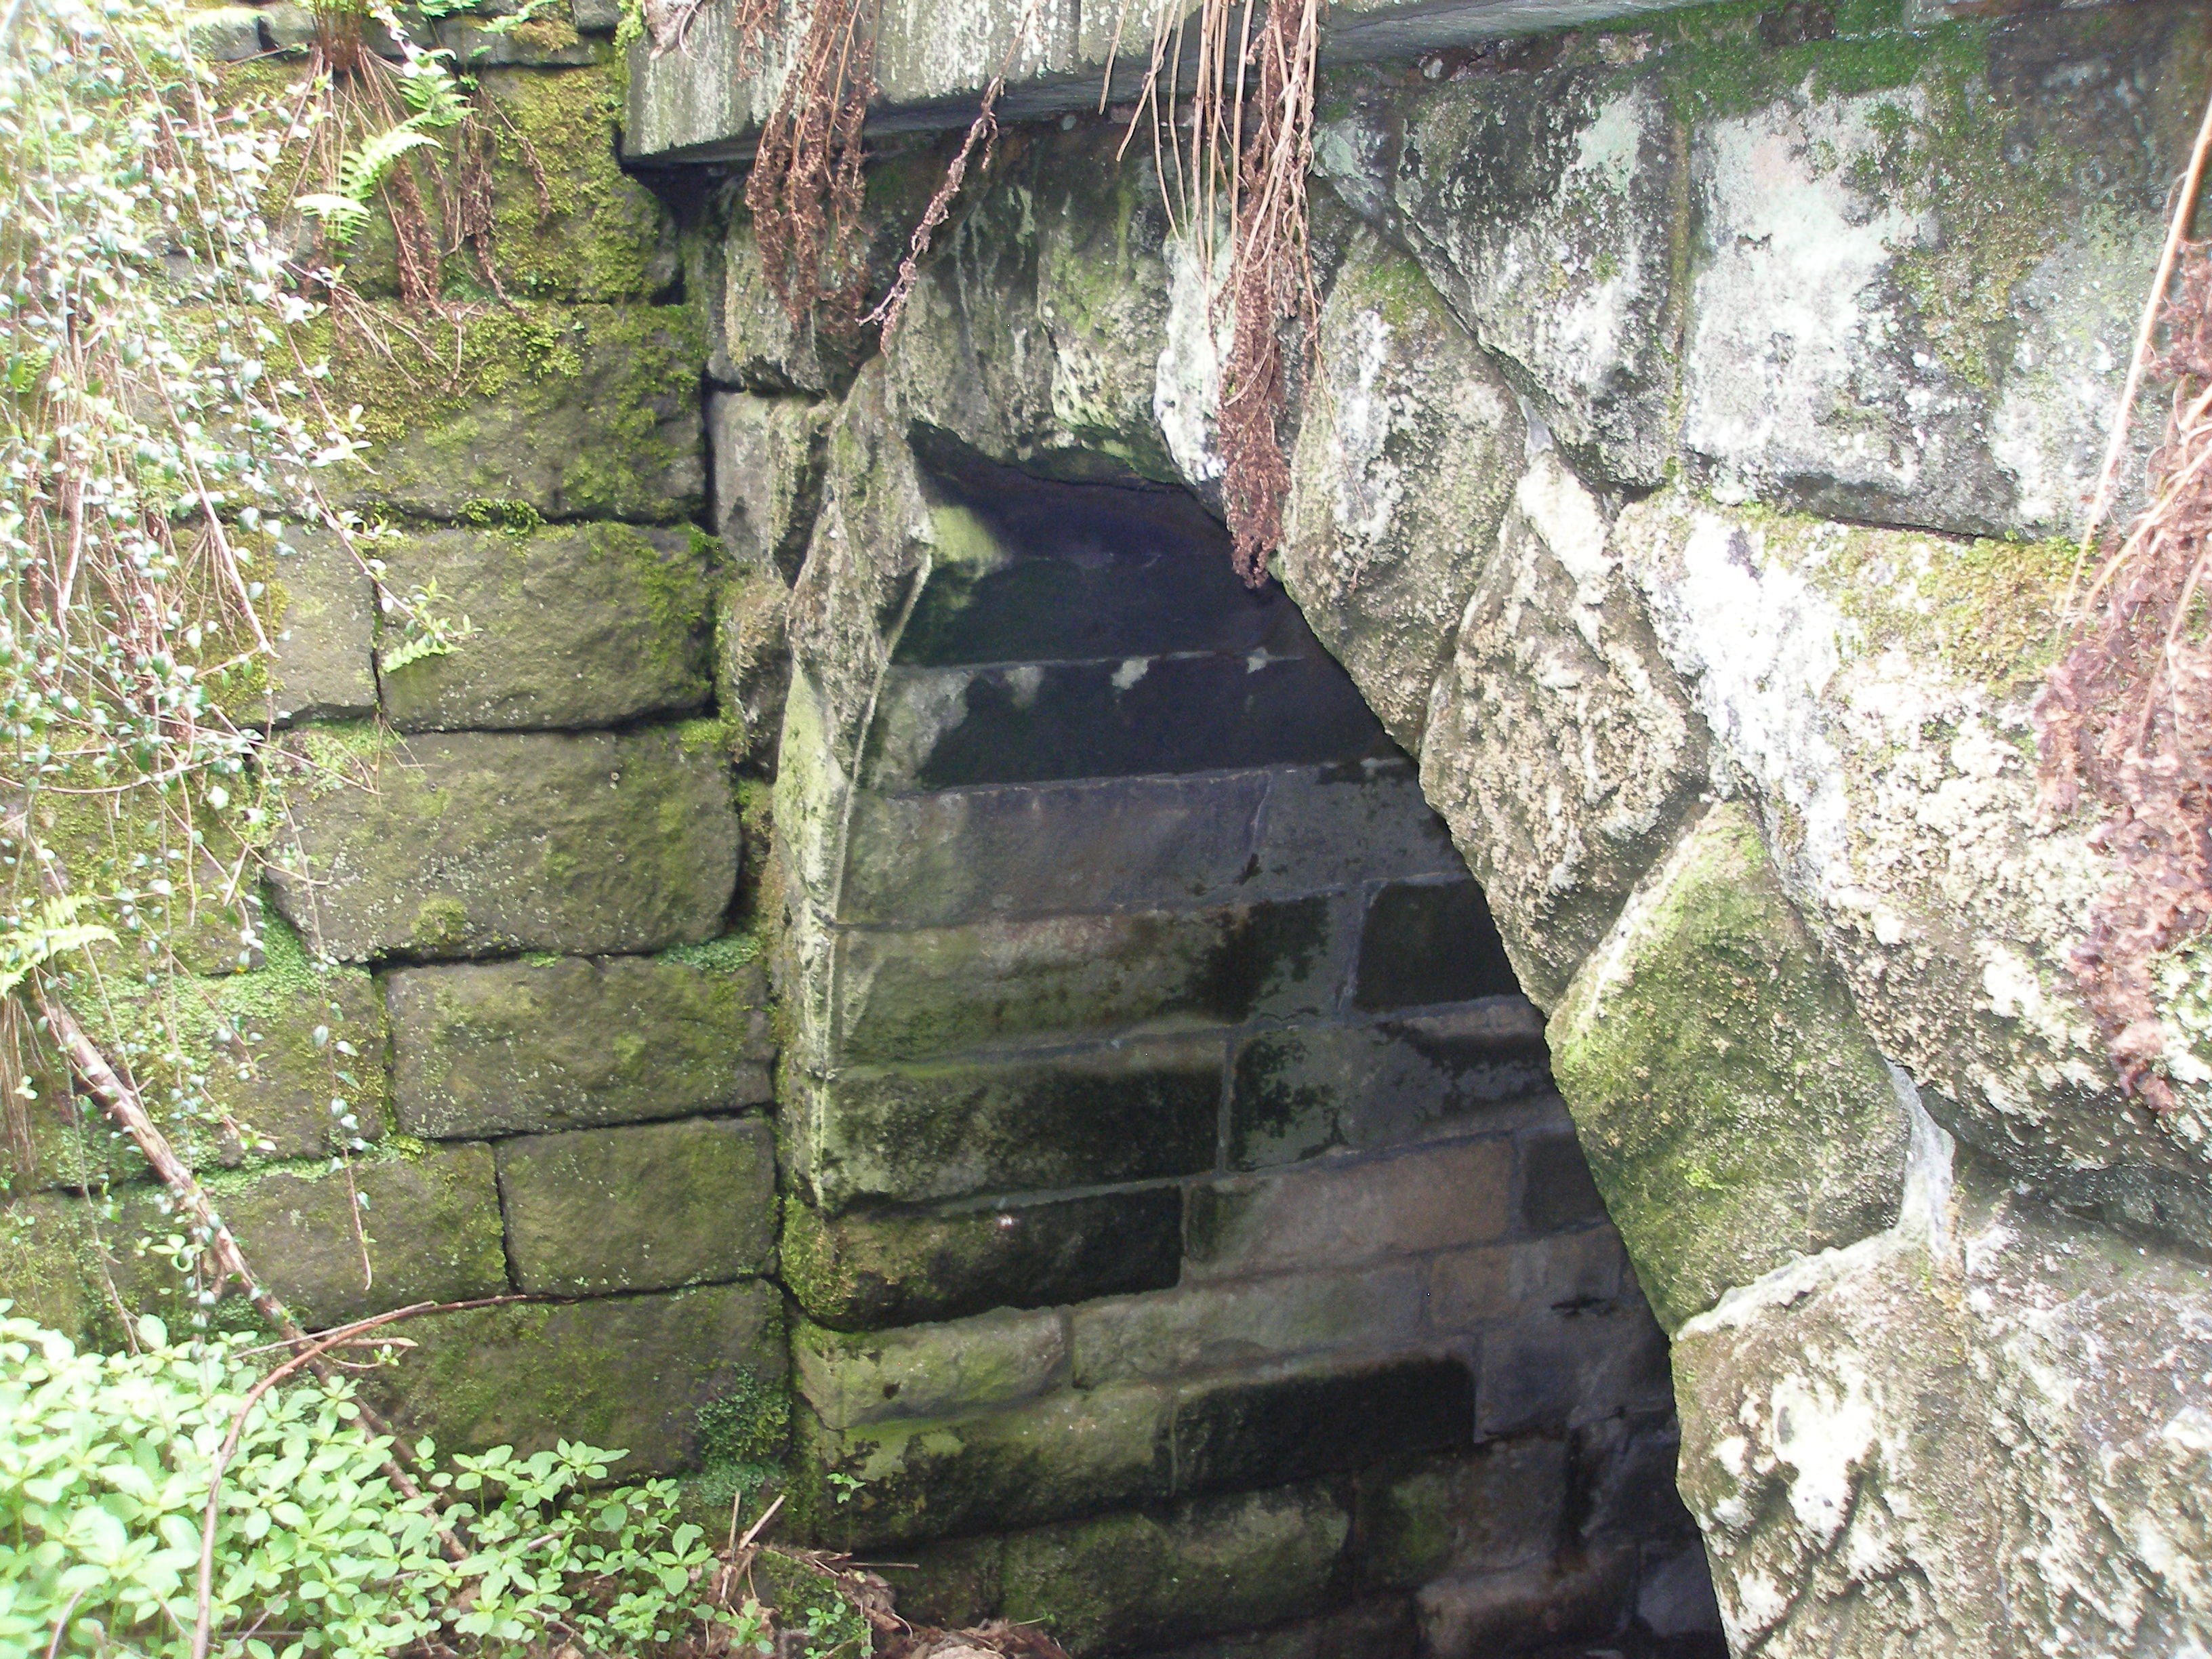
Detail of the exit arch from Bridge 115, at the bottom of the steps
The third arch in the sequence is 'blind'.
Photo 13: Photo 14:
The coal drops 'proper' are currently covered in verdant greenery.

Examination of old photos shows that the areas covered green and yellow on the above map were two rows of terraced houses, and were demolished around 1960. The modern bus lay-by now occupies the site of these two rows.
Photo 15: Photo 16:
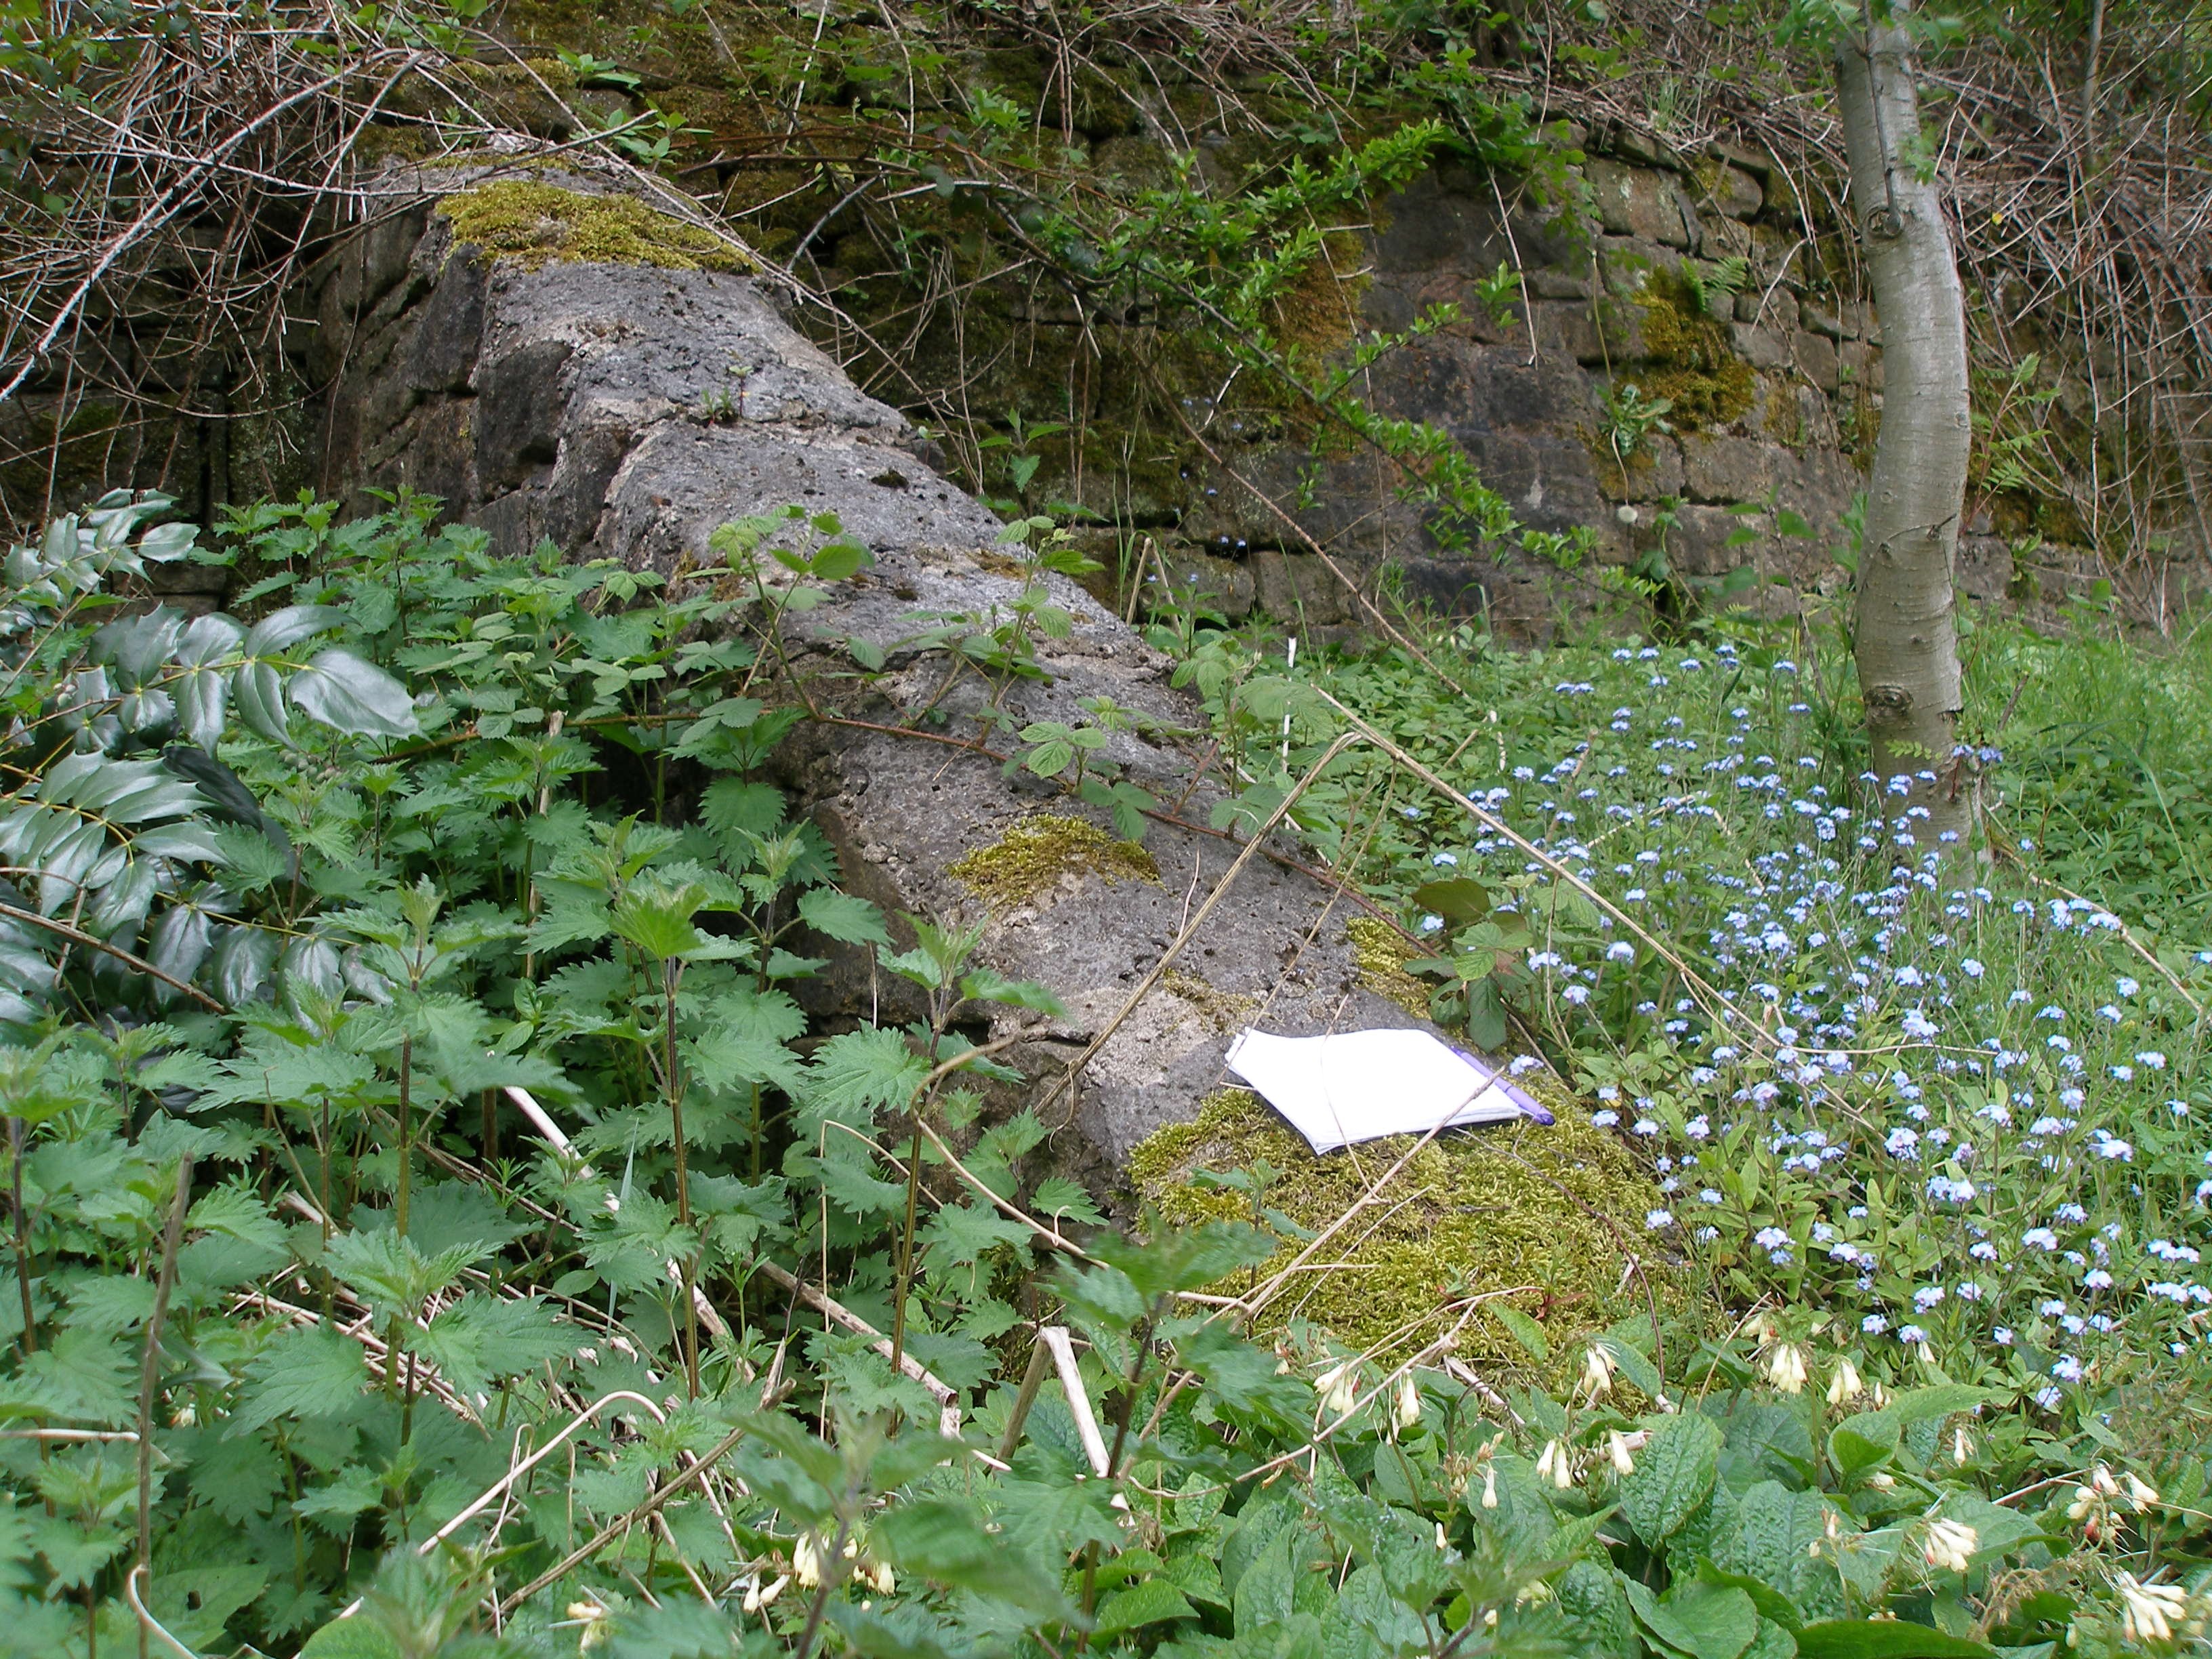
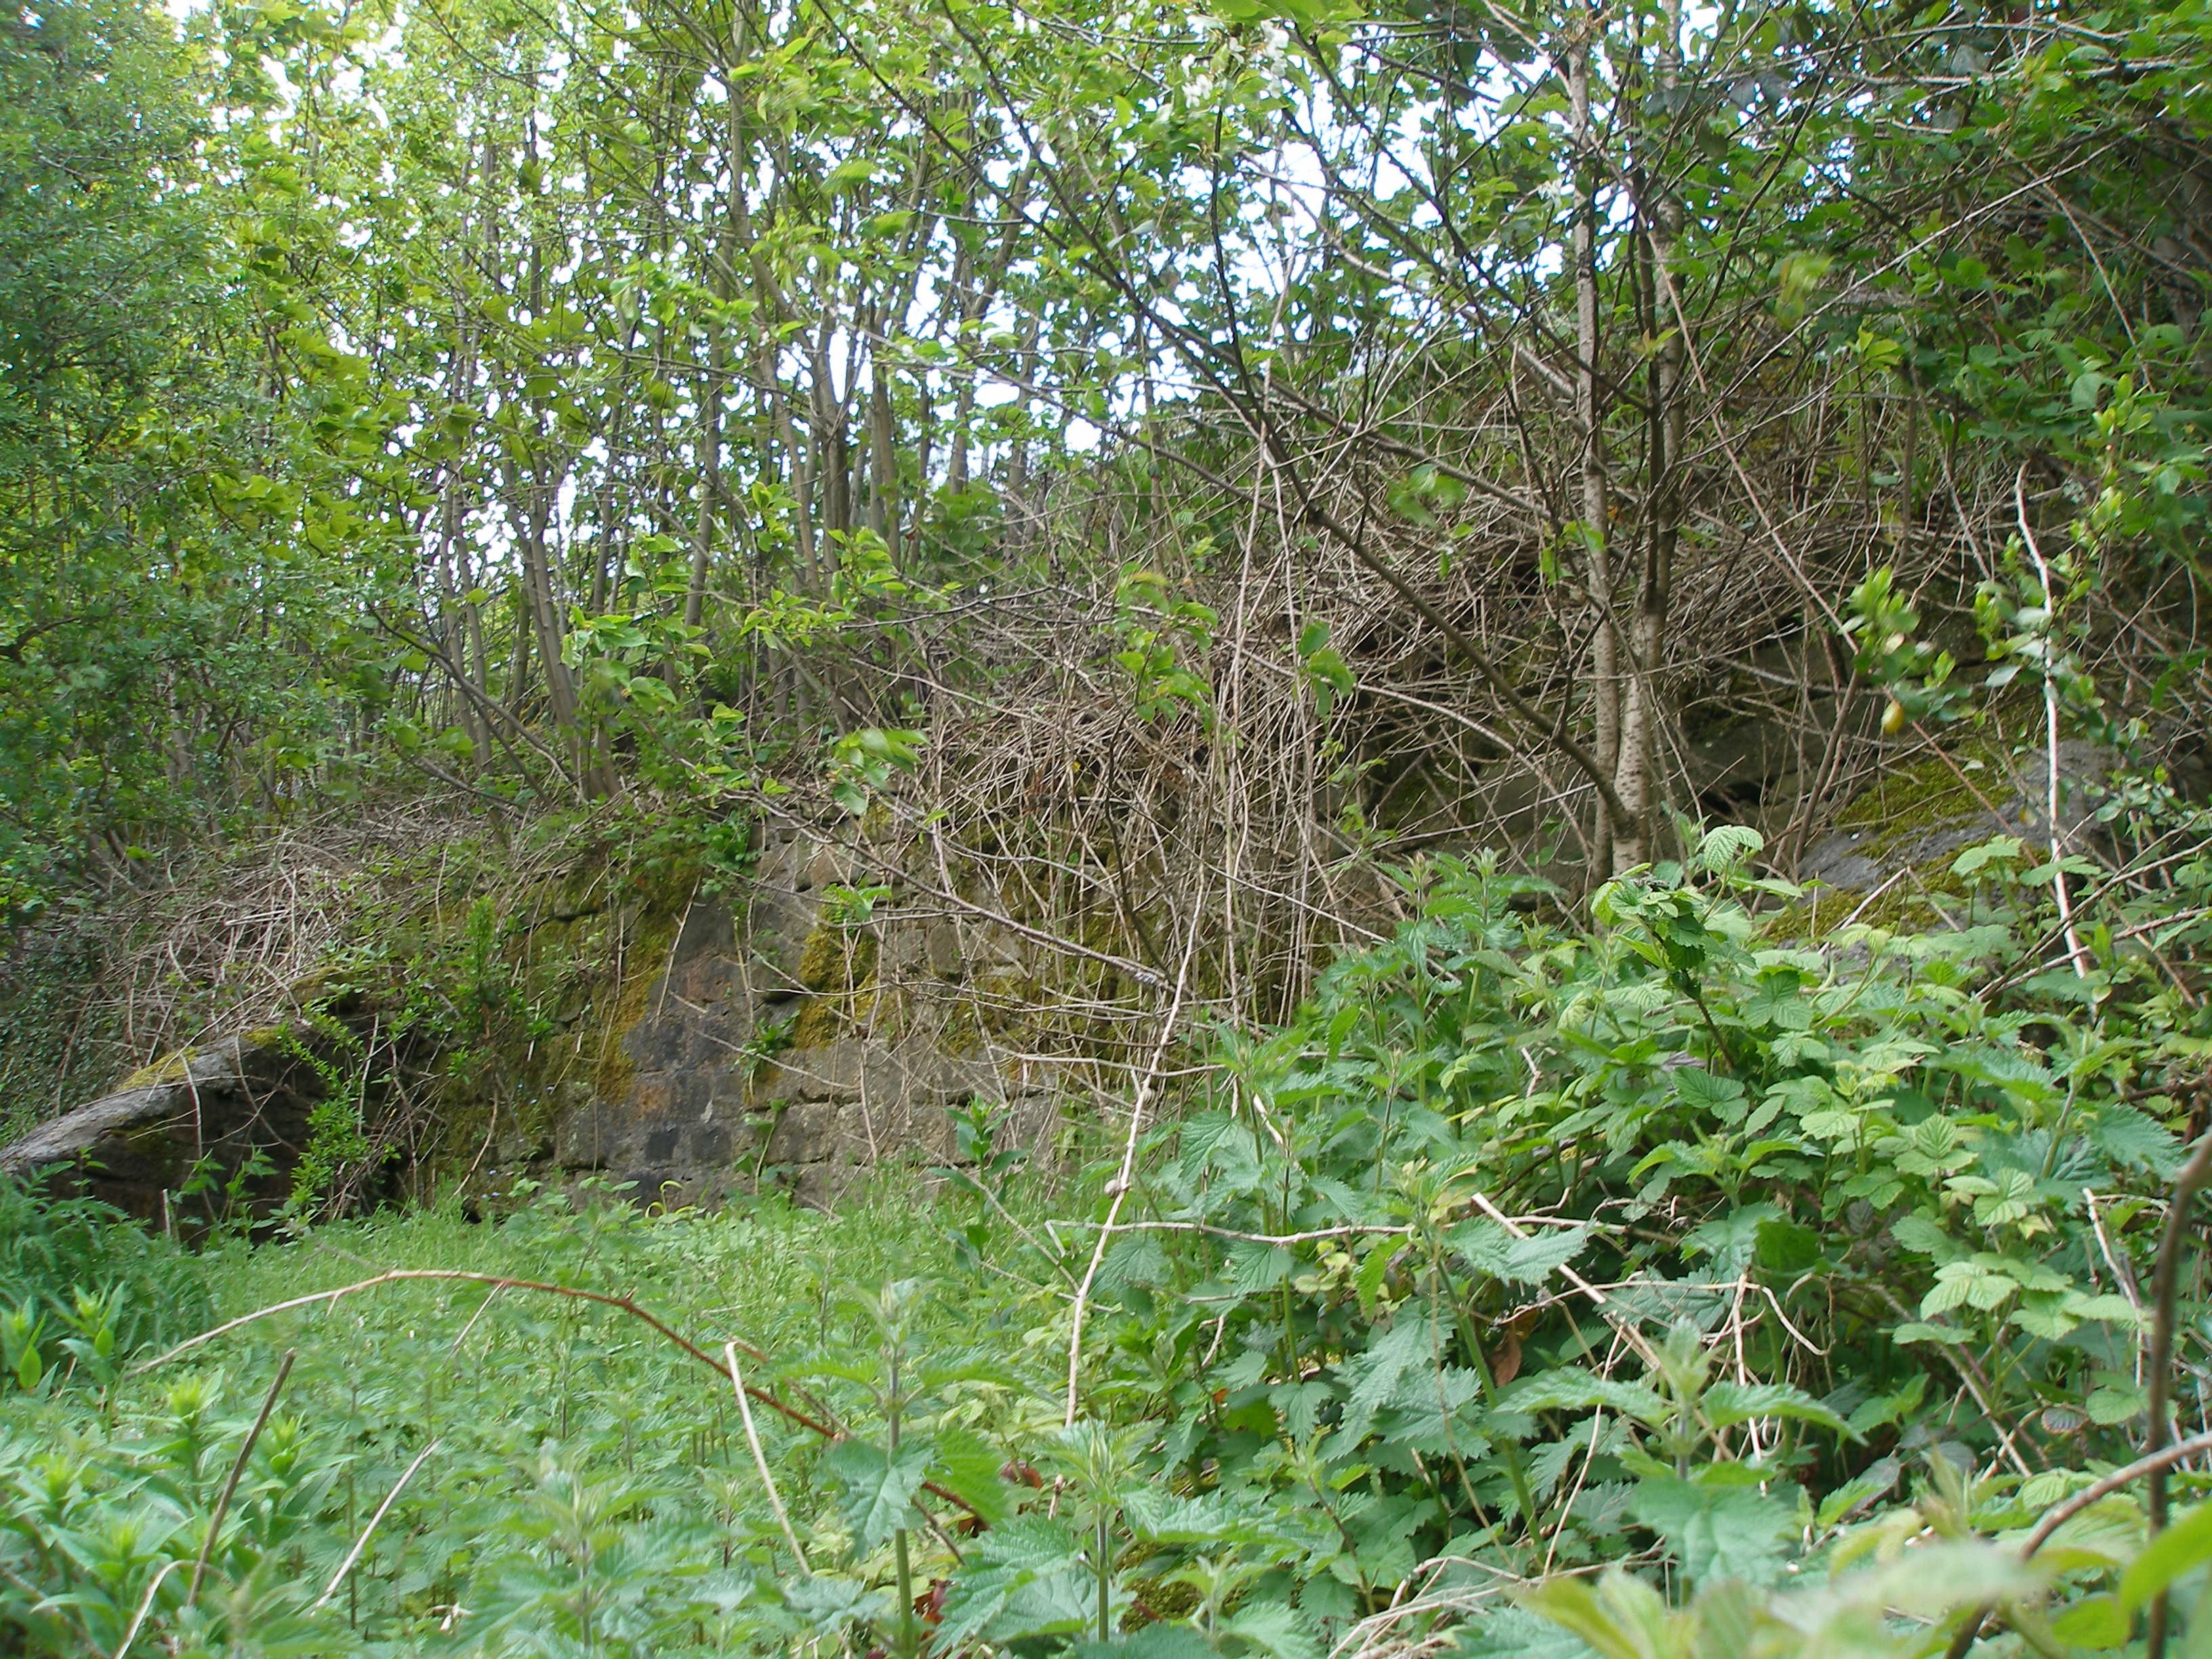
Photo 17: Photo 18:
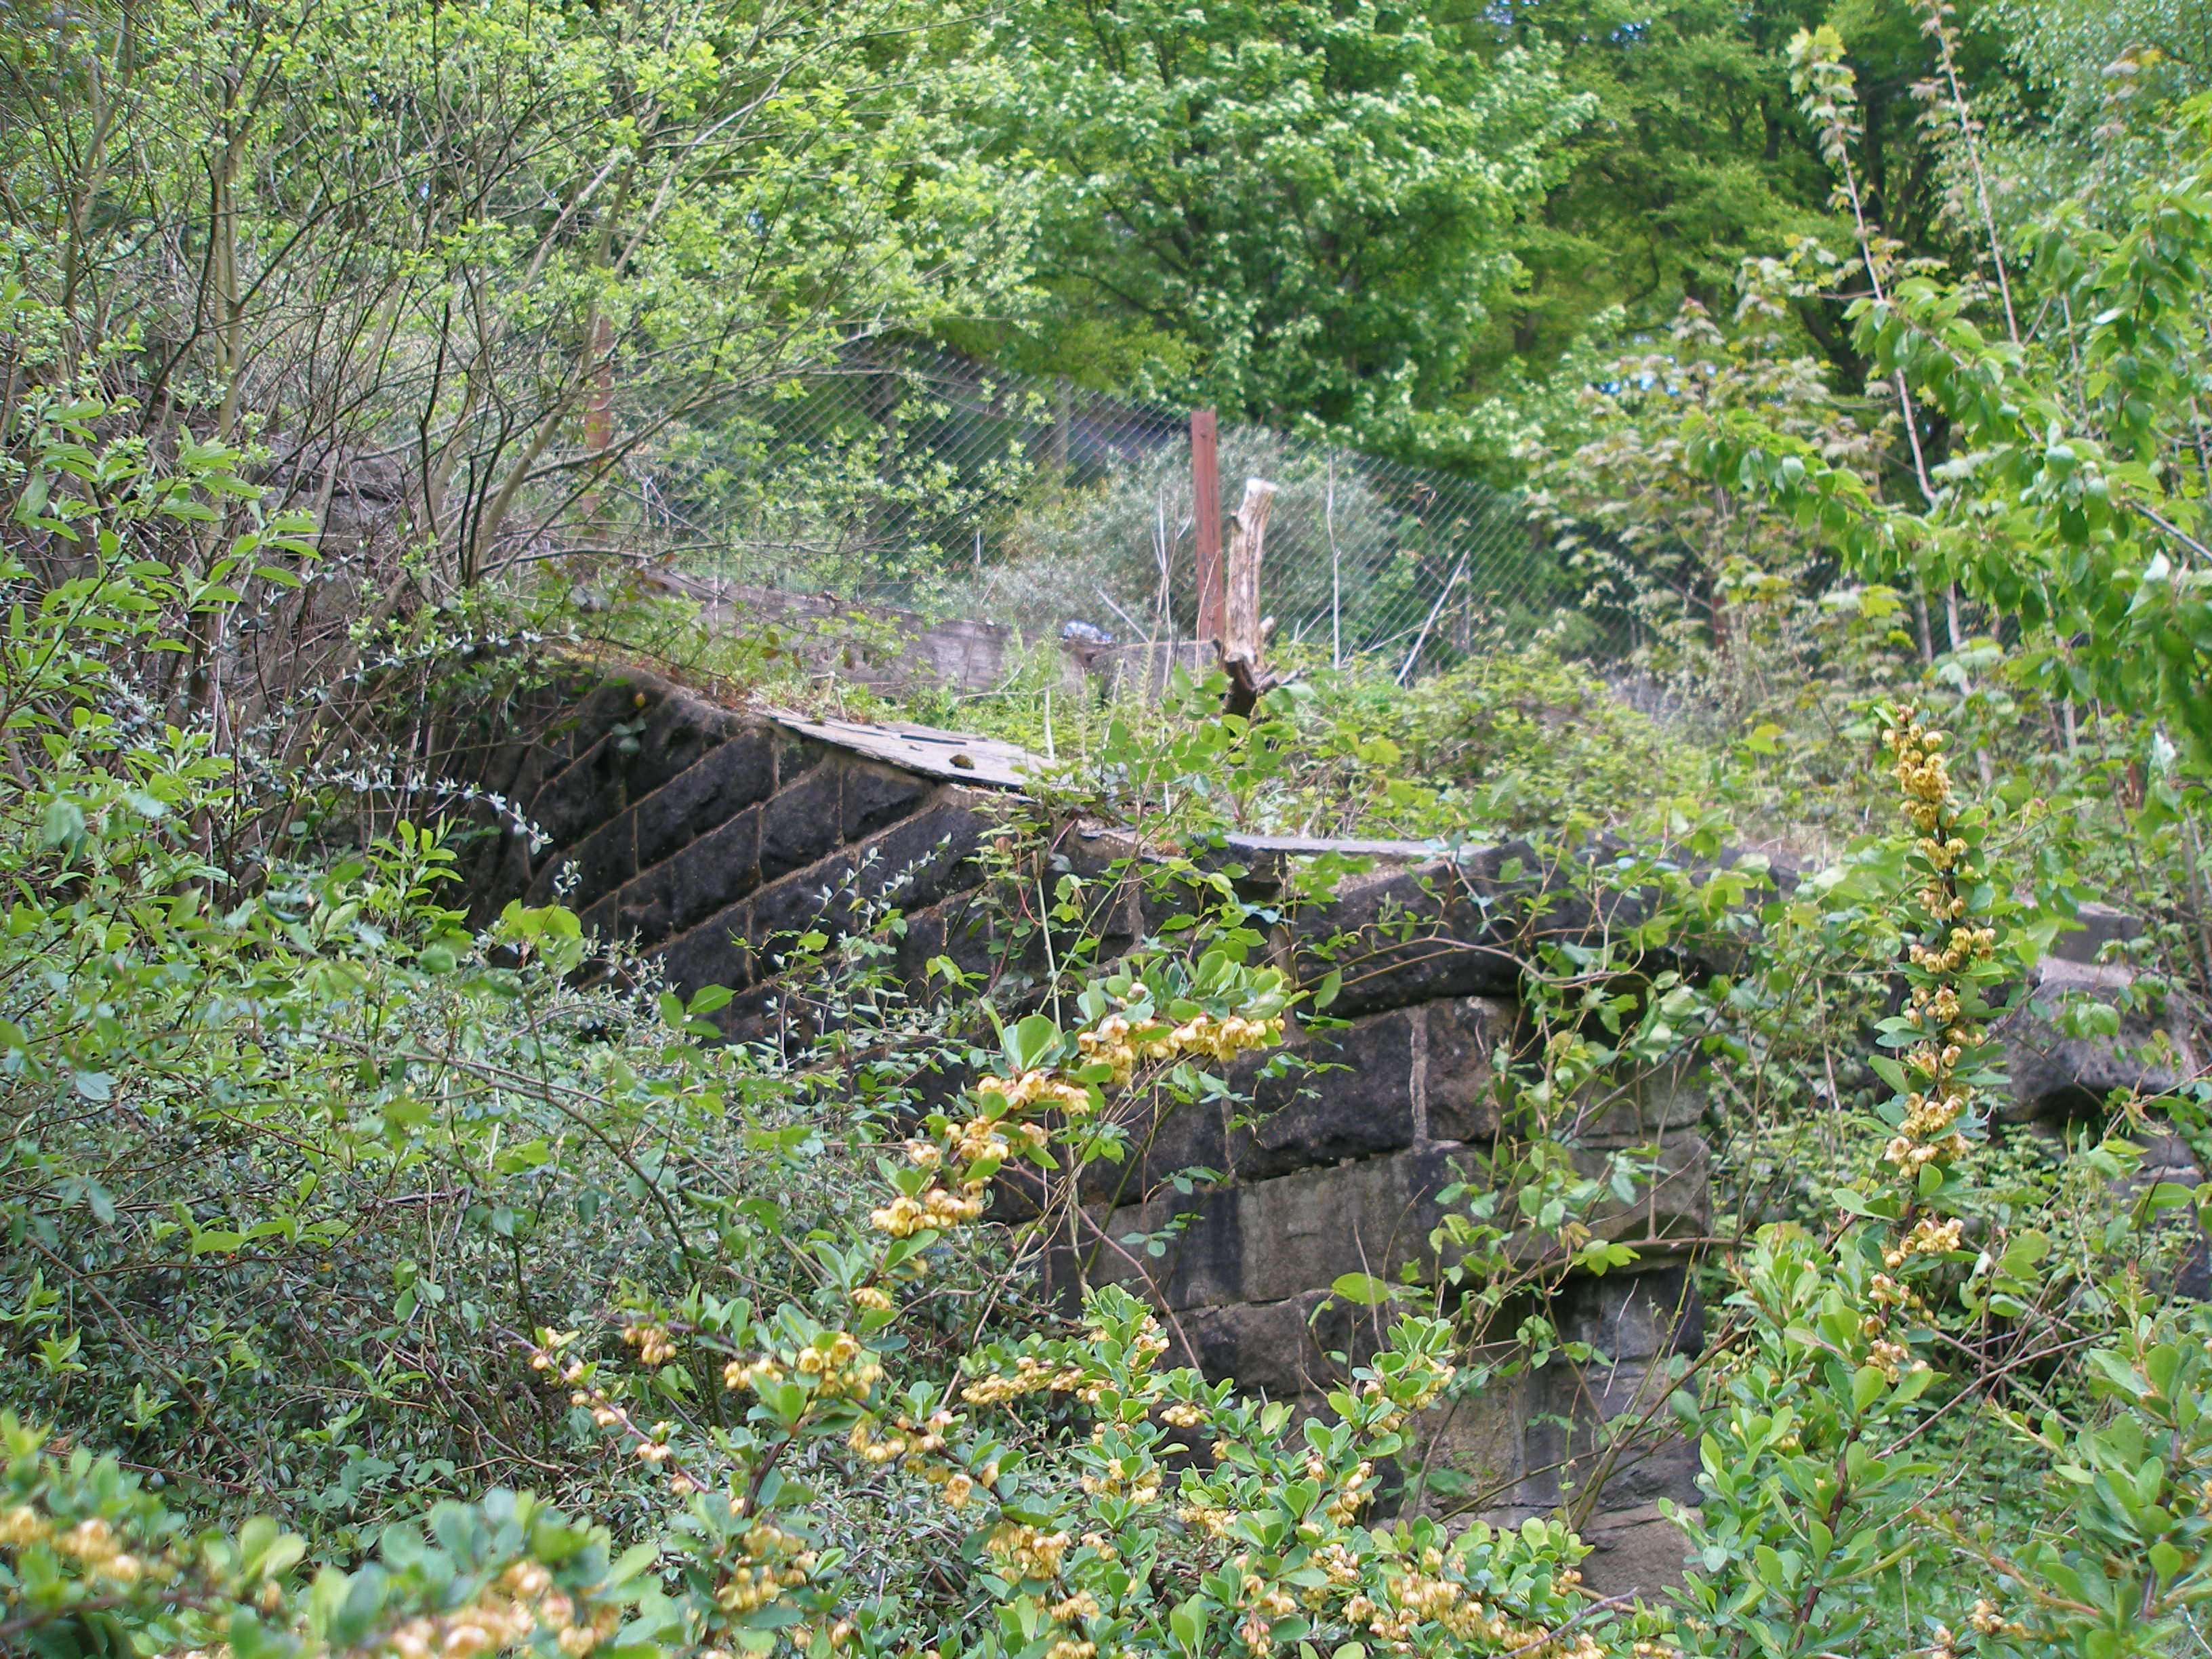
Photo 19: Photo 20:
Click here for a reminder of how this area looked back in the late 1950s.
Photo 21: Photo 22:
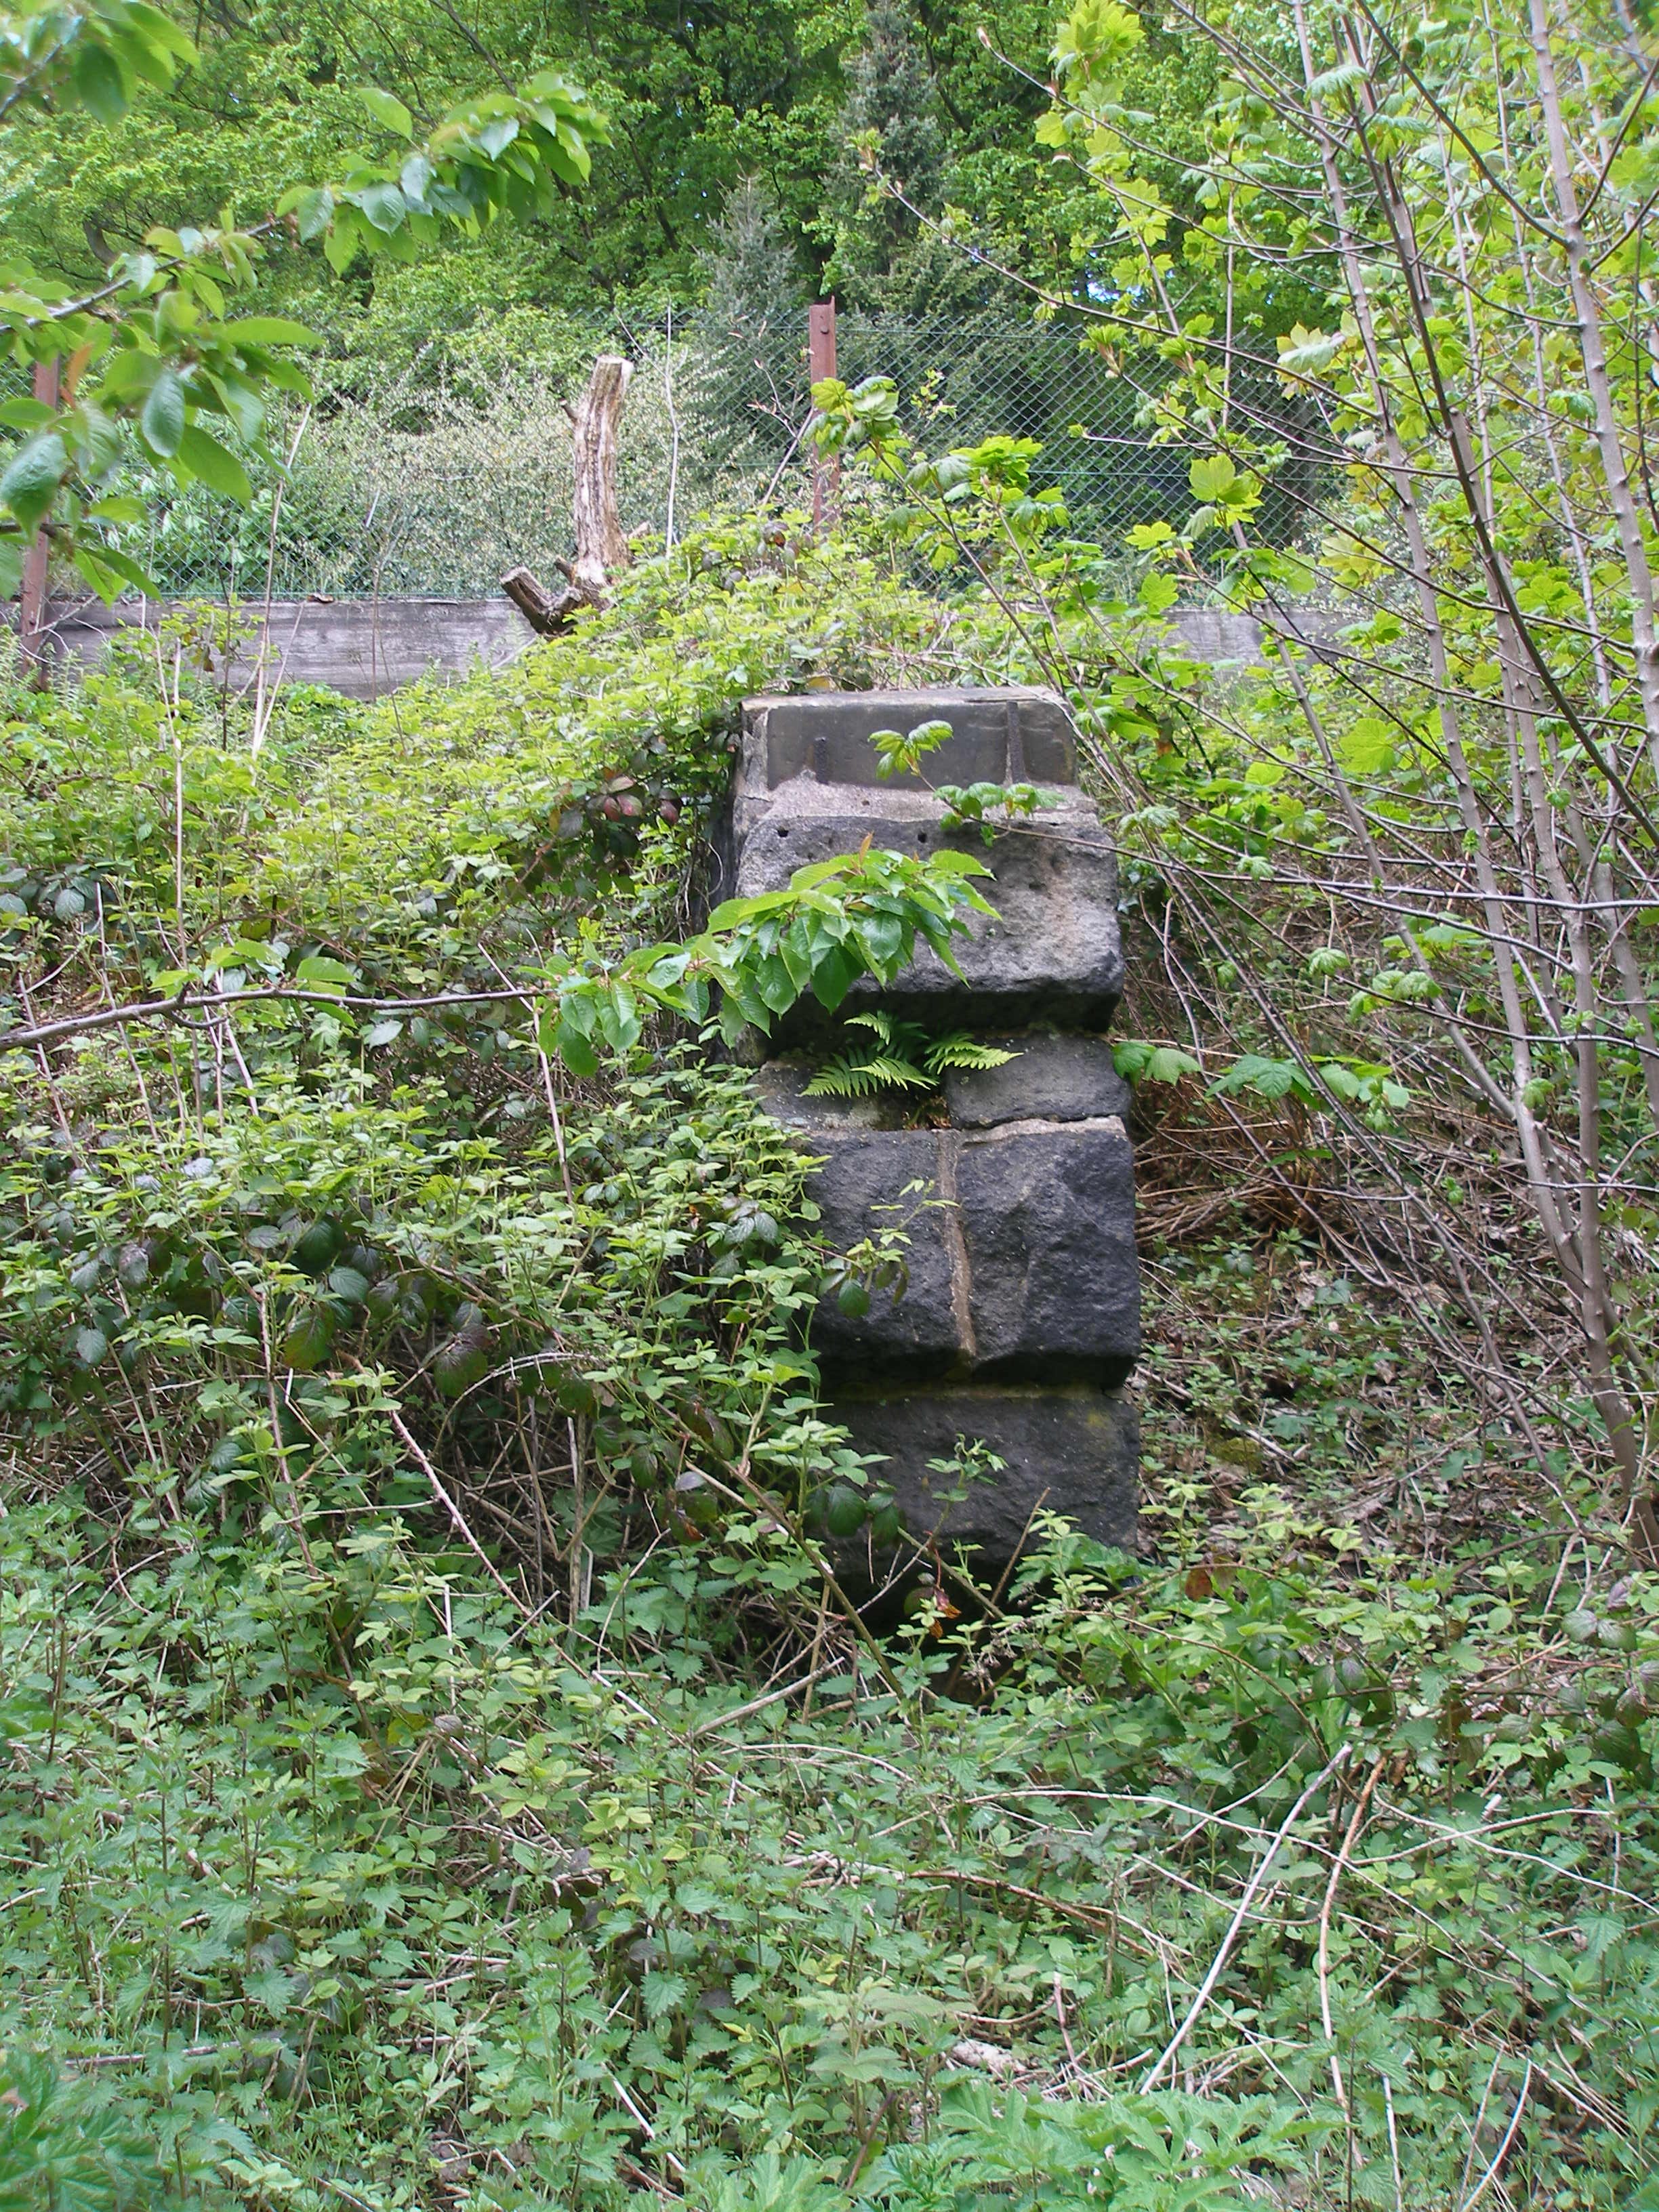
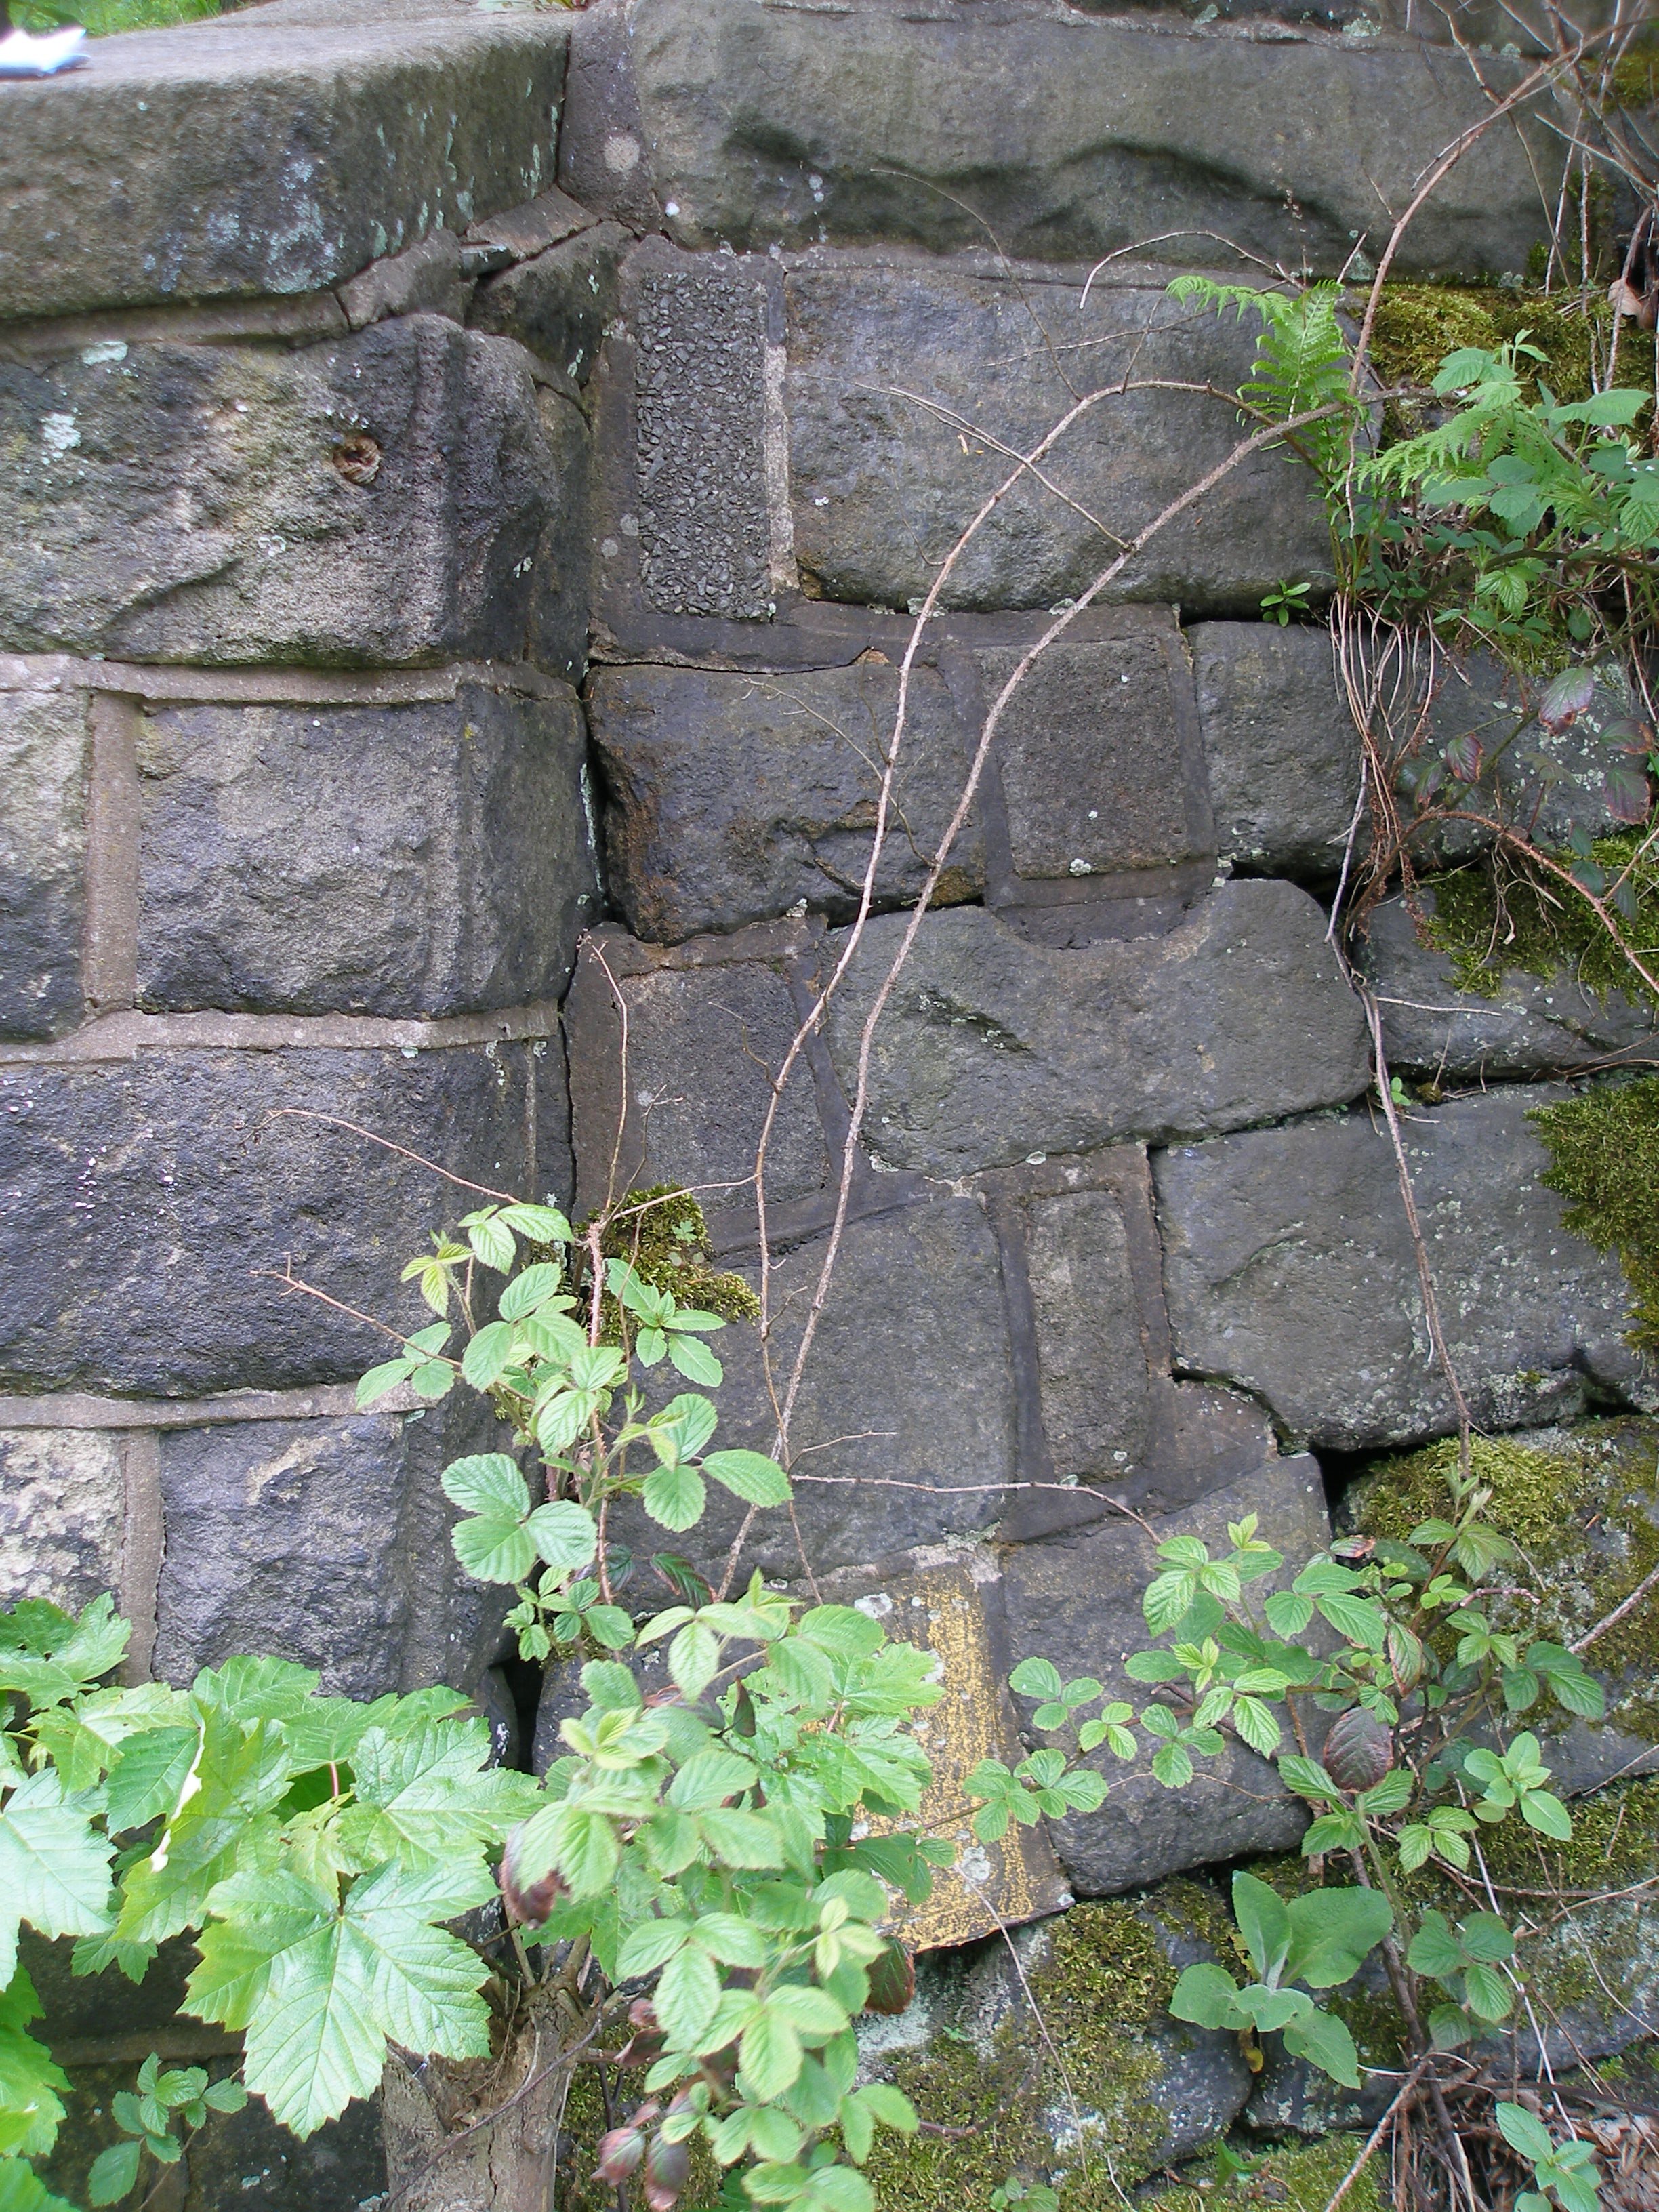
Photo 23: Photo 24:
It is possible to use the track up from the old station site to view the coal drop area from above the railway.
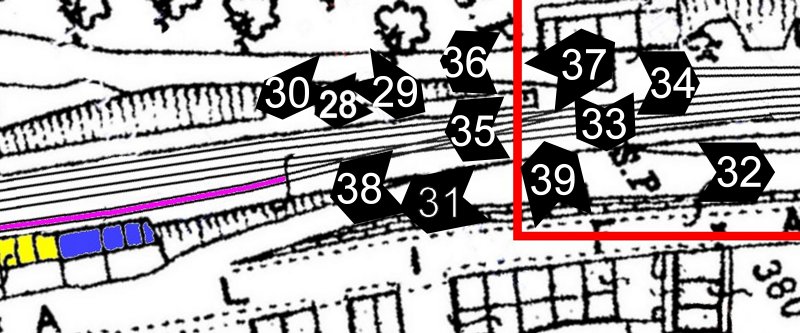
Photo 25: Photo 26:
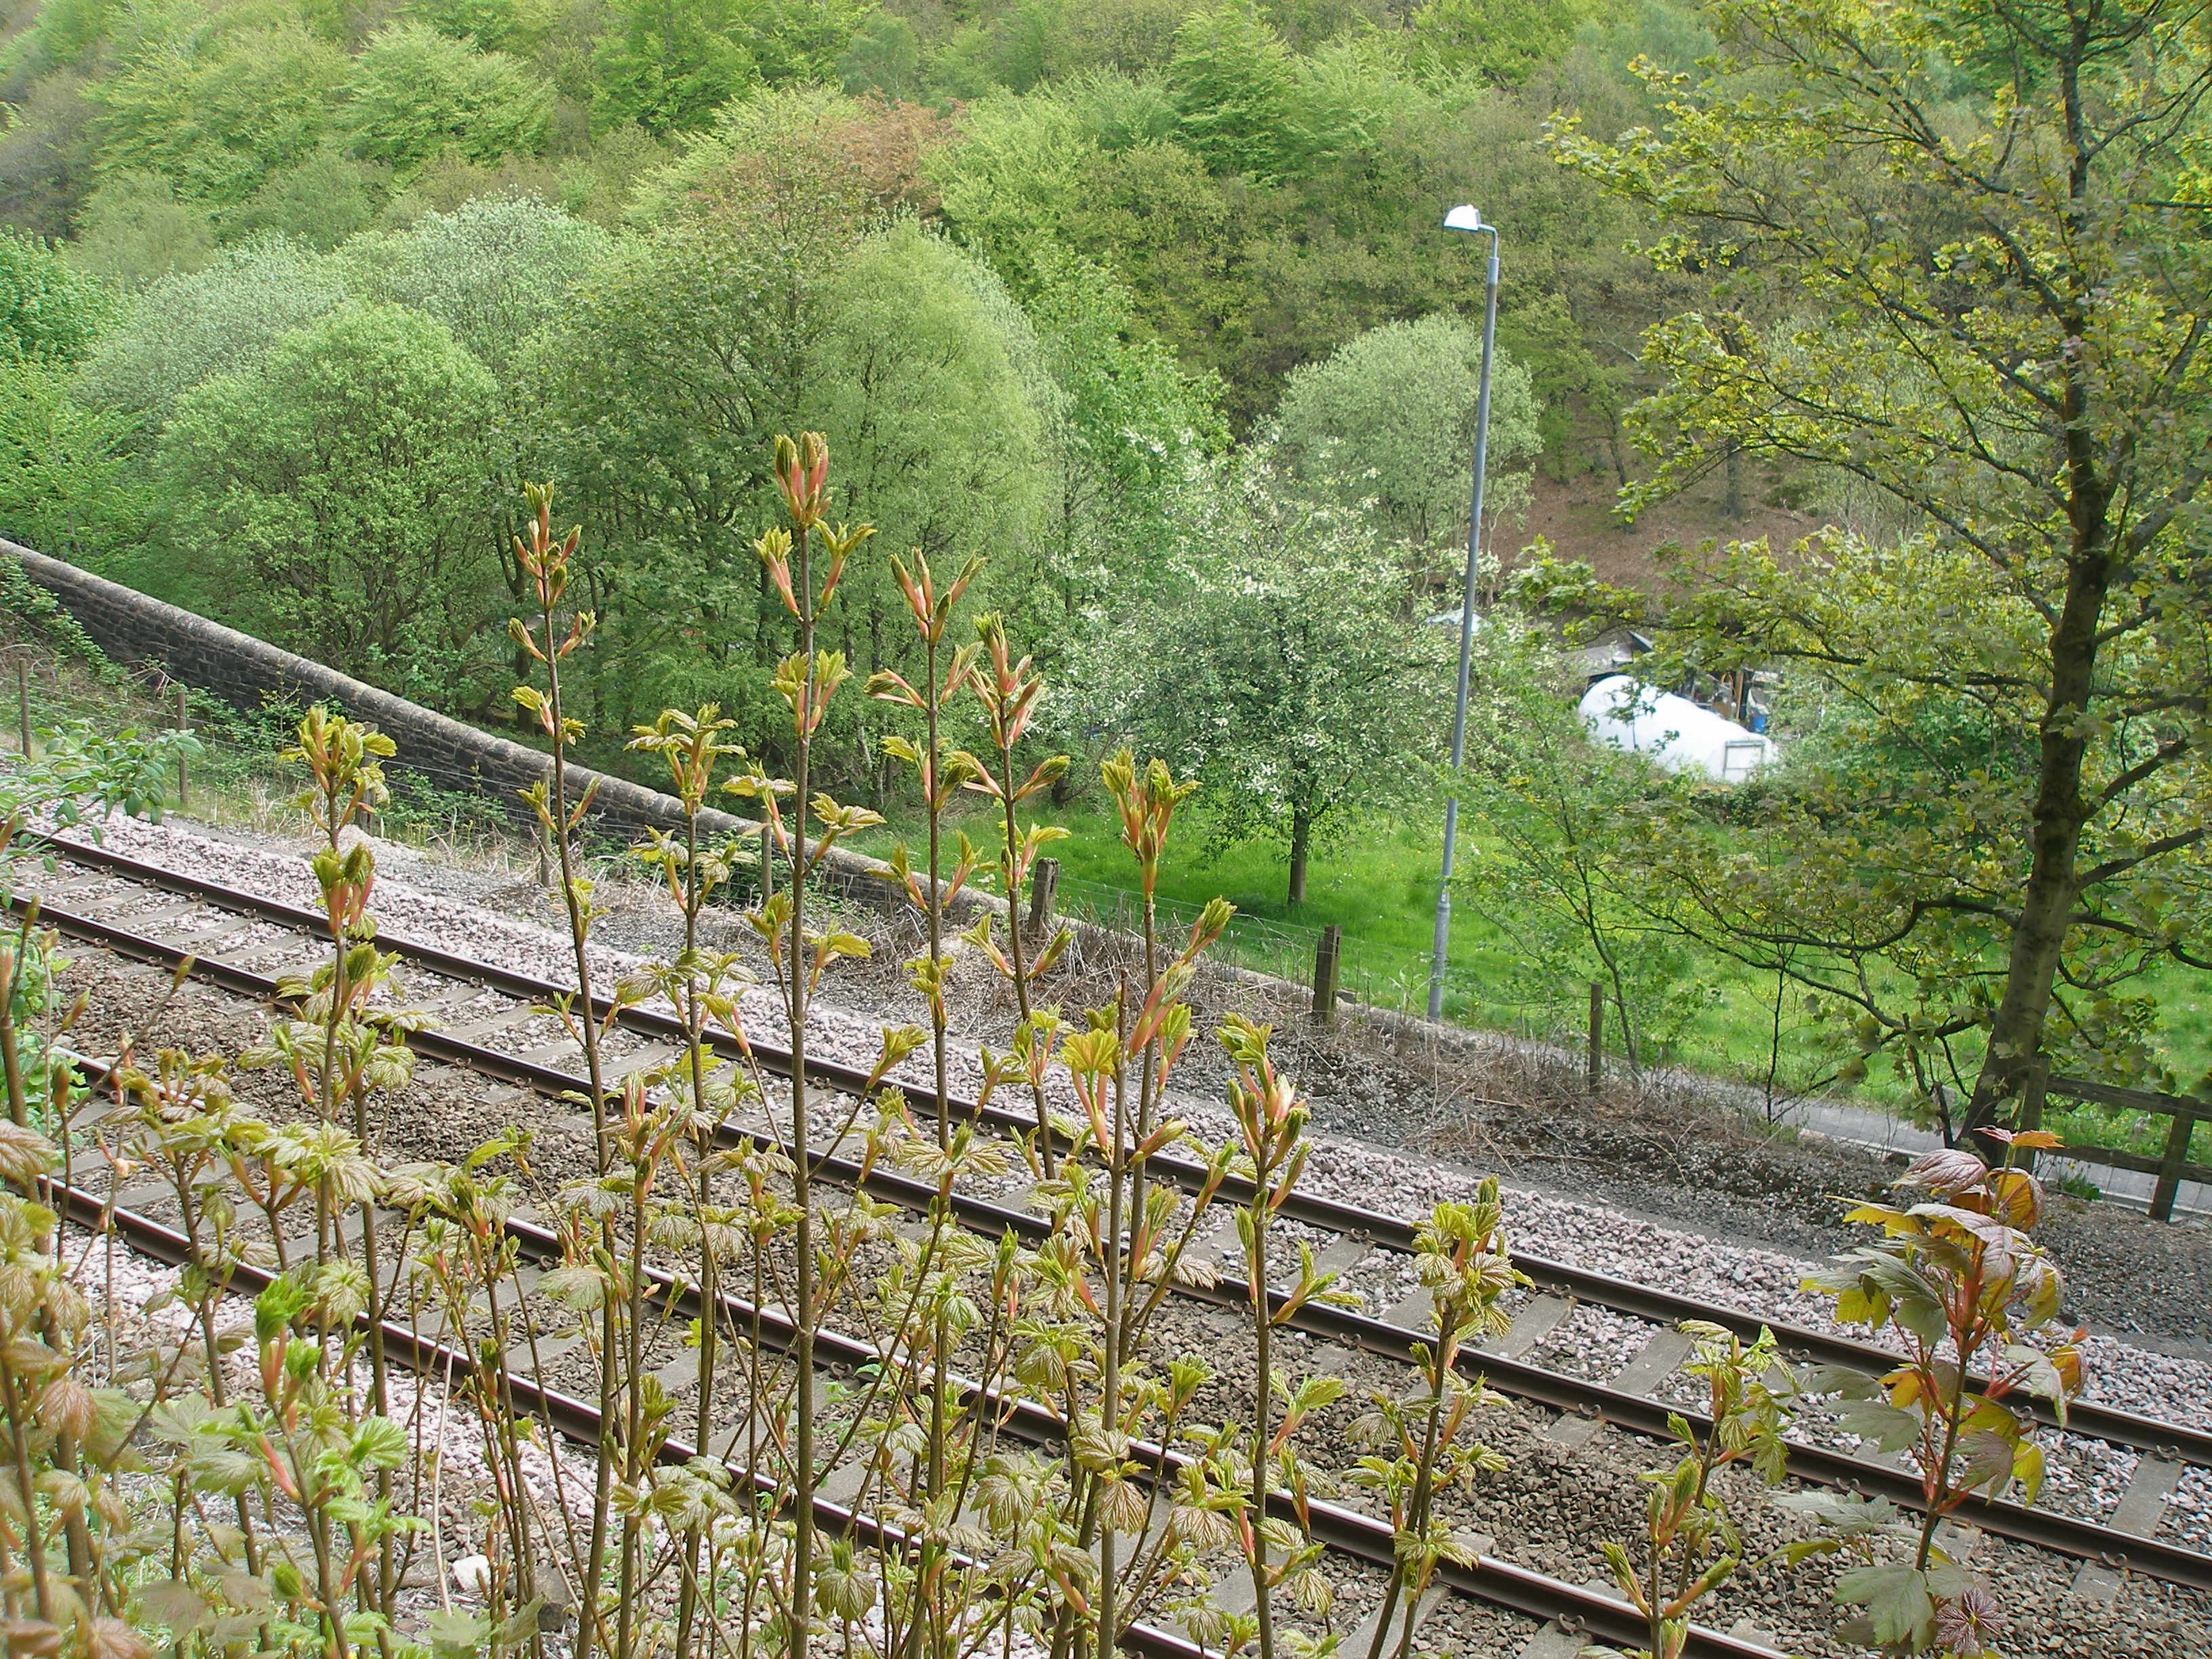
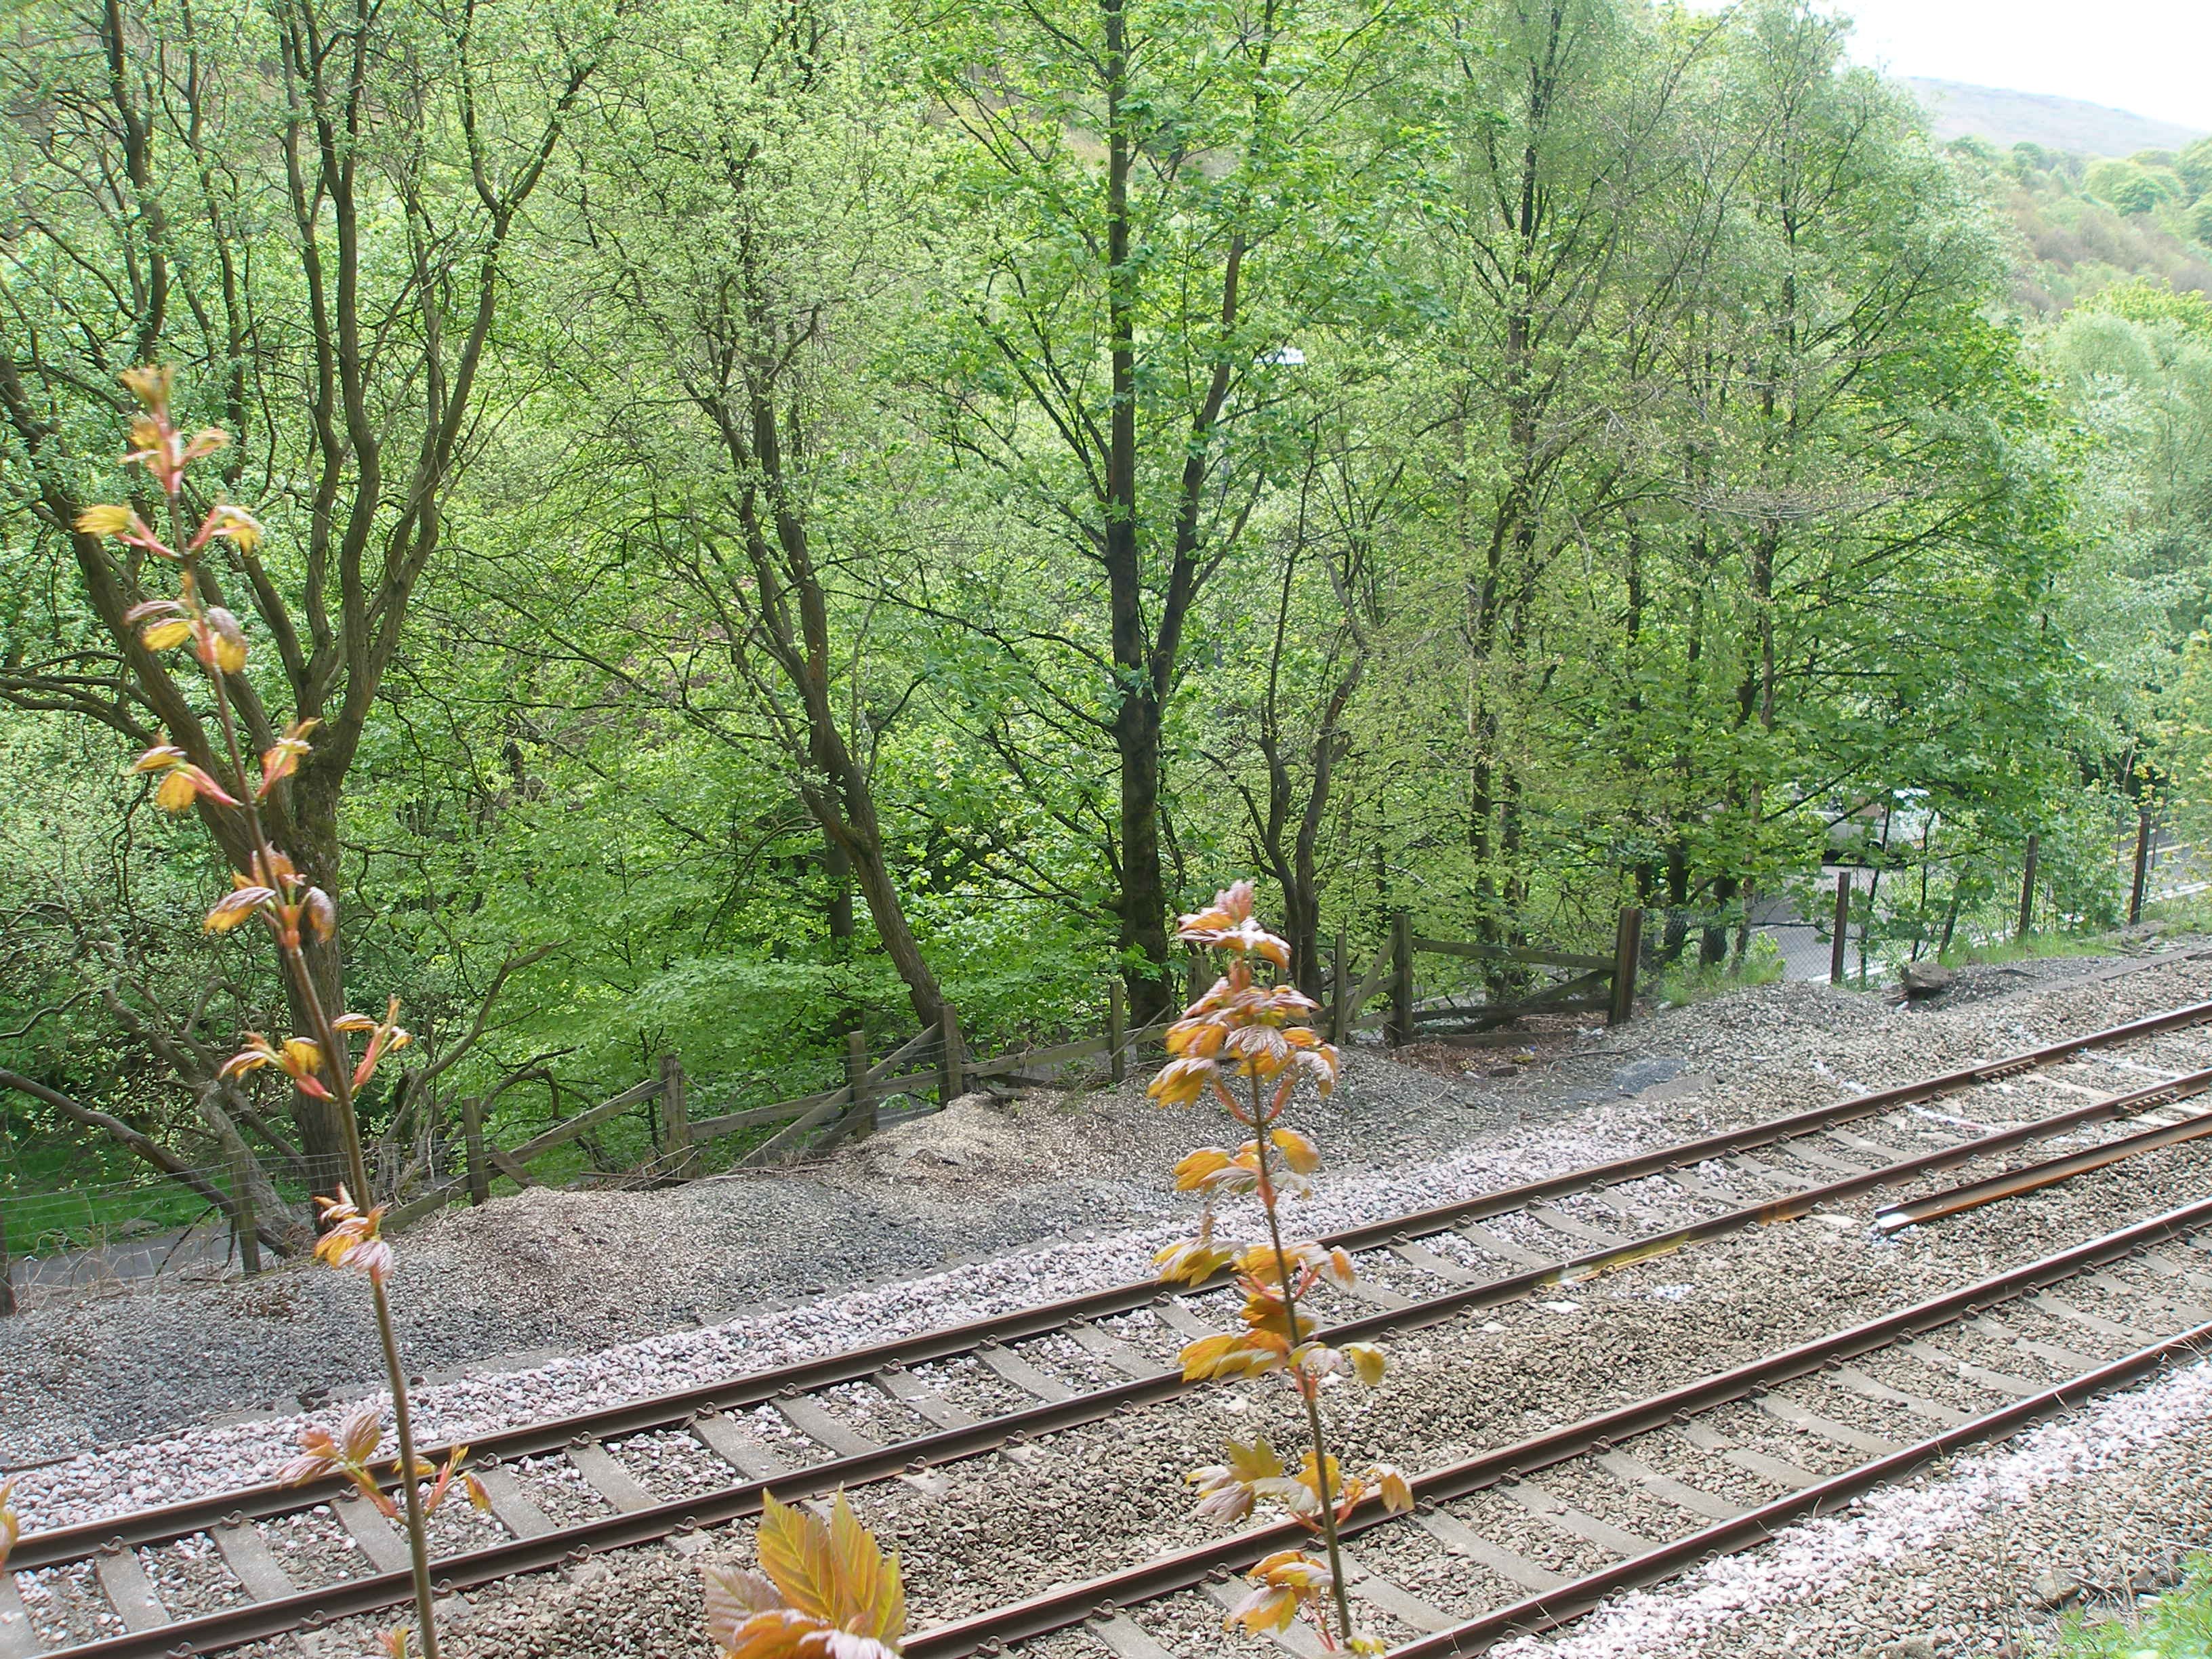
Photo 27: Photo 28:
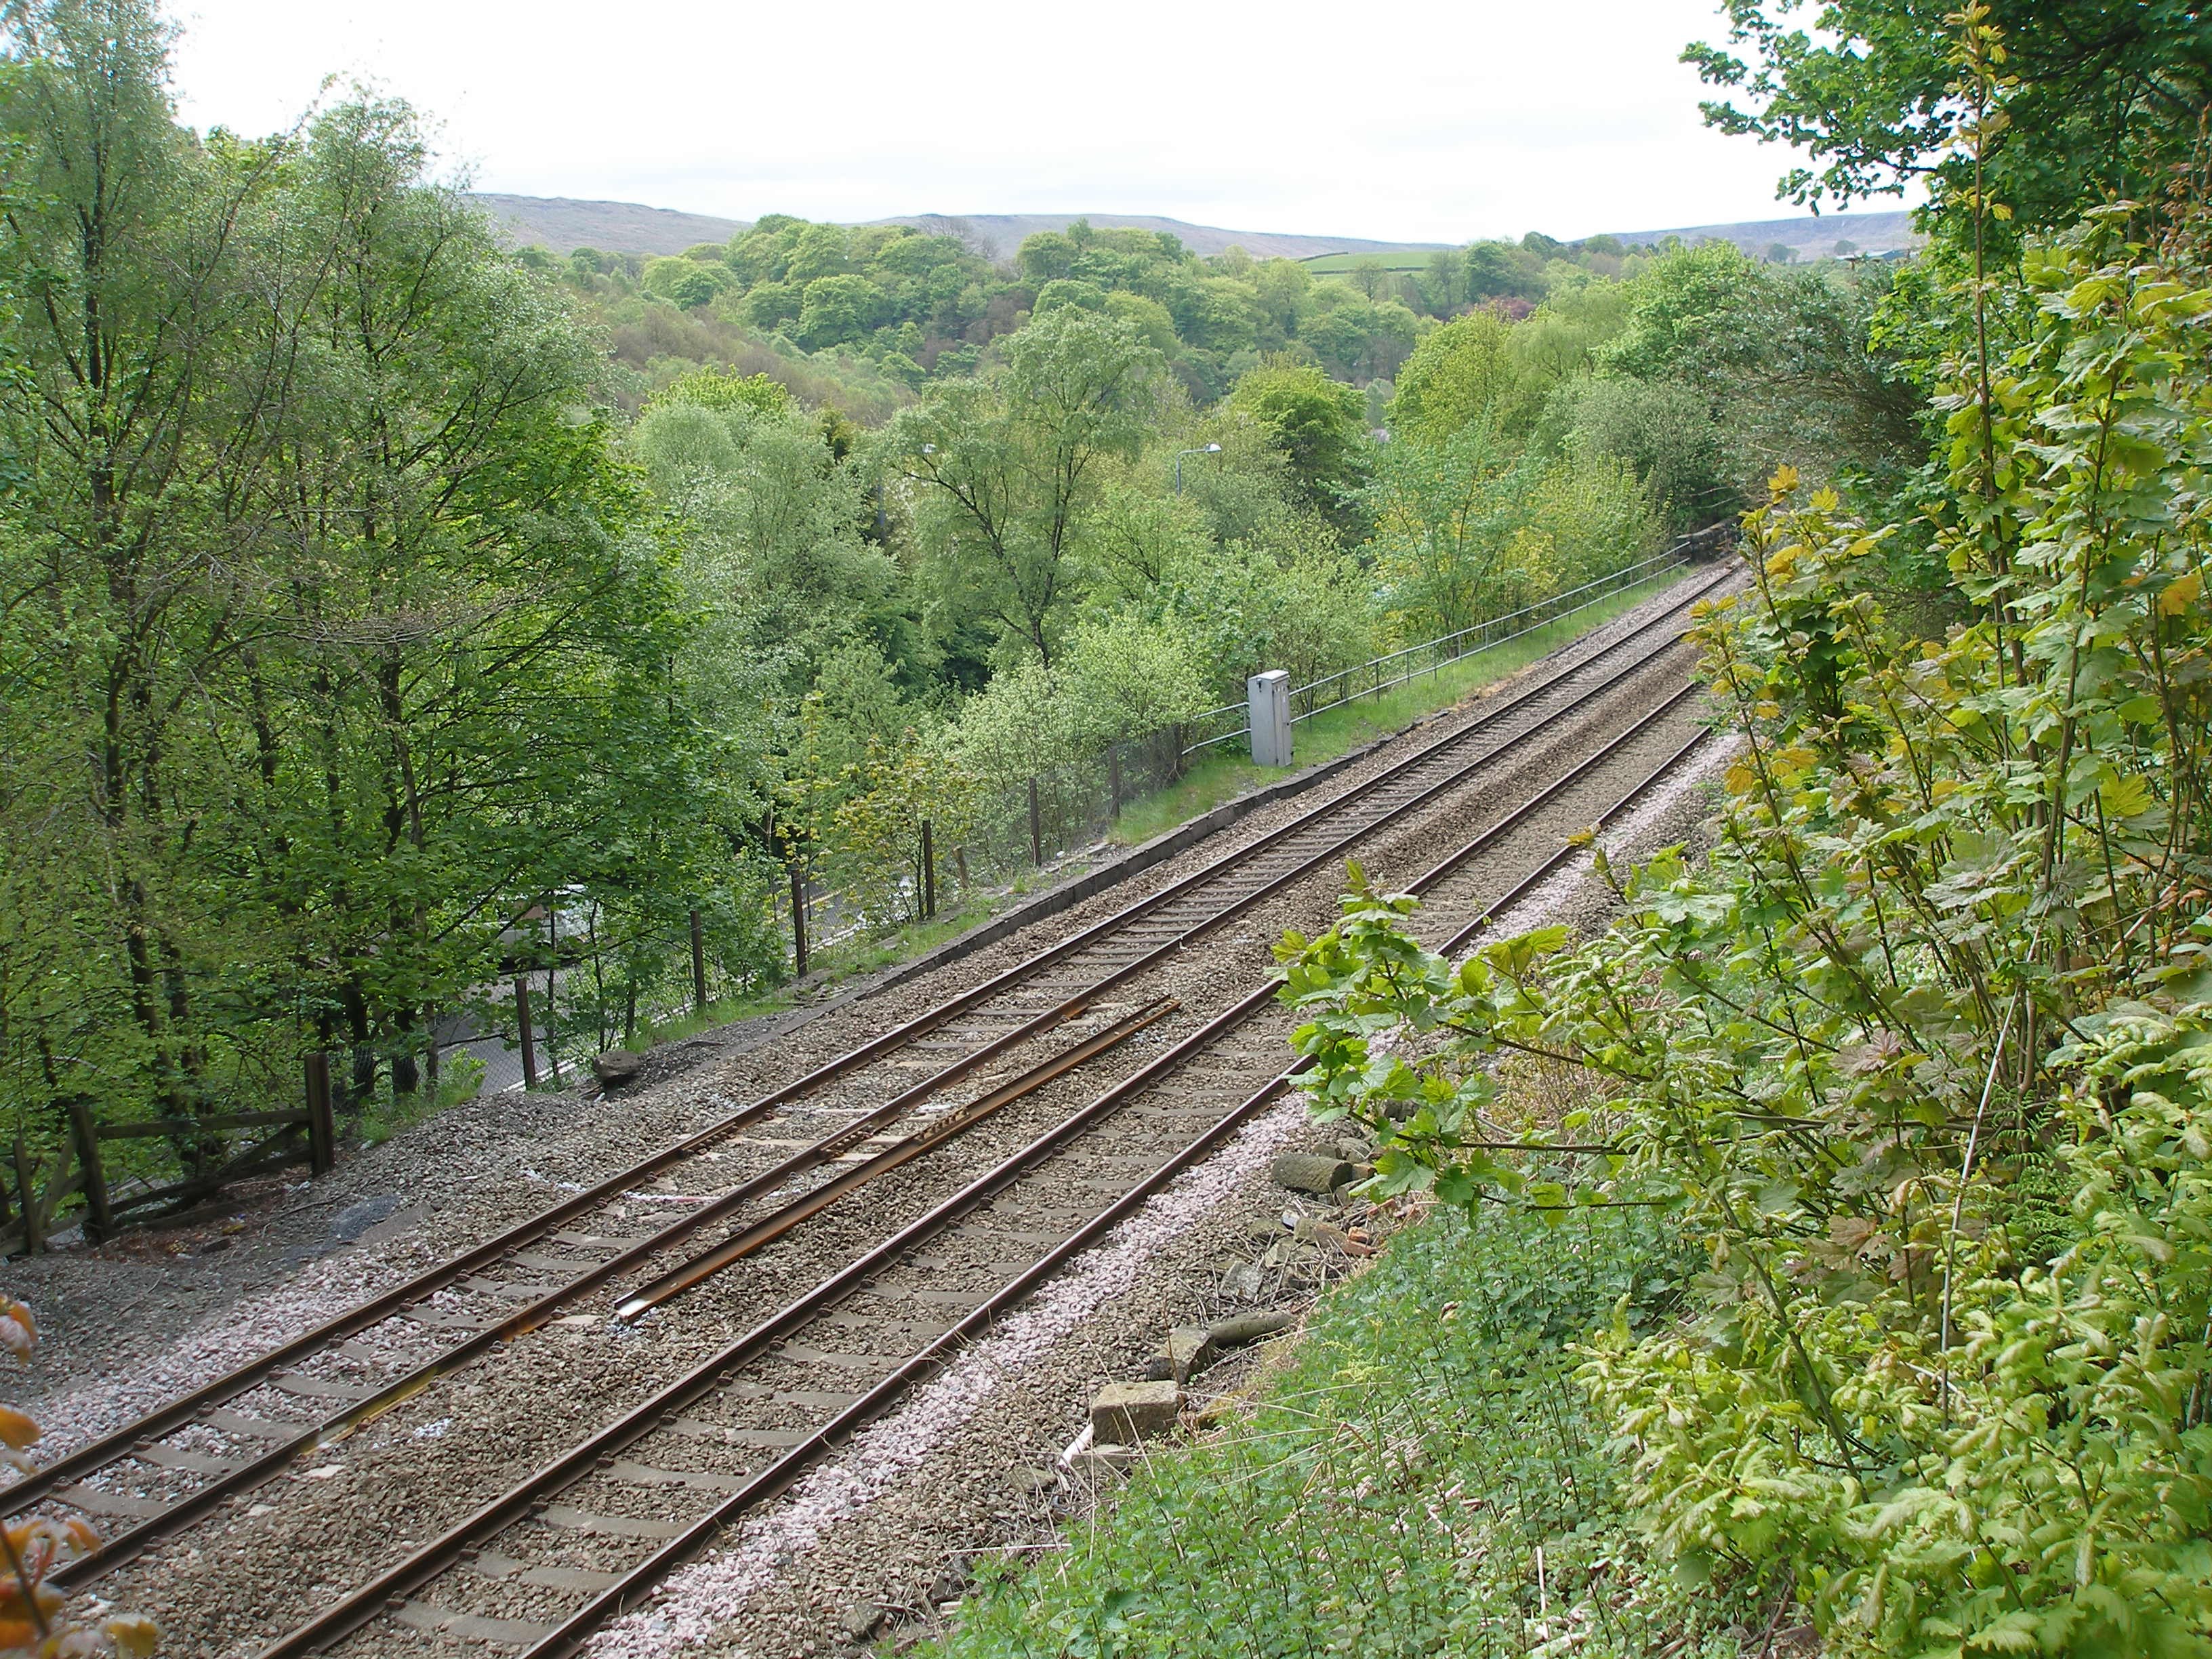
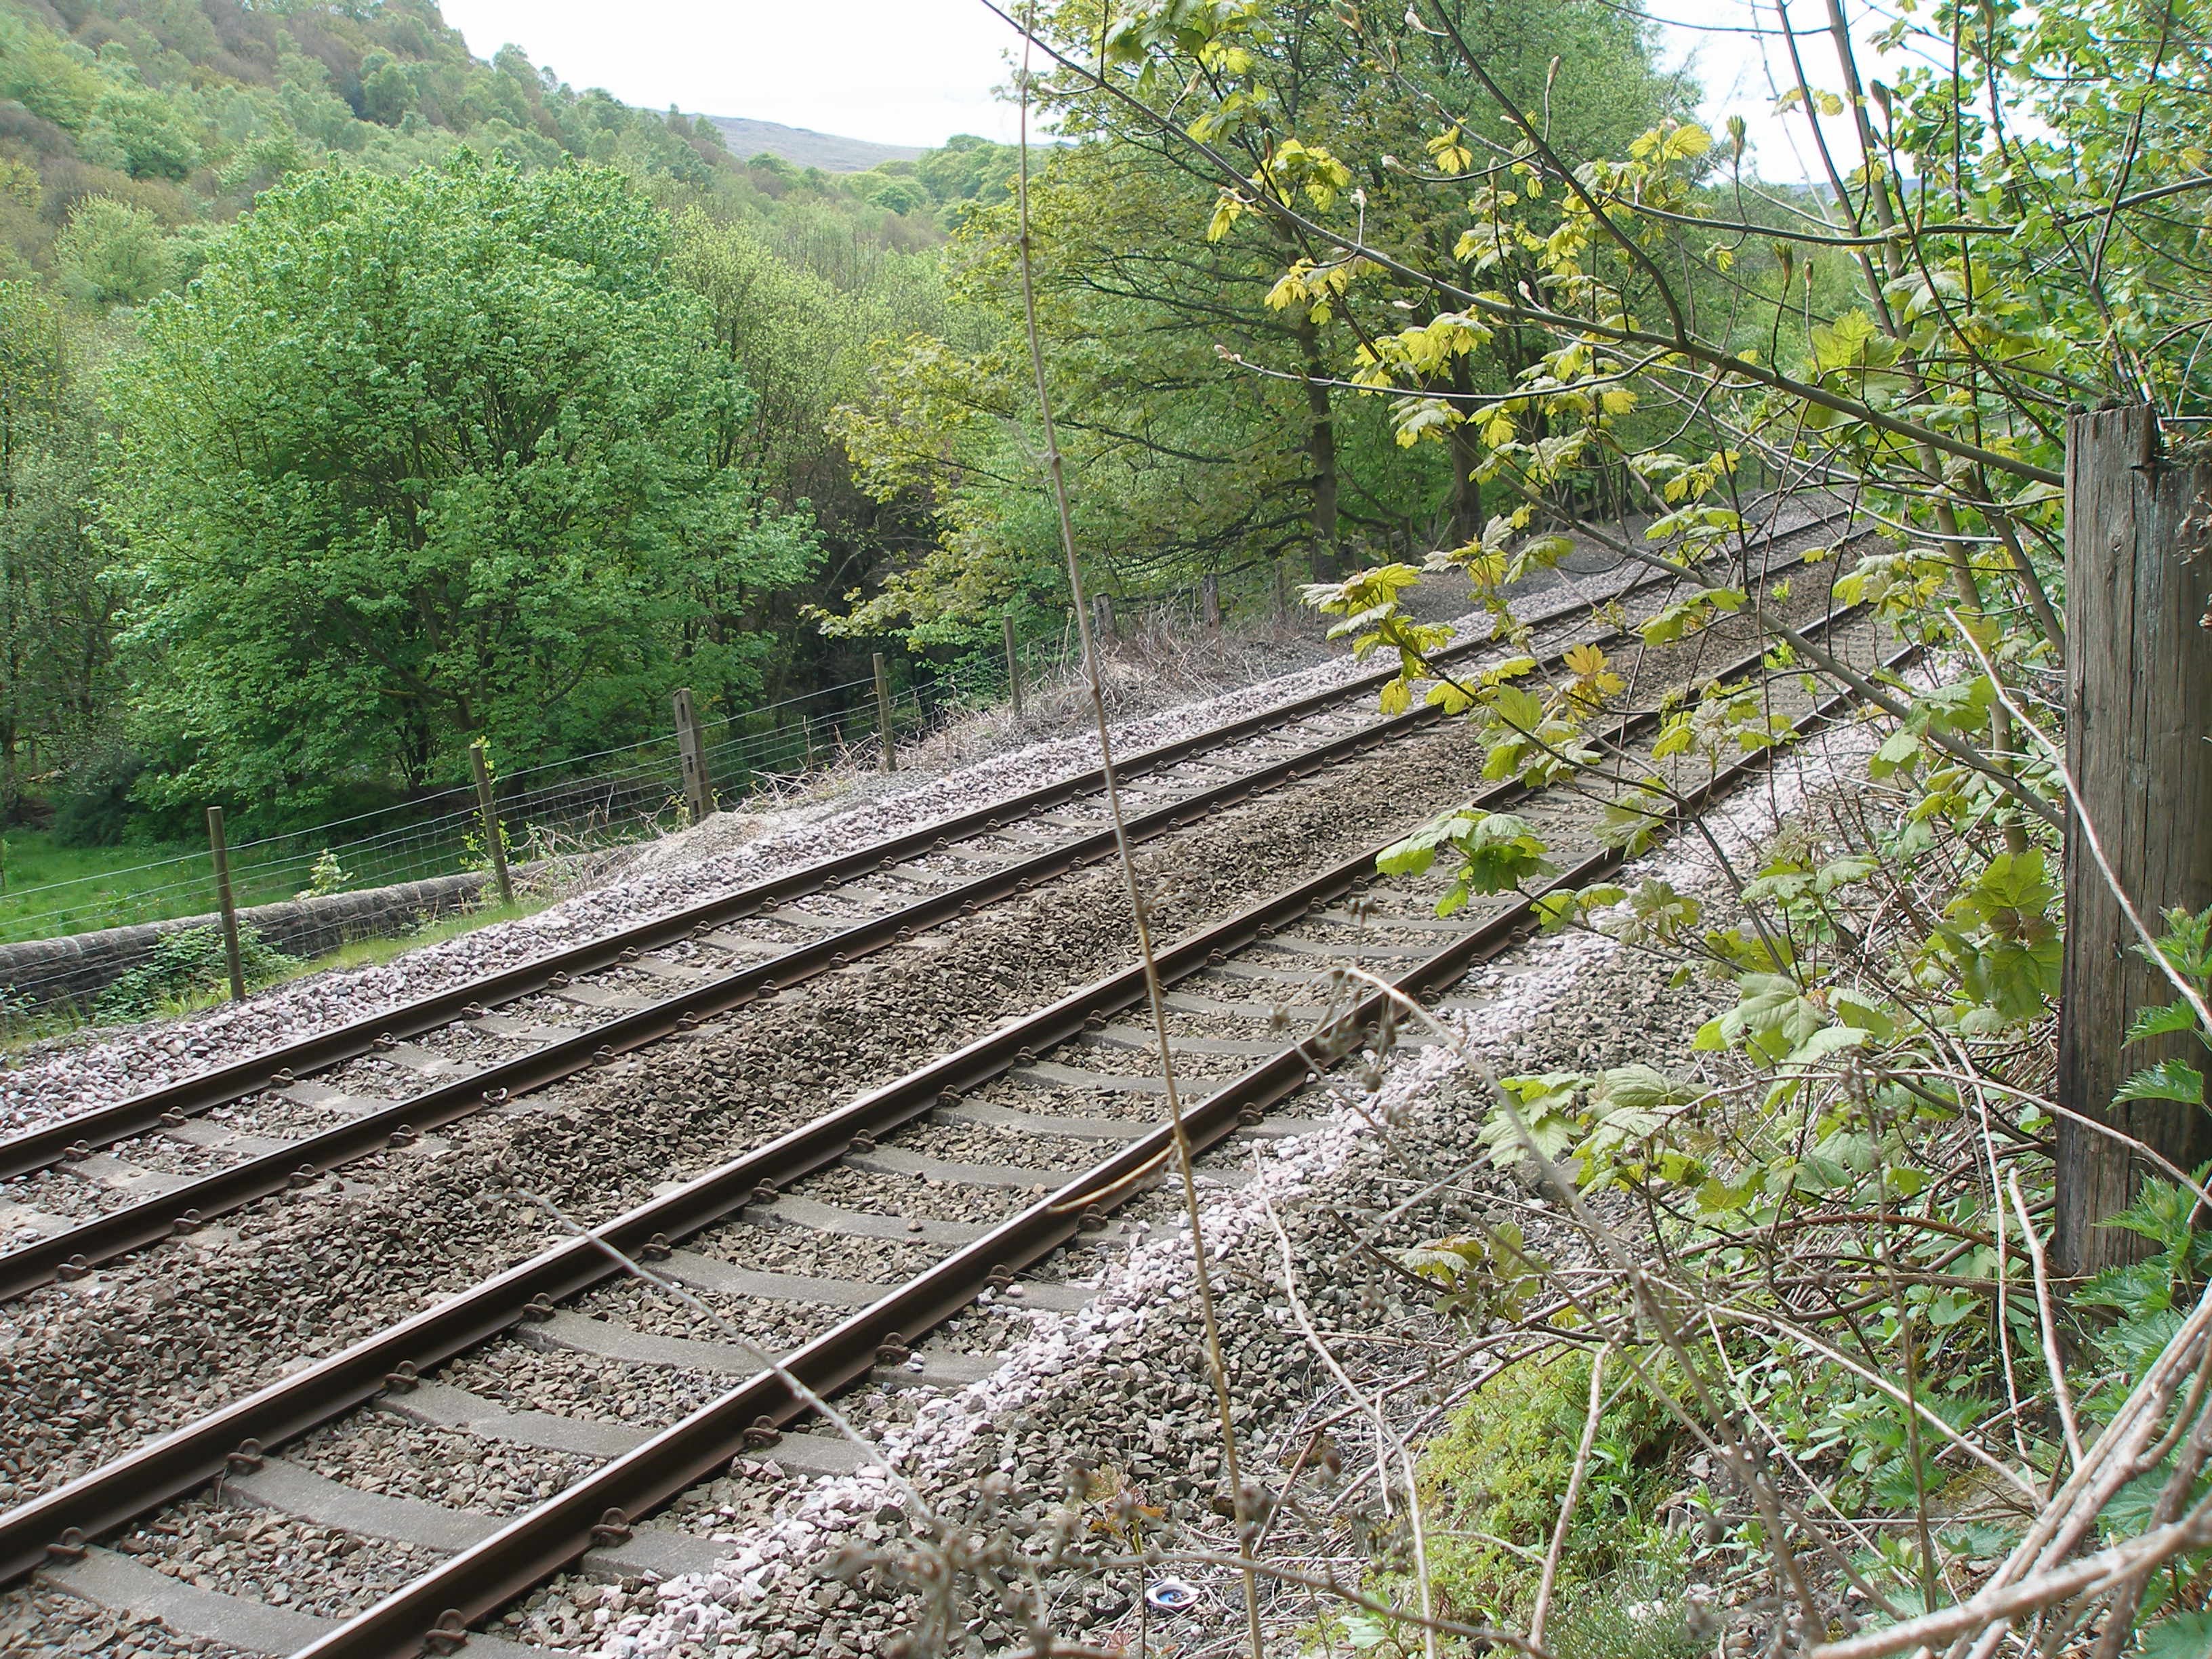
Photo 29: Photo 30:
By way of comparison, click here to see how this scene
looked in its heyday.
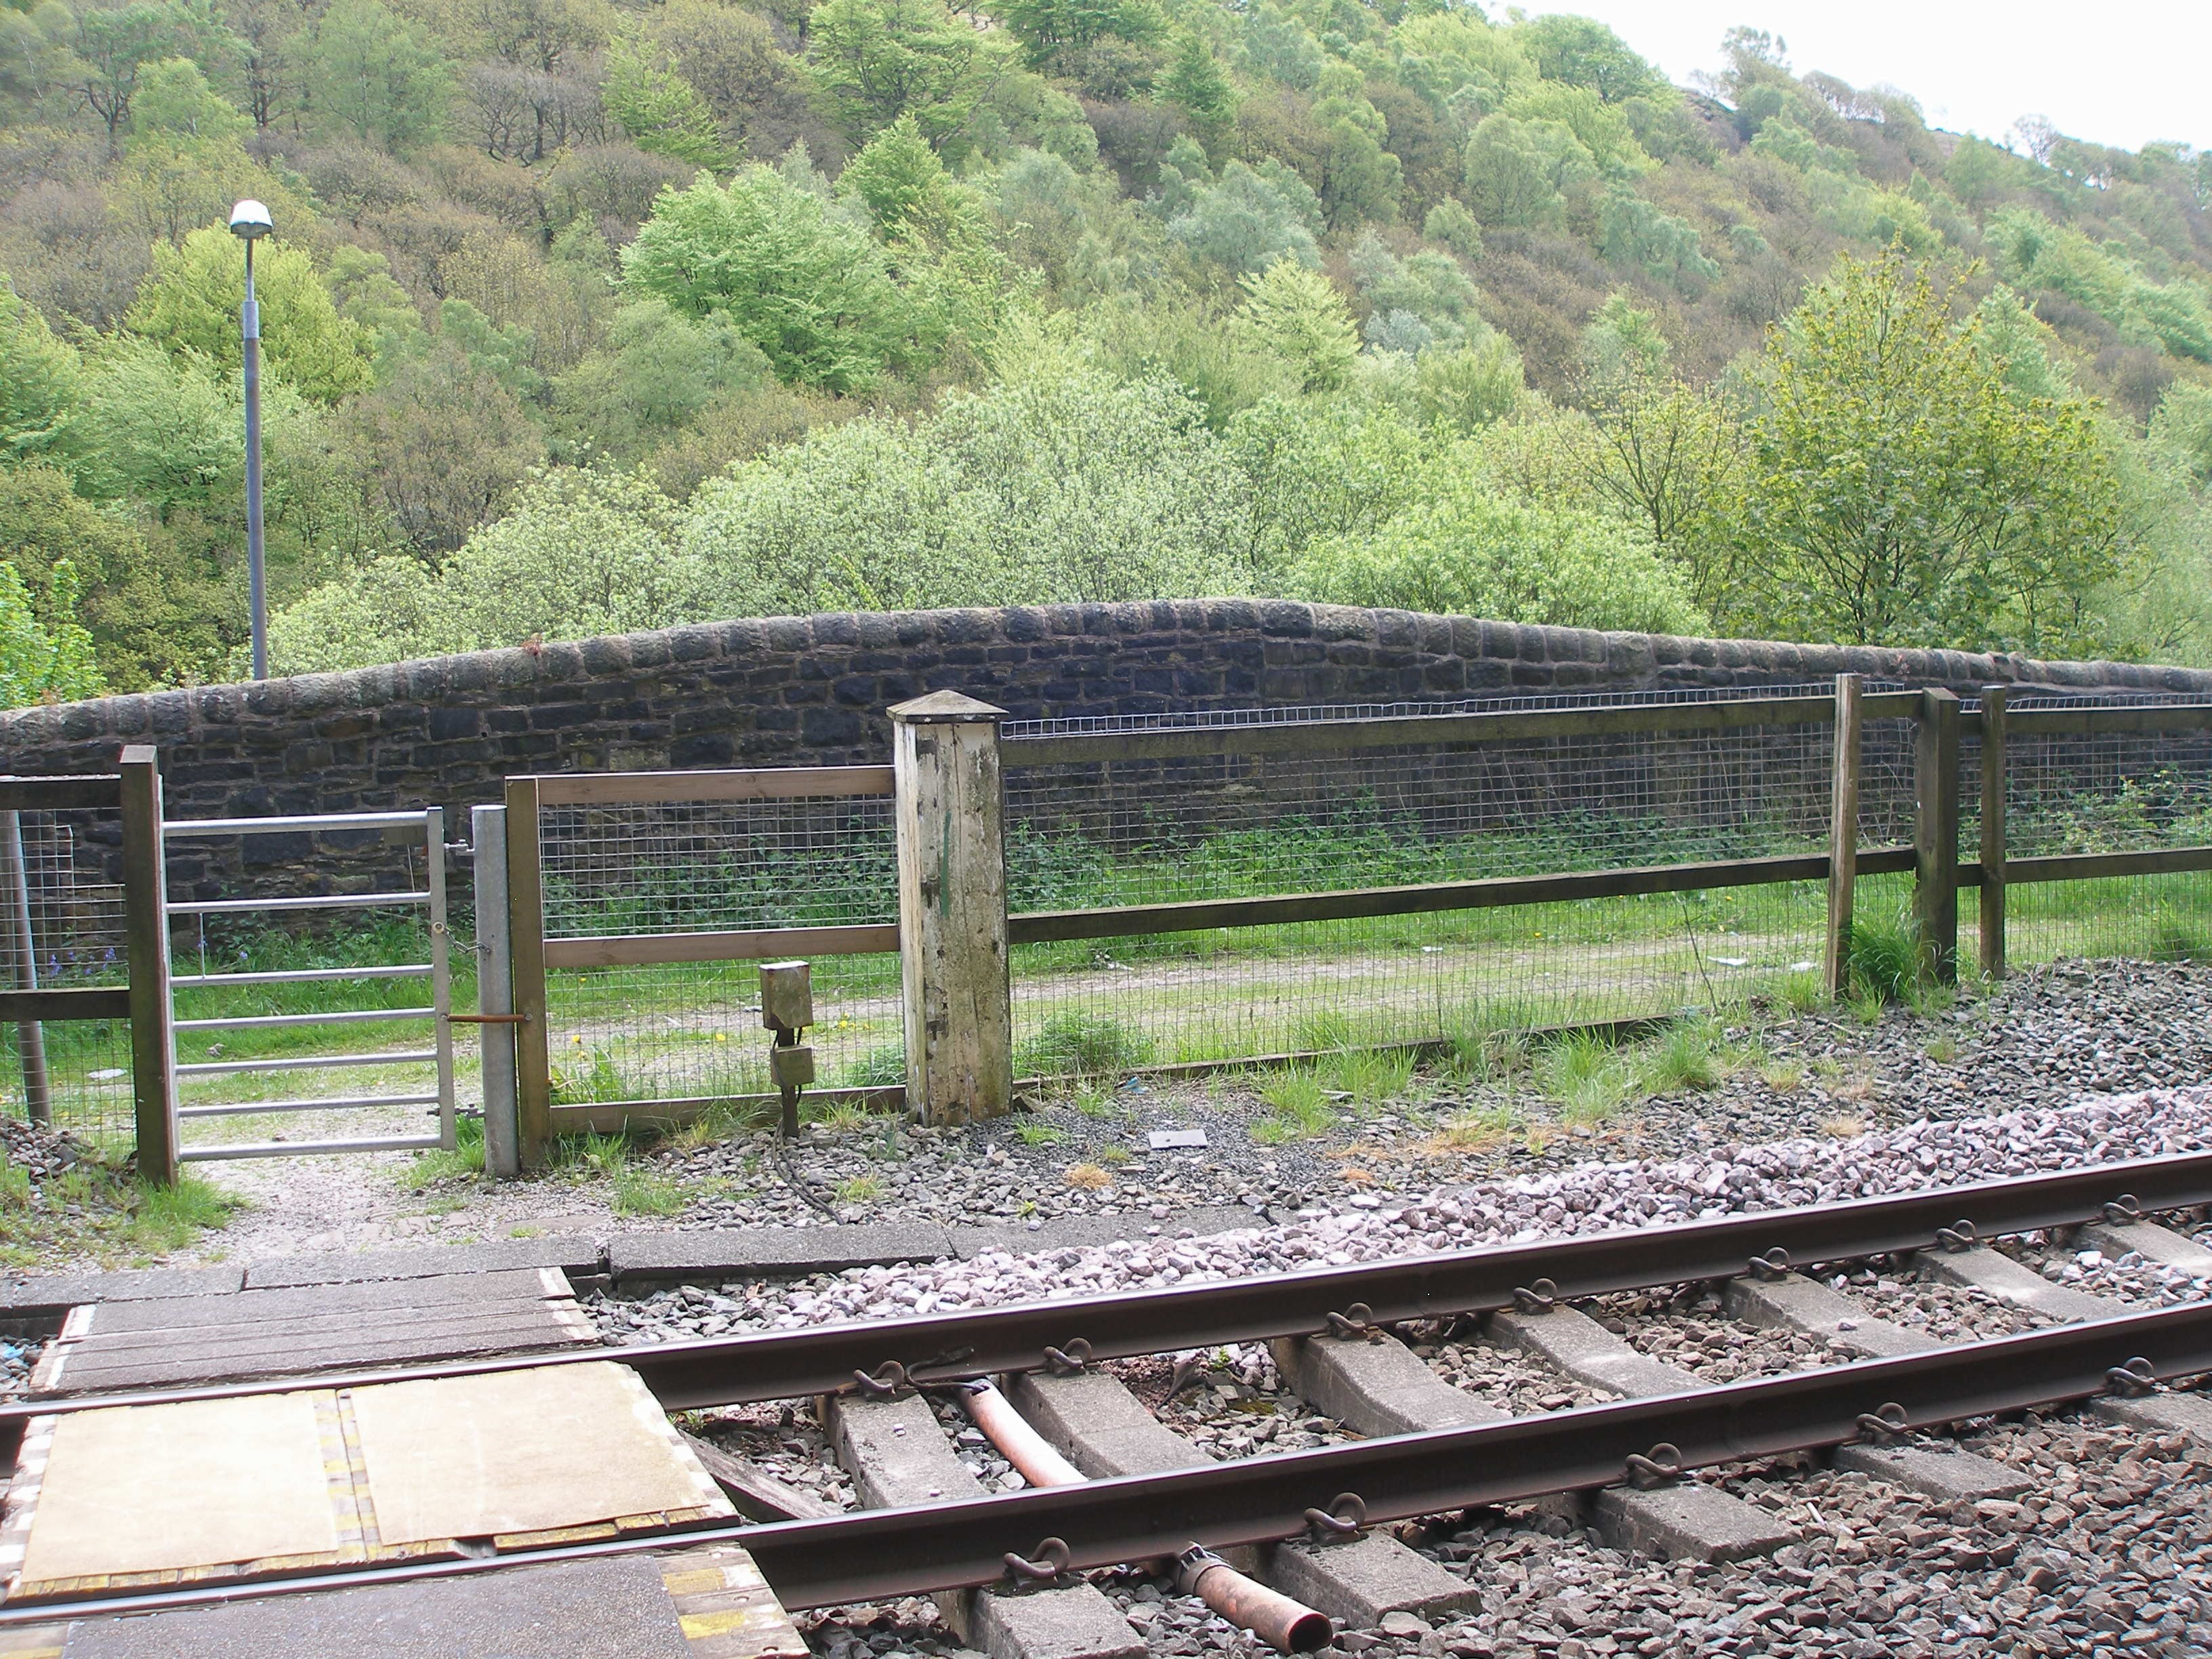
Finally a series of images from around the site of the station level crossing
Photo 31: Photo 32:
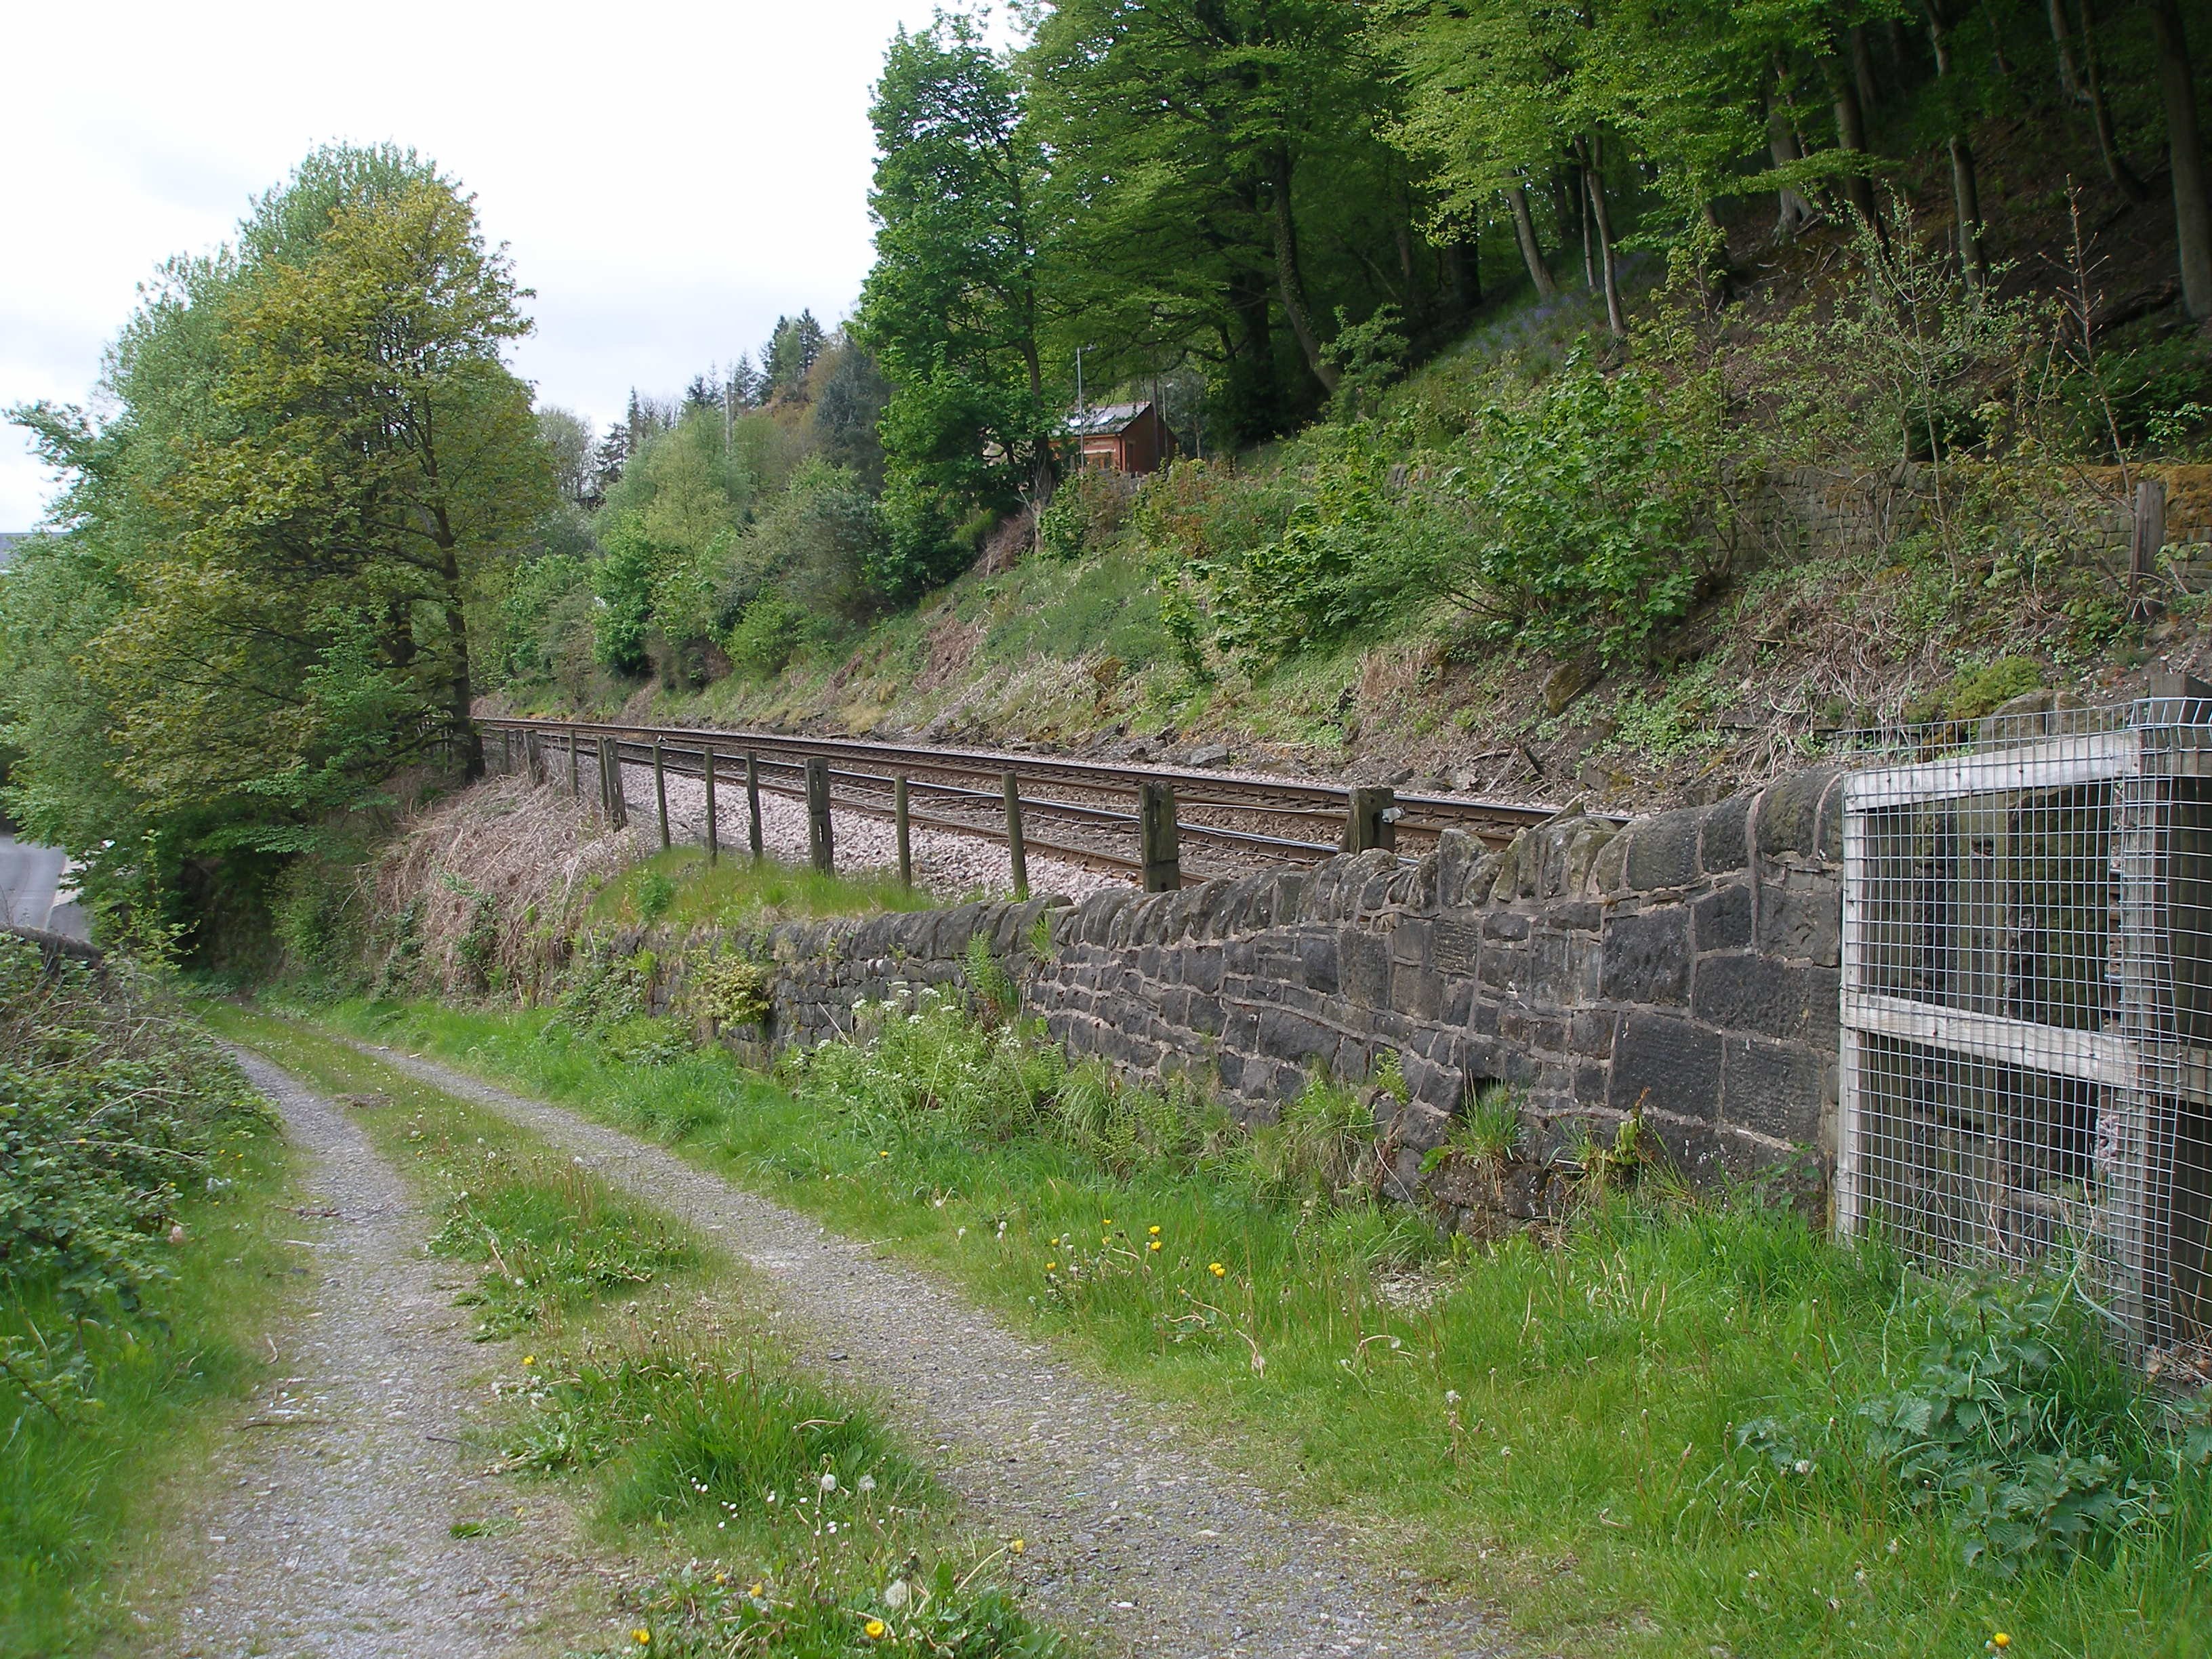
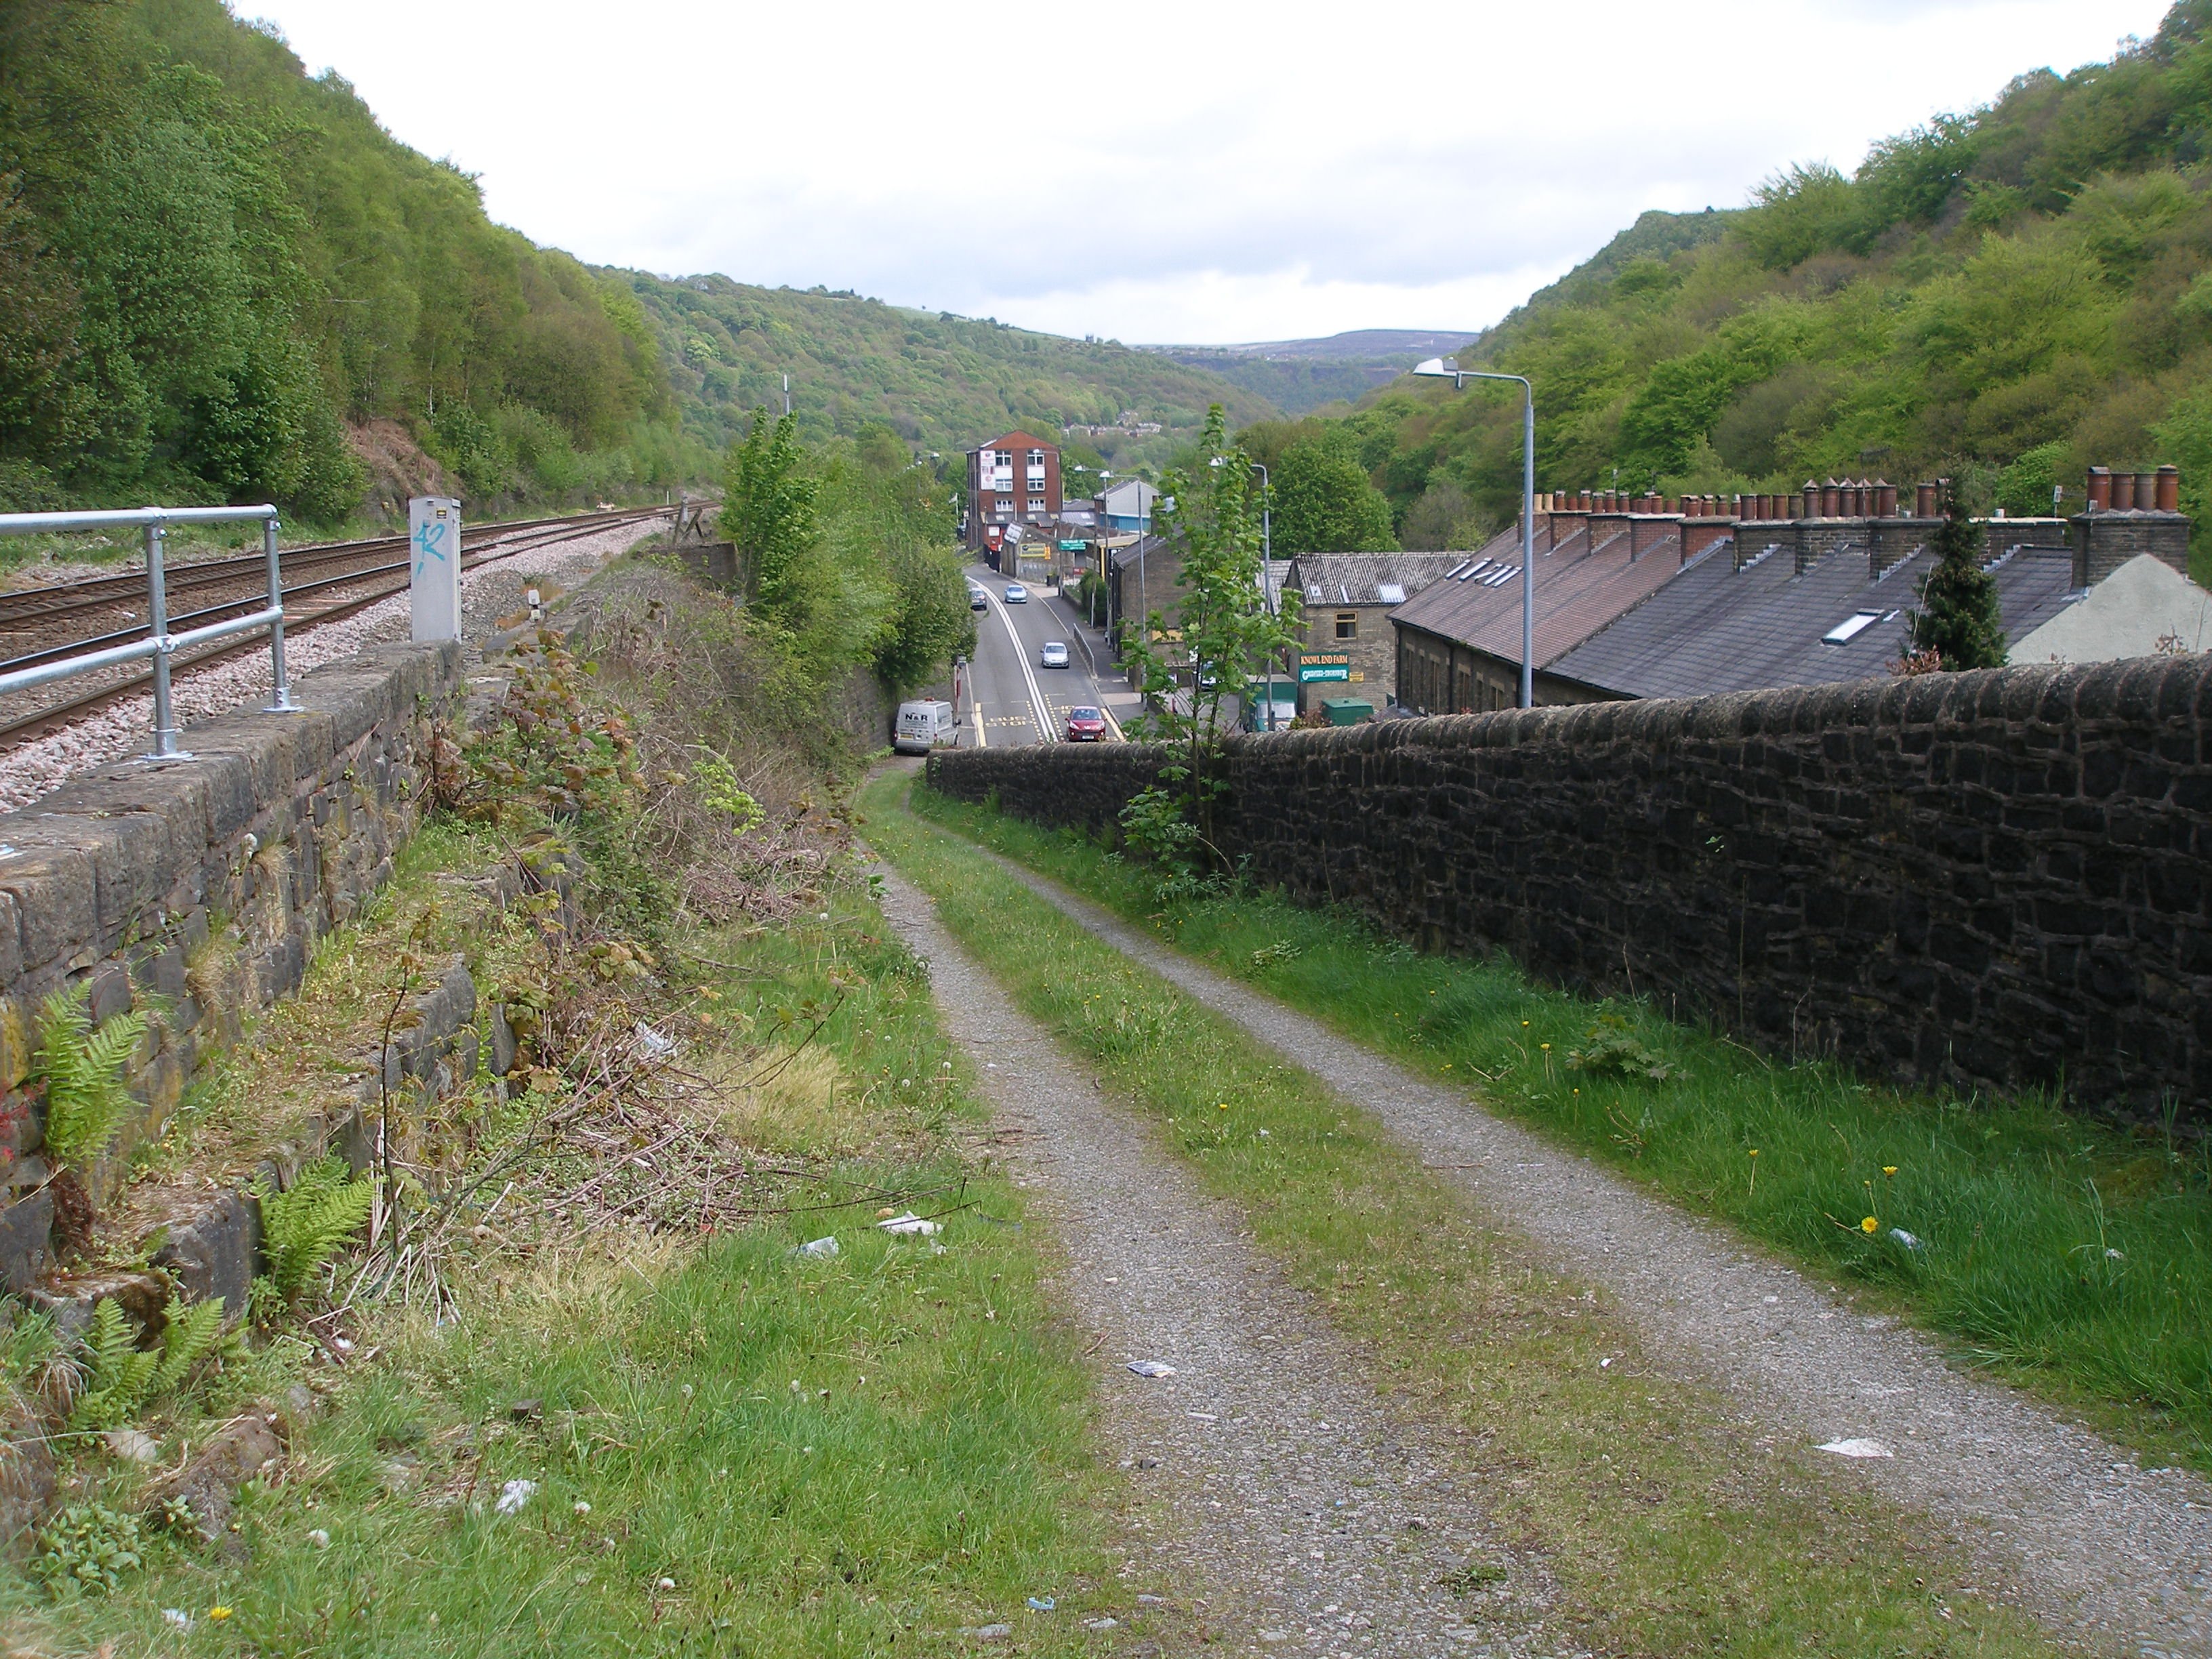
Photo 33: Photo 34:
Click here for the same view dating from the 1960s.
Photo 35: Photo 36:
Click here for the comparative historical view.
Photo 37: Photo 38:
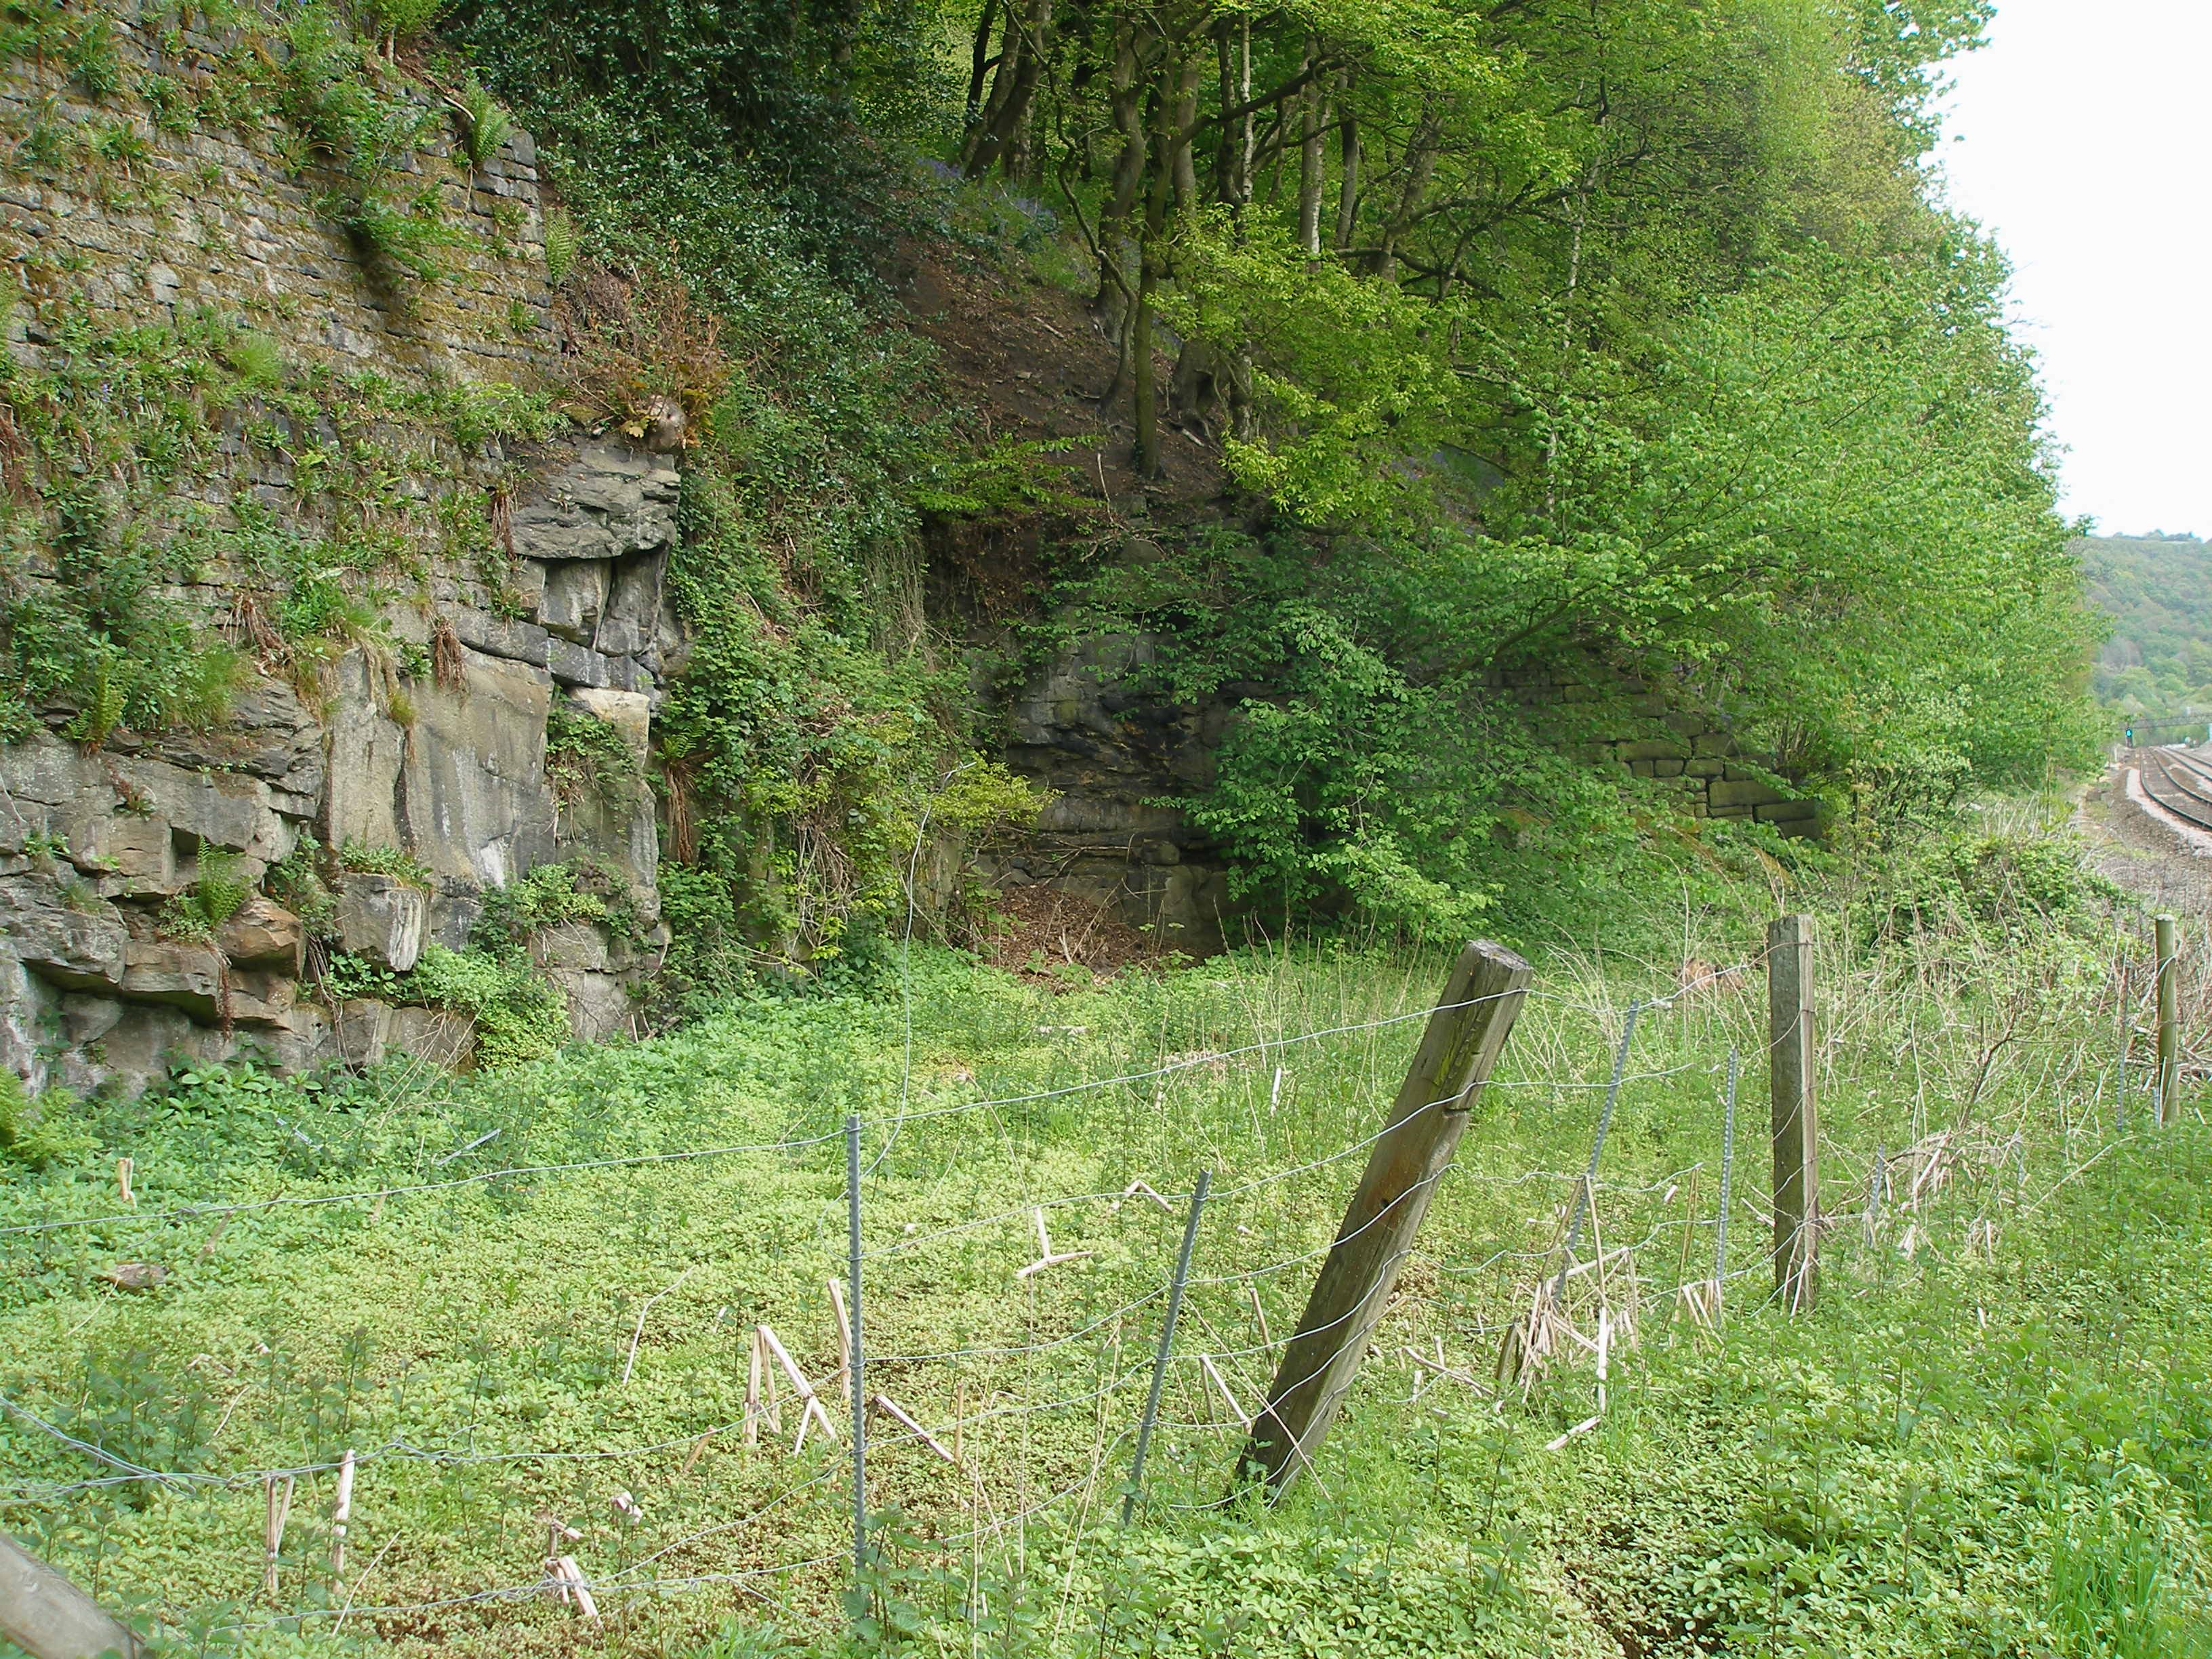
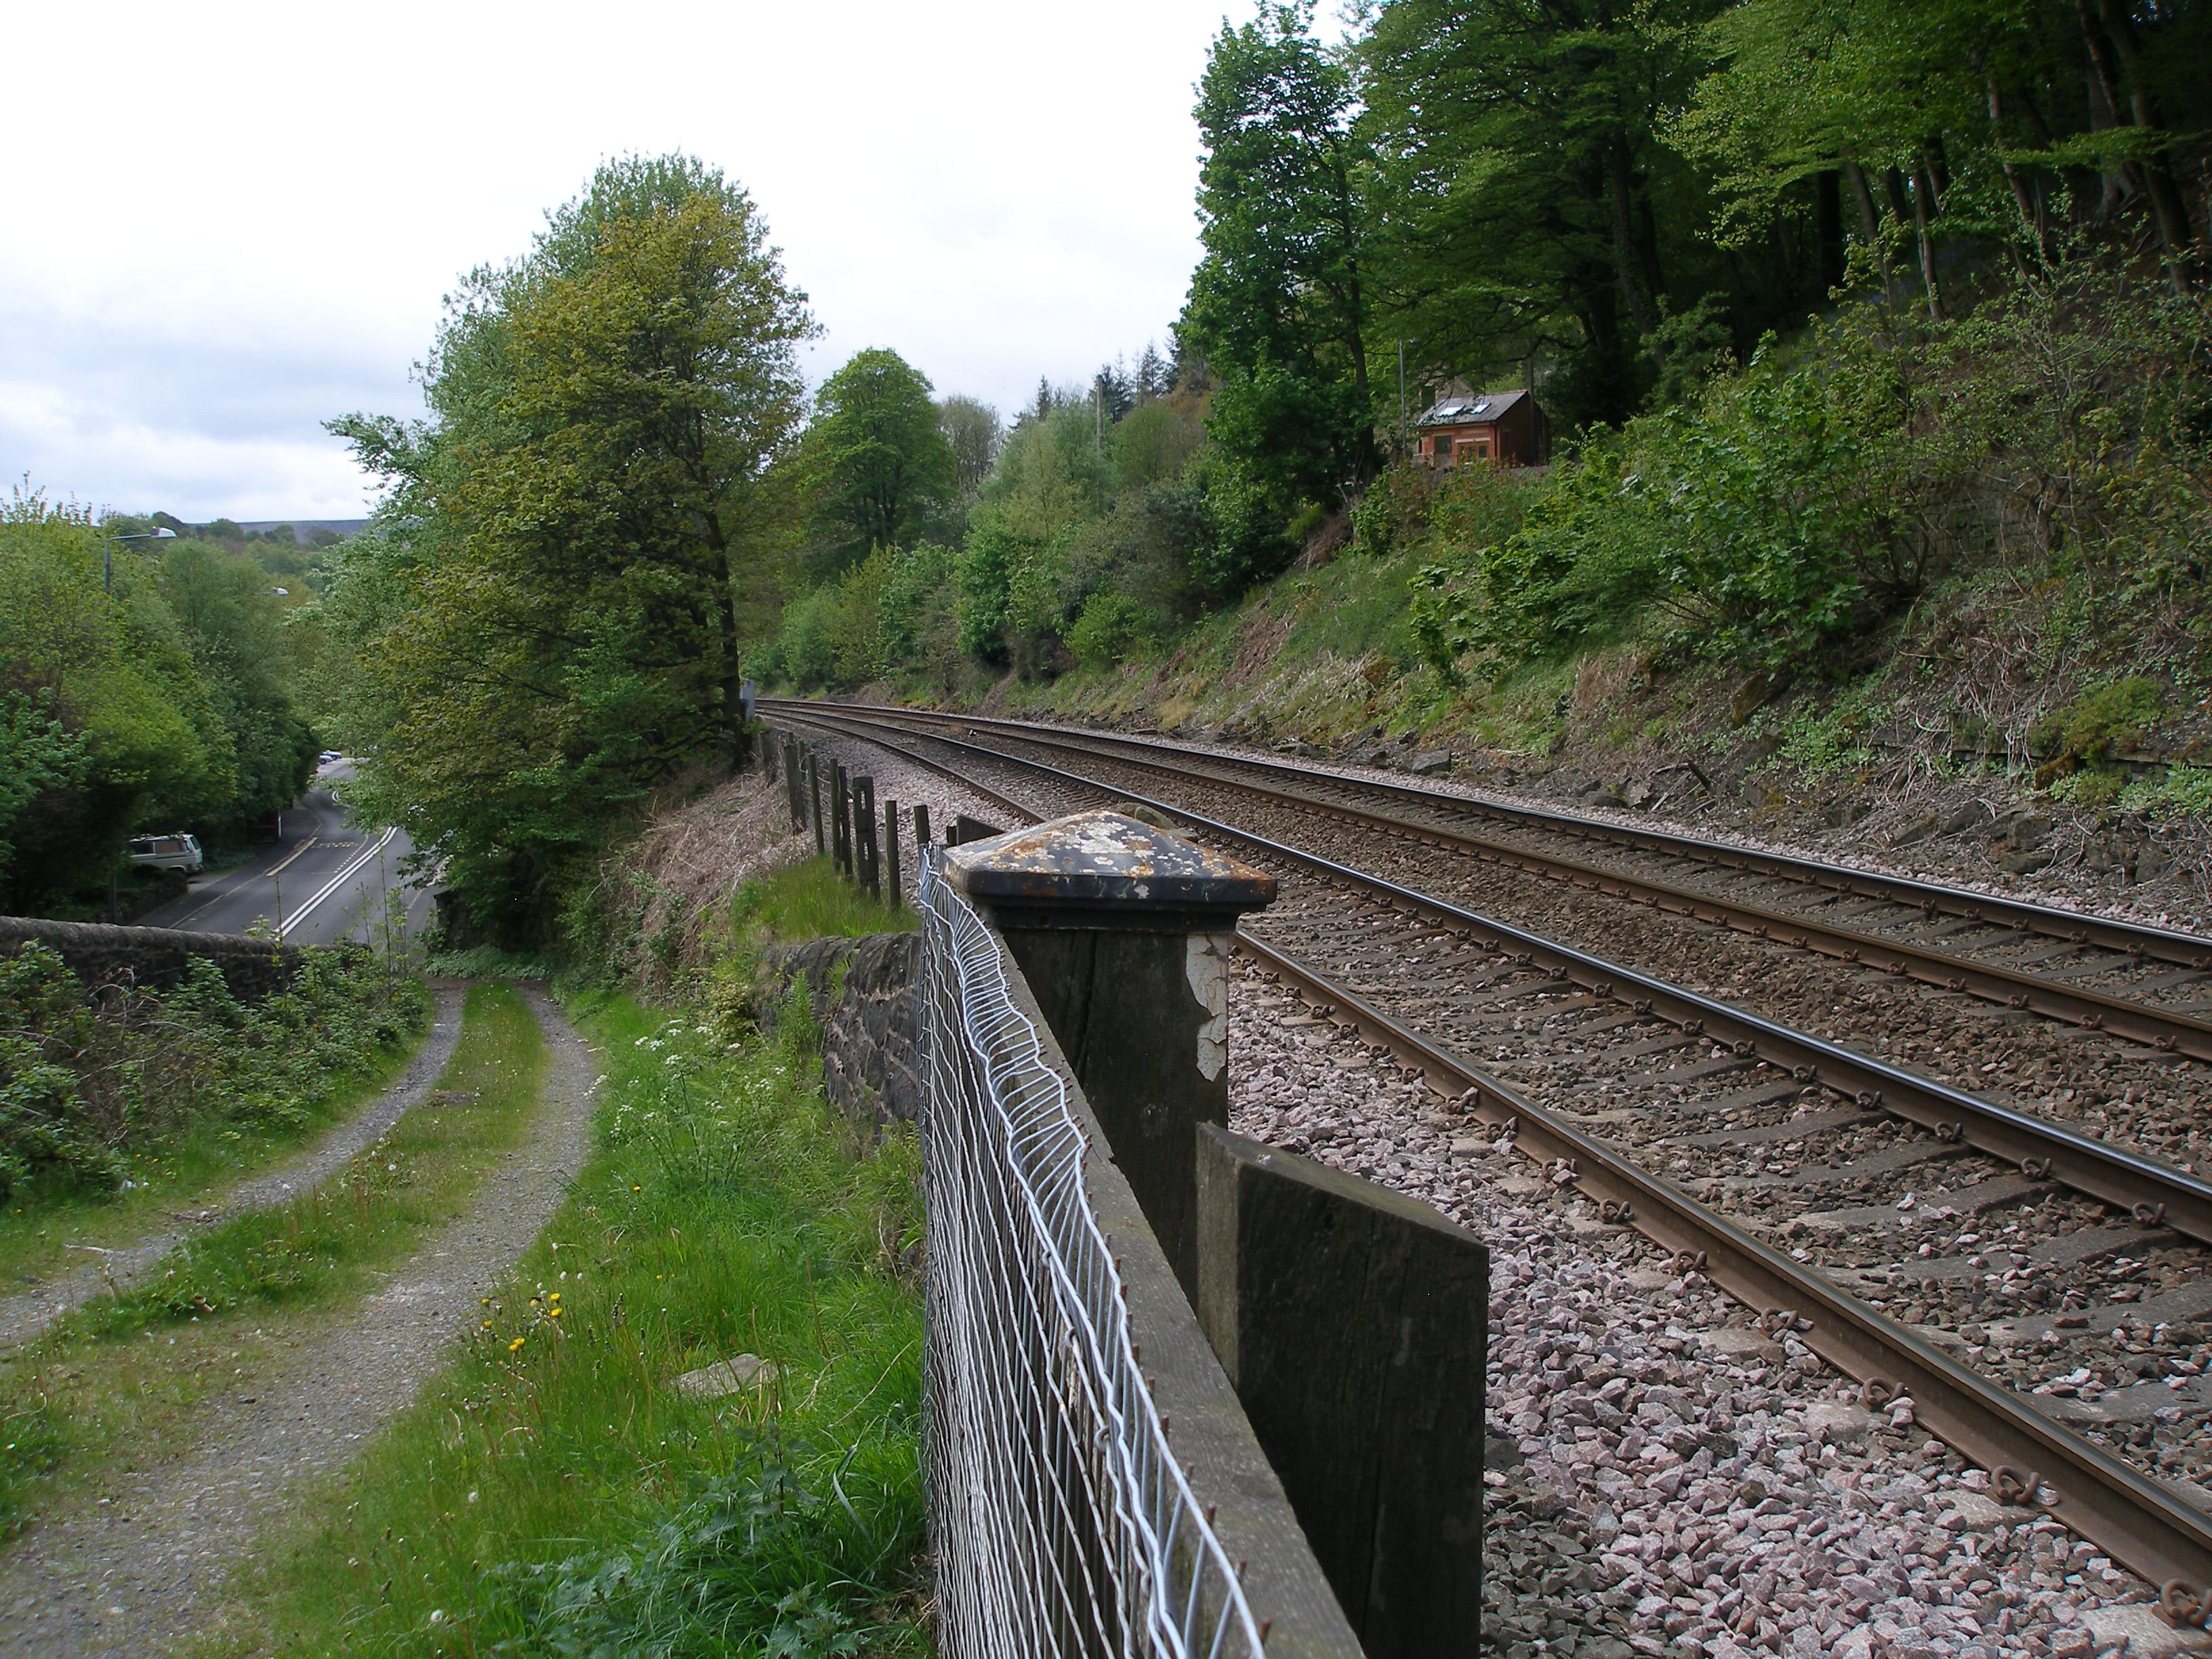
Photo 39:
Click here to see how this area looked back in the 1960s.
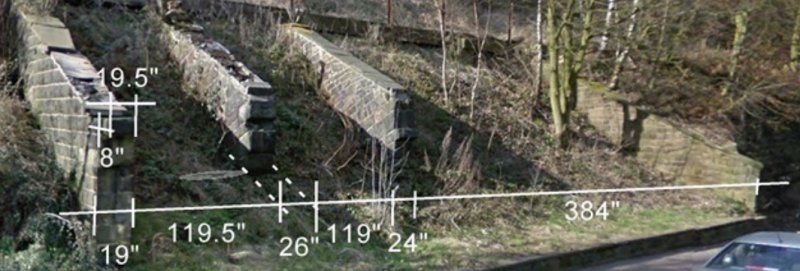
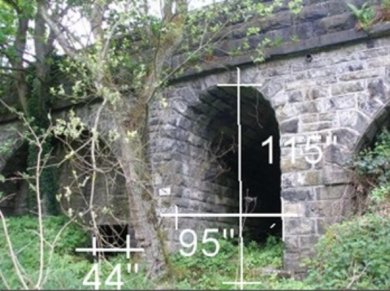
Finally, dimensions for modellers:

Copyright J K Wallace, t/a 'Hall Royd Junction' 2013-2023 email: Hall Royd Junction
7 Portobello Close, Chesham, Bucks. HP5 2PL, UK
tel: +44 (0)7513 412880