
<<< Restoration of a DJH WD 2-8-0
DJH Crab - Readying for the road
Fitting a DCC socket
Most Ready-to-Run locomotives are now supplied 'DCC Ready' meaning they are fitted at the factory with a socket into which a DCC chip can be plugged - and unplugged.
But kit built and scratch built locos are a different matter. The perceived wisdom is to hard wire the DCC chip into the loco. This requires the plug to be cut off the chip, and the chip wired directly into the locomotive, so becoming a permanent fixture. However, selling the chip onwards as a later date is more tricky, as it no-longer has its plug.
The other issue is testing the loco chassis. Again the perceived wisdom is that this should be done in DC mode, and the loco only chipped after the chassis is fully tested. Given the relative ease of frying a distressed chip (loco wheels unable to turn, etc.), this is good advice. But how do you do that when the layout has been converted to DCC?
My own solution was to lay a yard of track with a couple of spare Peco curved points wired to a DC power pack as part of the work bench equipment. This allows the chassis to be tested in motion, with and without the body on, prior to fitting the chip.
I hard wired two chips before concluding that it would better to install a socket into which the chip can be plugged and unplugged, as not all chips suit all locomotives, particularly if low-cost chips have been used (there speaks the voice of experience).
And the Crab below proved the point. On the work bench, on DC it worked perfectly. With the chip and body fitted, and the loco placed on the layout, the wheels revolved a half turn and locked. This is not a good state of affairs for a chip, so the loco was returned to the workbench, and the body and chip removed, and the blanking plate plugged in again.
It took a while to discover that one of the brake blocks had become detached from its upper bracket (rod), leaving the rod free to slide in and out of its hole. In extended mode it neatly hit the coupling rod, so locking the chassis. But by turning the chassis, the rod slid back into the chassis block so allowing the wheels to rotate again.
The moral of the story is that had I hard wired the chip in, it would have been very difficult to test the loco after the brake gear failure, and the ability to easily store the chip in a safe place has probably saved me the cost of a new chip...
And this is how I did it...
Sockets are available from a number of suppliers - check out eBay.
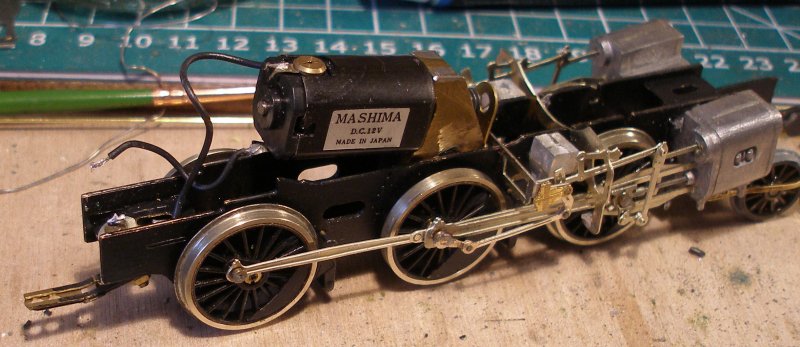
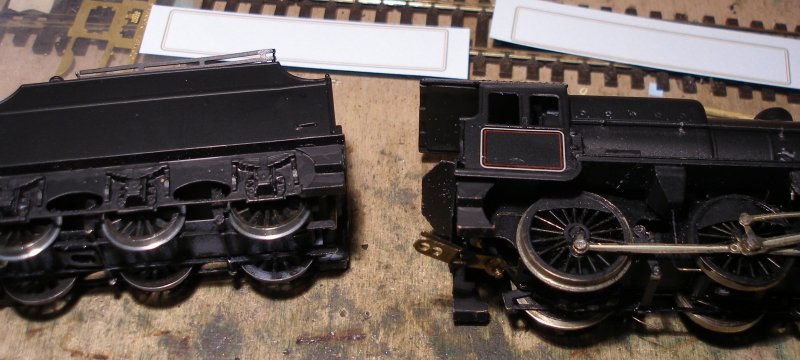
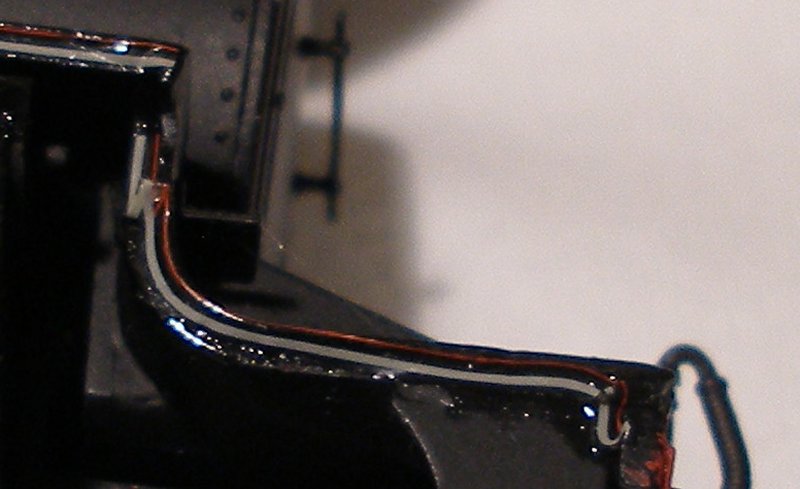
This view shows the chassis as removed from the body. A wire from the motor has just been unsoldered from the tender (DJH advocates the American system for the Crab with power picked up from one rail via the tender, and from the other rail via the chassis - this method then avoids the need for pick-ups). The other wire is terminated on the chassis.
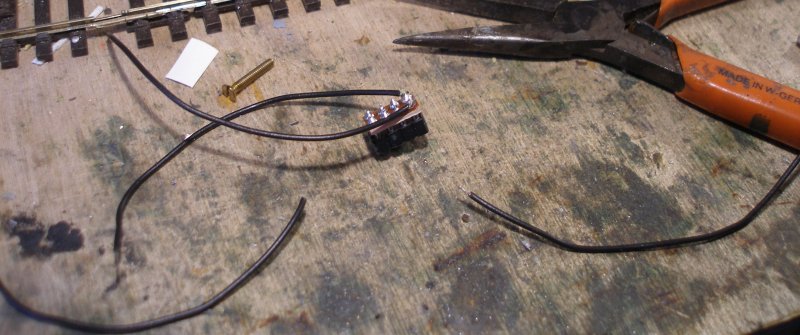
The first two wires have been soldered to the pins at one end.
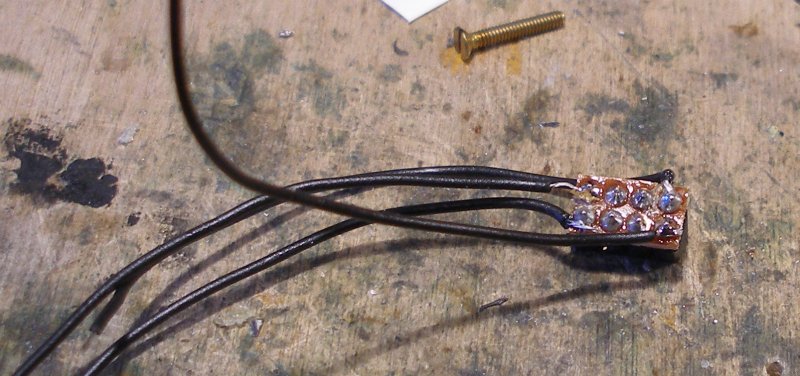
The DCC socket now with all four wires soldered to the pair of pins at opposite ends.
The DCC chip has been plugged into socket to ensure the correct wires are fed to the motor and to the track. The red and black 'go to the track' and the range and grey 'go the other way'. Do double check this, as I have managed to wire them the other way, despite knowing the rhyme and thinking I'd doubled checked,
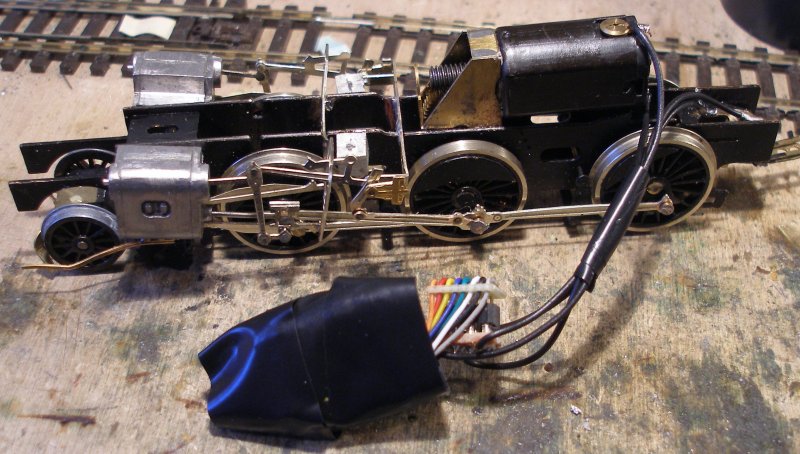
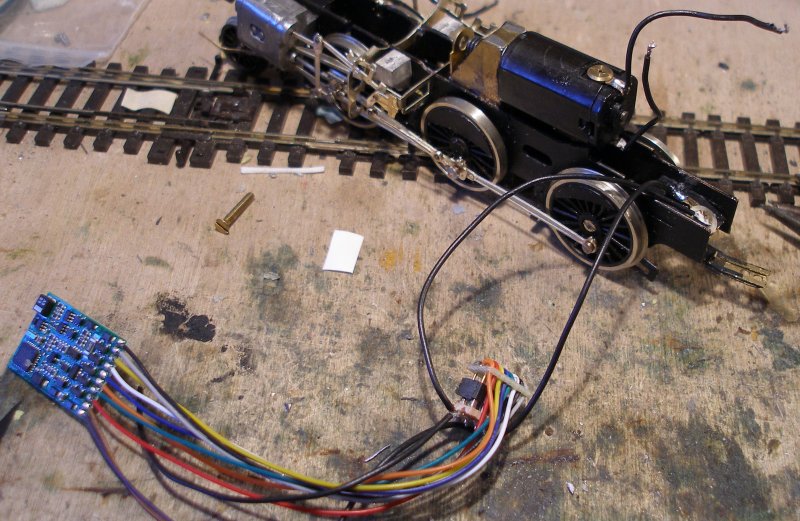
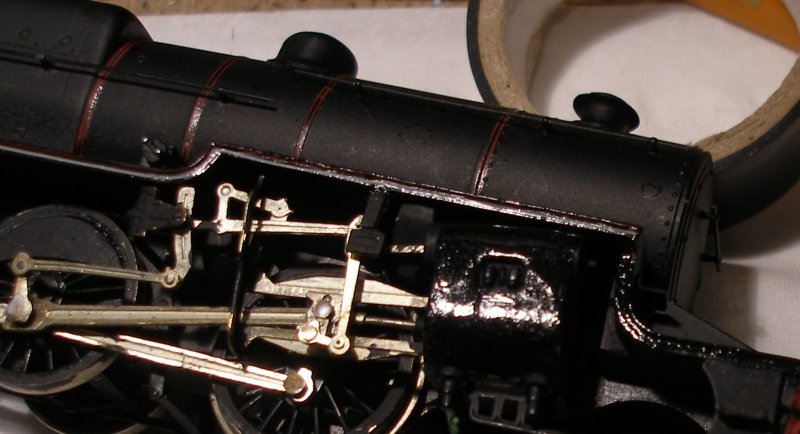
The wires from the motor and from the tender/chassis have to pass the motor to get to the front of the loco, as the chip will be inserted into the boiler barrel. Note how the chip has been loosely wrapped in insulation tape to avoid any chance of a short on the inside of the whitemetal bolier barrel.
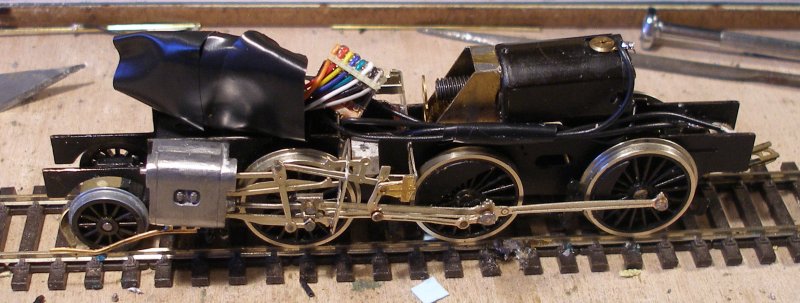
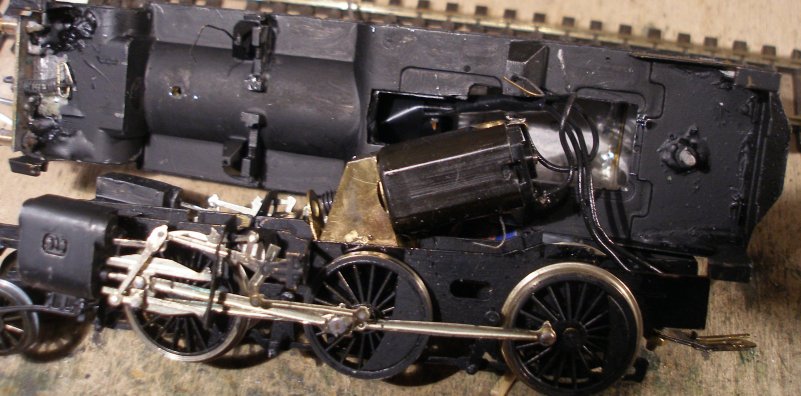
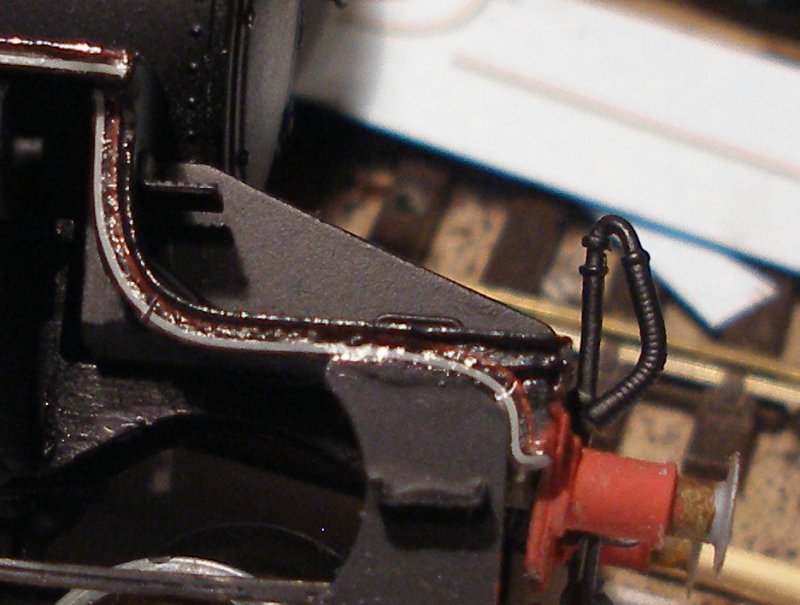
And now, after being run on the test track, the body can be refitted. Incidentally, whilst checking for the locking wheels problem, the misaligned upper slide bar was spotted and re-affixed. In the event, it proved easier to run the wires OVER the top of the motor when fitting the body, as it was not possible to fit the bodies with the wires positioned as seen in the photo. The technique is wrap further tape round the socket, so creating a continuous 'tube' of tape, which keeps the chip and socket together and in alignment. The chip and socket are then gentle pushed down the boiler barrel with the end of a screwdriver until the firebox is clear (see image below), and then the motor can be slid into the firebox, and chassis pushed home.
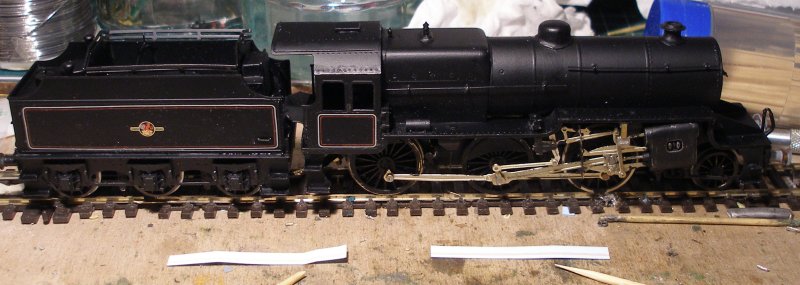
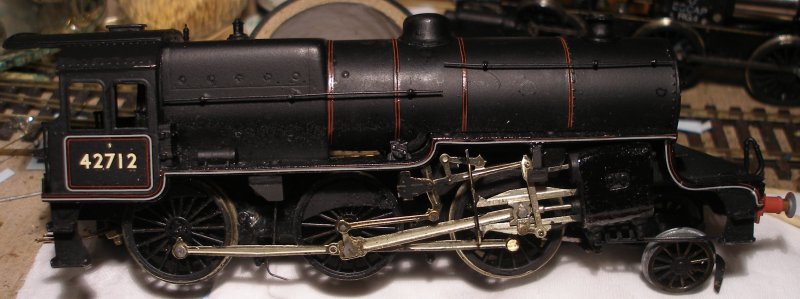
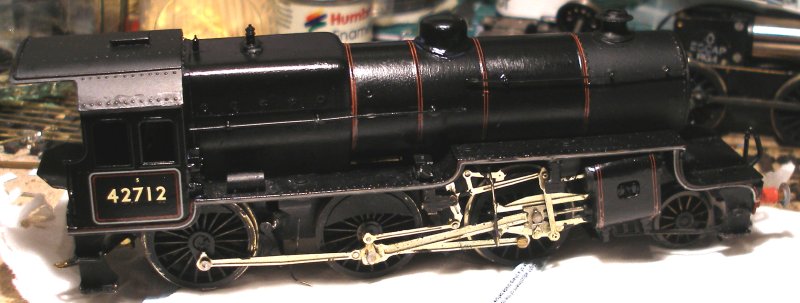
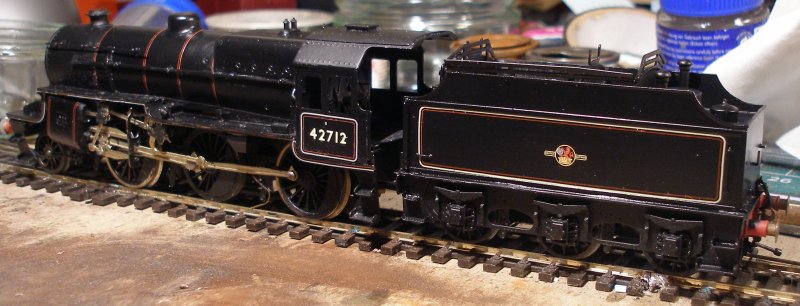
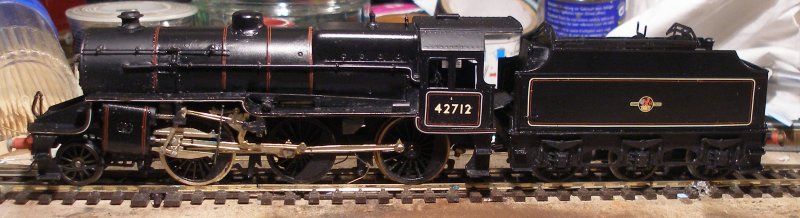
Finally the locomotive is back together, and is seen with its tender. The flangeless centre wheels are something of a throw back. When purchased as a eBay 'repairs or spares', the flanged centre wheels were loose packed, but the crankpins had been loctited in, and then the pin cut off, so making them unusable. For the time being the focus is getting the model completed in its present form.
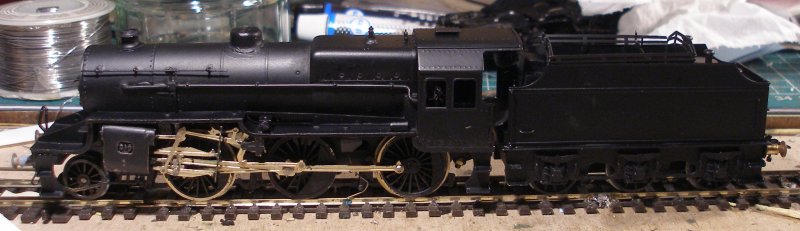
The DJH Crab kit now assembled, with the body sprayed matt black using car spray aerosols.
Posted 19 January 2015
With the top coat applied and allowed to dry in a warm room for 72-hours, it's time to applied the transfers. These are Fox by preference as they are accurate and surprisingly resilient, which is essential when dealing with large surfaces such as the tender sides. The car aerosol, although billed as 'matt black' has a pleasant satin sheen to it, sufficient to allow the transfres to grip without the need for gloss varnishing.
The cab side side panel was the first to be applied.
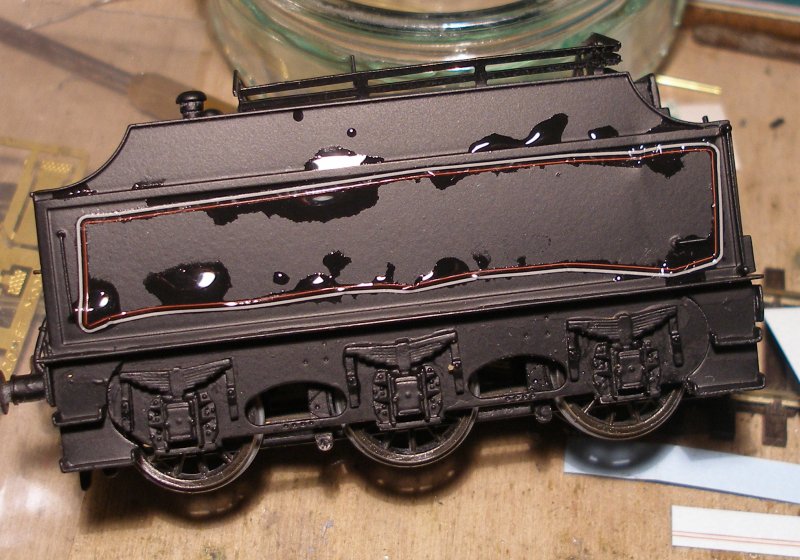
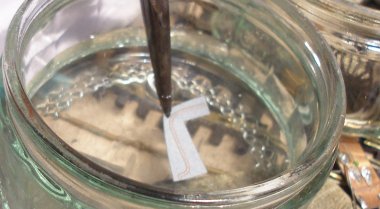
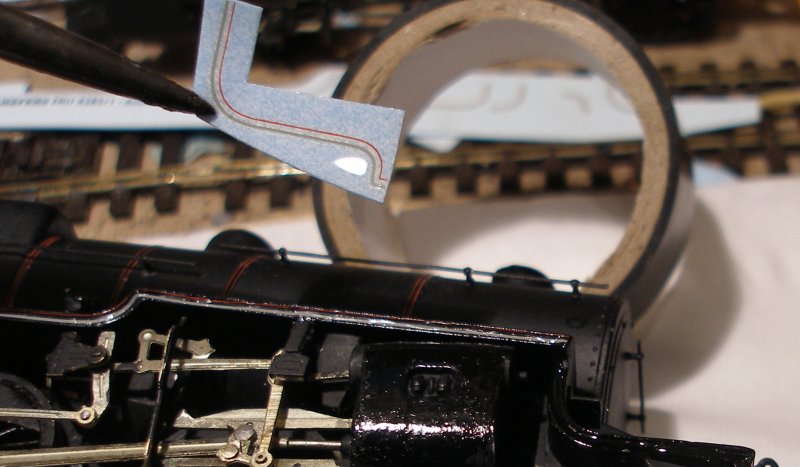
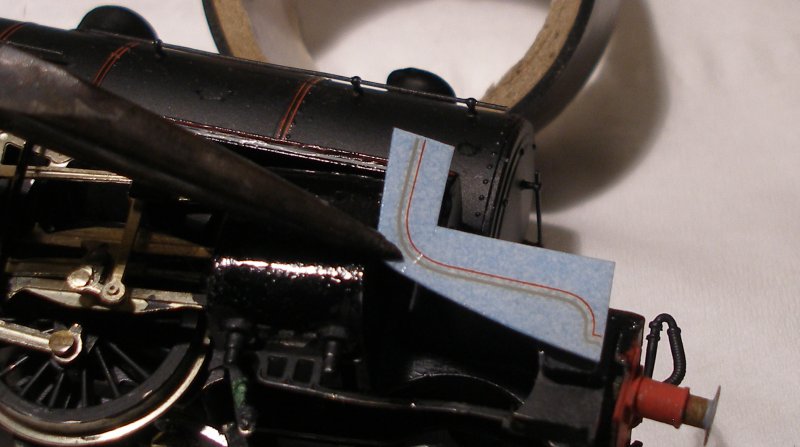
To apply the tender side panel lining transfer, first the transfer is cut out and moistened. The transfer needs to be left for a few minutes to allow the adhesive to fully soften and so allow the transfer to slide off the backing sheet easily. Initially this is a tad scary, as the lining rucks easily, and also has to be laid round the hand rail in the bottom right hand corner. Although not apparent in the photo, the lining curled over itself in the bottom right hand corner, and this is the result after 4 or 5 minutes of gentle prodding with a pair of cocktail sticks to get the lining to lie in the correct orientation. To assist the teasing of the transfer into place, it is important to keep the transfer moistened.
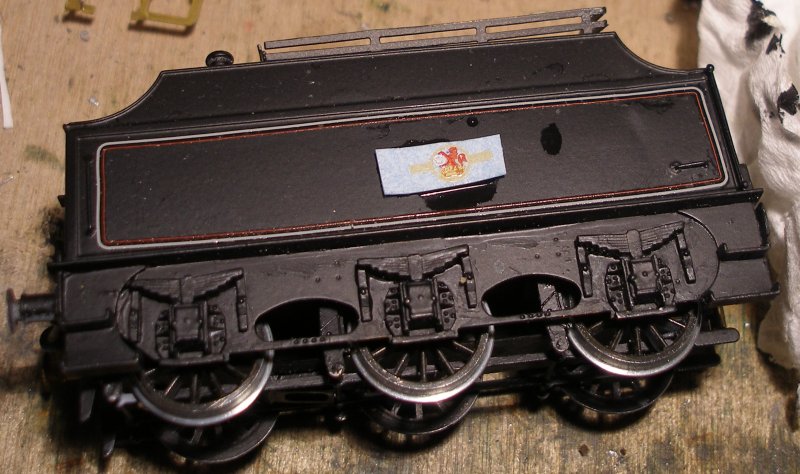
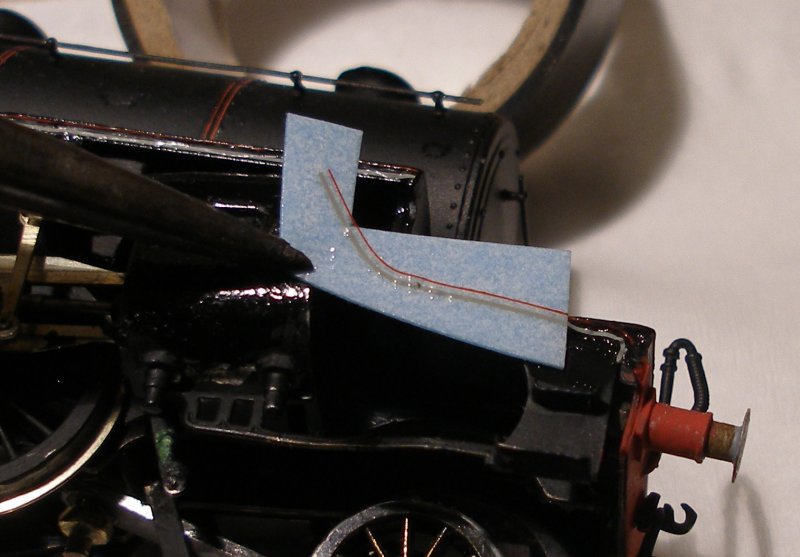
The cycling lion is added to the tender side. This is to be centered in the panel vertically, and over the centre line of the middle axlebox.
Any moisture has been gentle soaked up using a tissue.
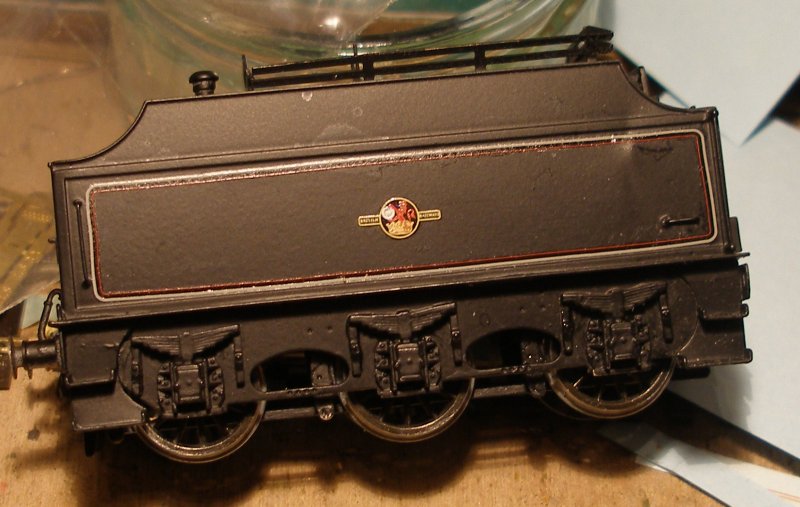
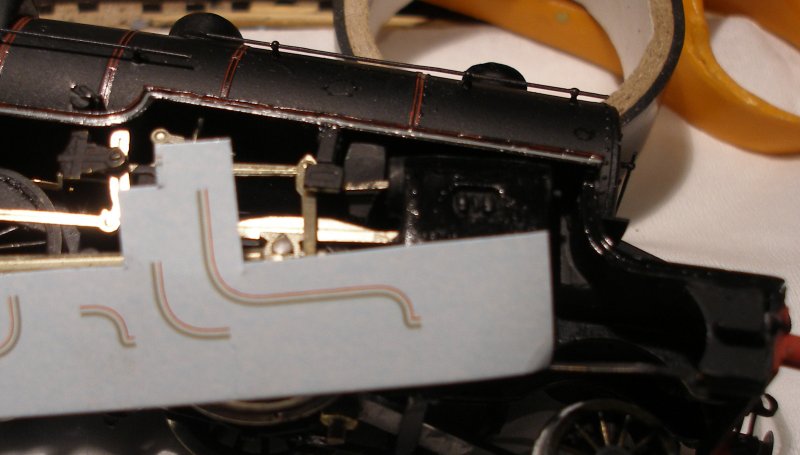
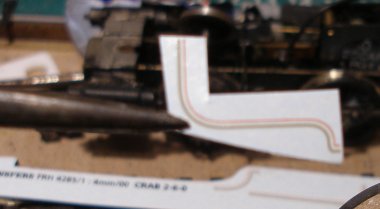
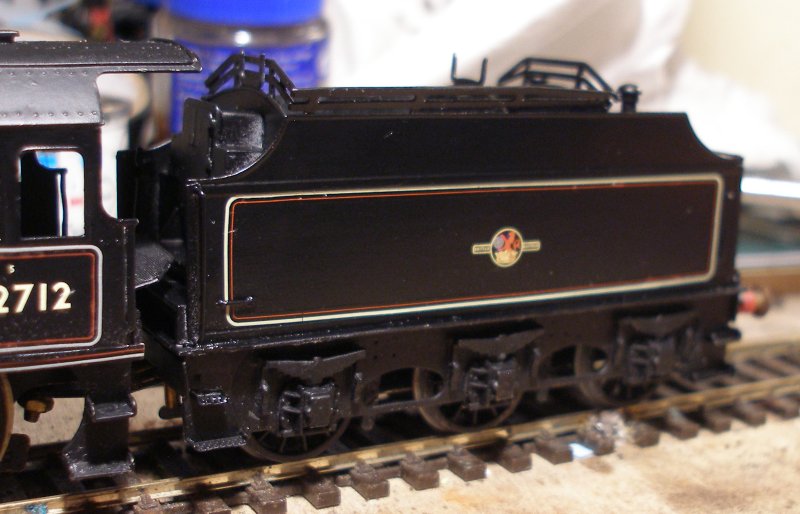
Tender and cab lining applied to a DJH Crab. The front boiler band lining are laid out in the foreground ready to be applied.
Posted 21 January 2015
A week is a long time in railway modelling...the varnish issue proved particularly traumatic as brushed Humbrol satin; Precision brushed satin and Precision rattle can matt all failed.
The Pheonix Precision spray (PV82 - Matt Varnish) created a bloom on the WD 2-8-0 also passing through the shops; the Precision brushed satin had a series of air bubbles that did not disappear as the varnish dried, and worse the varnish did not dry consistently so there were patches of matt, satin and gloss! An attempt to use the Precision spray a second time, with the can placed in a bowl of warm water for five minutes, did not improve matters: it sprayed better but dried inconsistently. This was in a warm, dry room.
A solution has been found...but first some notes on using the Fox transfers. These are particularly robust transfers and can take a surprising amount of punishment! However a little practice has made the process even more straightforward.
First a line of gloss varnish is run along the edge of the footplating where the transfers are to be applied, and - rather cruelly - on the cylinder casings. This is allowed to fully dry,
The correct transfer is selected, making sure it also correctly handed!
The trick is to leave a border around the transfer which allows the backing paper to be firmly gripped with a pair of pliers, and it can then be easily dipped into the dish of water.
The transfer now has to be held for about 90 seconds whilst the glue softens.
Just prior to holding the transfer in place, the dampened sheet is run along the line that the transfer is to be laid on to ensure the surface is wet.
It did not prove possible to both hold the transfer, the cocktail stick AND the camera all at the same time! Here the first section of transfer has been teased off the backing sheet and onto the footplate, and the backing sheet gentle drawn back whilst holding the transfer in place on the footplating with a cocktail stick.
Looking a little crumpled, the transfer is now lying on the footplate edging.
A little prodding sees the transfer in place - just a small fold on the curve to be sorted out.
All the transfer on the fireman's side are now in place with the exception of the cylinder lining.
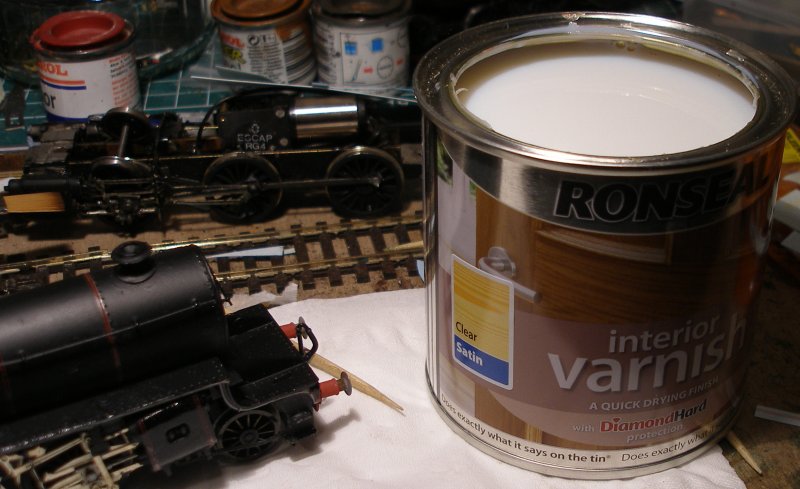
Having read a number of blogs, it is apparent that there is a real problem with model railway varnishes. Many years ago I read an article by Guy Williams in which he strongly recommended Ronseal. Now this was back in the 60s but now there is a certain desperation, so a visit to the local hardware shop saw their smallest can acquired,
Apparently it does what it says on the can... The can says 'satin' and it says 'dries in 20 minutes'. Both statements proved correct, and the photo below shows.
But why is the loco not attached to its tender, which was seen complete in earlier views?
Well, there proved no way to rescue it from the Precision varnish, and in the end it had to be completely stripped and re-painted. And here it is, now again with the transfers being applied for a second time!
One final point apparent in the photo. Although the lining was all bought from Fox last week, and all notionally for the same job, note how the corner pieces have straw coloured lining, whilst the piece along the bottom has a grey line. This has latter lining has now been replaced with lining from the same sheet as the corners. Note also in this second application the lining is now being fed behind the small horizontal hand rail above the left hand steps, and to the left of the vertical handrail on the right hand side - the single Fox transfer for the Fowler tender is longer. This is very apparent on all the BR Crab photos I have located, whereas other lined Fowler tenders - such as the Stanier 2-6-0 on the Severn Valley - have the lining passing to the left of the handle, as I originally applied it. Merely goes to show that ideally you need a comprehensive set of photos of the loco being modelled all taken at around the same time!
To complete the lining on the tender and application of crests took just 40 minutes, and then a coat of the Ronseal completed the first phase of the painting schedule.
Amazing to think that we've gone from tender fully lined and ready for varnishing, to completely stripped back to bare metal, and then back to fully lined, and now nicely varnished!
For those who have similar DJH rescue projects, click here for the instructions for the DJH Black 5 Kit reference K75.
Posted 29 January 2015
<<< Restoration of a DJH WD 2-8-0
The shopping list reads:
Birchwood Casey Liquid Gun Blue (for the wheel rims & valve gear)
Humbrol enamels:
Tan (9)
Black (33)
Leather (62)
Orange (82)
Gunmetal (53)
Grey (64)
Tarmac (112)
Bauxite (133)
& Humbrol Metalcote 'Polished Steeil' and 'Gunmetal'
+ a set of decent Rowney artists paint brushes.

Copyright J K Wallace, t/a 'Hall Royd Junction' 2013-2023 email: Hall Royd Junction
7 Portobello Close, Chesham, Bucks. HP5 2PL, UK
tel: +44 (0)7513 412880