
The Low Moor and Clifton Colliery Tramways - Route
Low Moor Tramway: Clifton Low Moor Tramway: History Low Moor Tramway: Track & Inclines Low Moor Tramway Mapping
Surviving Infrastructure: Ox Close to Low Moor
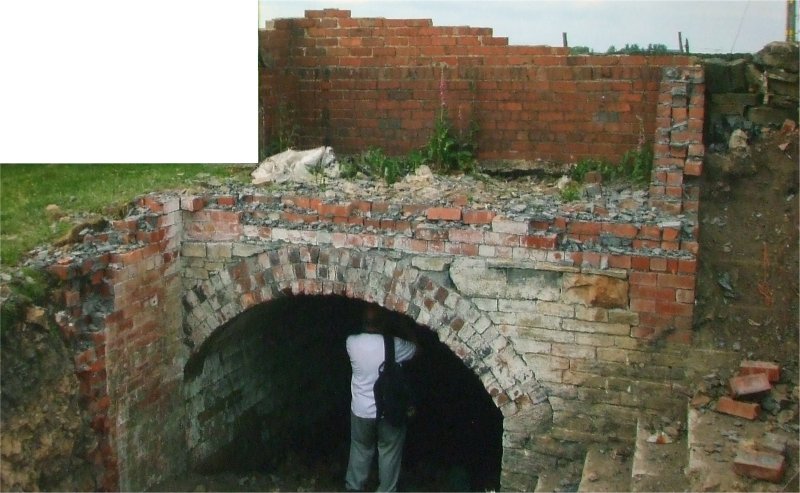
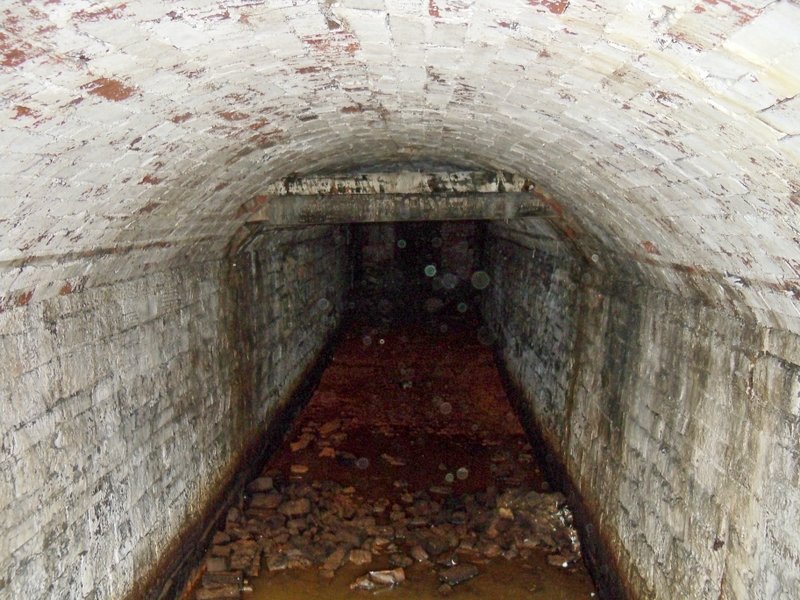
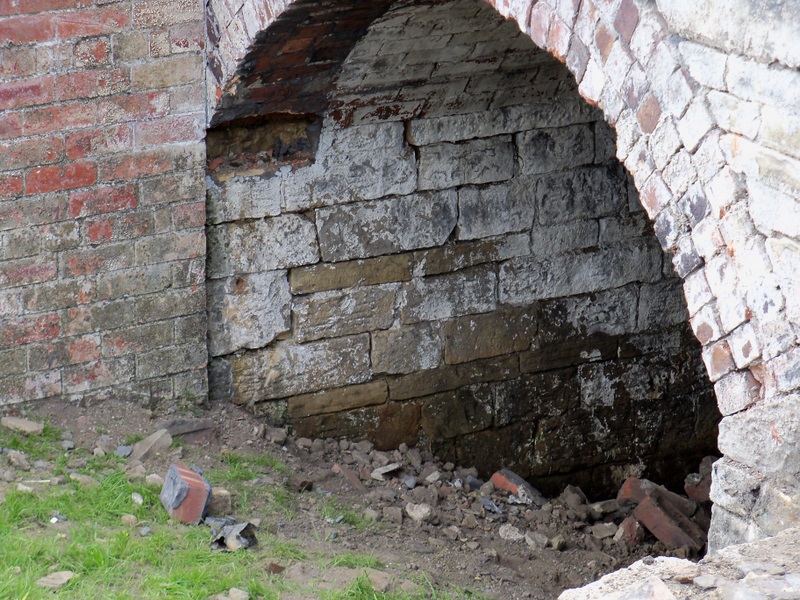
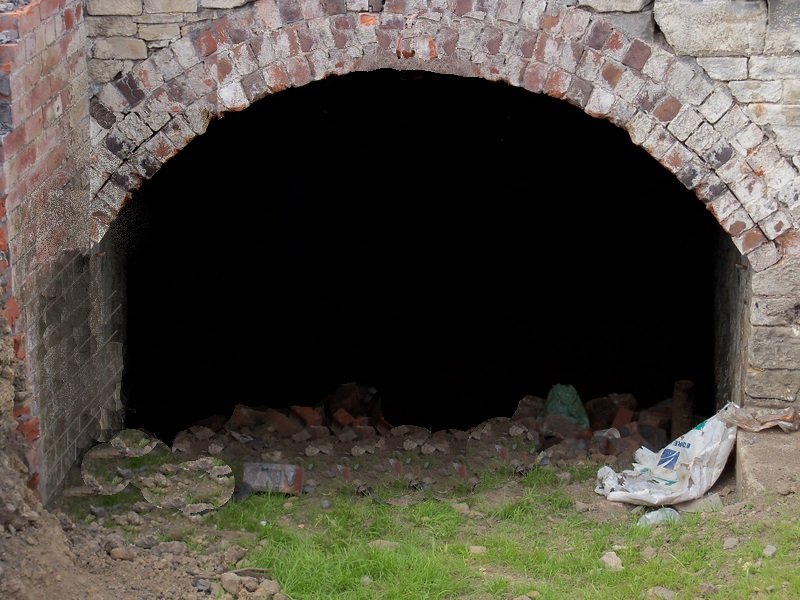
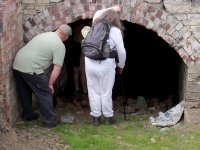
The mineral railway passed under the Halifax Road, at Hartshead Moor (the A649) in a short tunnel. The southern portal still exists and can be entered, although is on private land and prior permission is required. This is how it appeared in June 2010 on a Calderdale Historical walk. The portal and lining appear to have been whitewashed, and it is not clear whether this is an original feature, or whether it was applied later. The use of the tunnel after closure is unknown, although many old bridges have been used for livestock storage. A view of the tunnel taken by Malcolm Bull on the same organized walk appears in Malcom Bull's Calderdale Companion.
Photographer & copyright: Anne Hewland
Photographer & copyright of the Estate of Pete Hewland
Photographer & copyright of the Estate of Pete Hewland
Photoshop alert! The original image was captured on an organised walk by Calderdale Heritage. The original, unmodified image is shown in the inset. However, in the fashion of a 'spot the ball' competition, with a few clicks they have been removed to show the full width of the tunnel mouth. Crucially the presence of the figures allows a stab at the width of the tunnel, and therefore to calculate whether the tramway was single or double track. Assuming the original figures were an average 5' 8", then the tunnel mouth scales out at 7.5 feet. Given this was never part of the Clifton system, the track gauge here would have always been 3'10.5". This therefore suggests that there would have been a single track at this point, and not double track. Technically if loaded rafts of waggons are required to pass on an incline plain then the tracks can be interlaced, so that they part at the mid-point to allow an upward-bound raft to pass the downward-bound raft, and as this tunnel is on the upper part of the incline, such an arrangement remains a possibility.
At times of the year, particularly during the summer months of hot years, the trackbed re-emerges. This is the view north from Birkby Lane from the tunnel.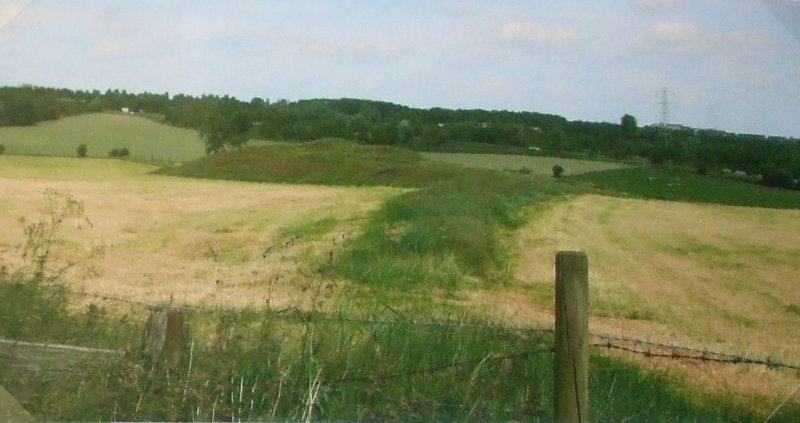
Photographer & copyright: Anne Hewland
Difficult to make out fully but this is the northern 'portal' of the tunnel under Birkby Lane/Halifax Road which carried the line northwards to Low Moor Ironworks (to the left). Part of the stonework of the portal is lower right (left of the gate in the grass), and there is a depression in the ground of about 5 or 6 feet, which is not fully apparent in this shot, where the cutting has been partially filled in. This is private land, which was respected by the photographer.
Copyright Andrew Stopford, All rights reserved
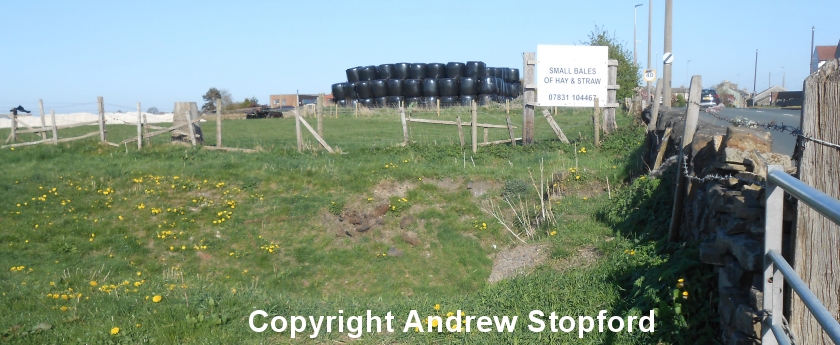
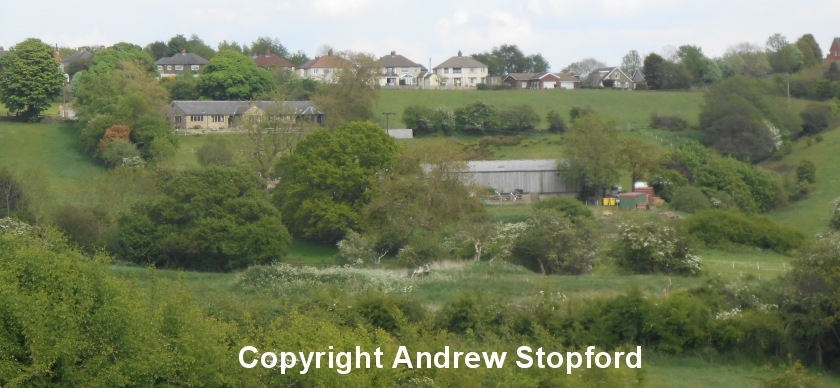
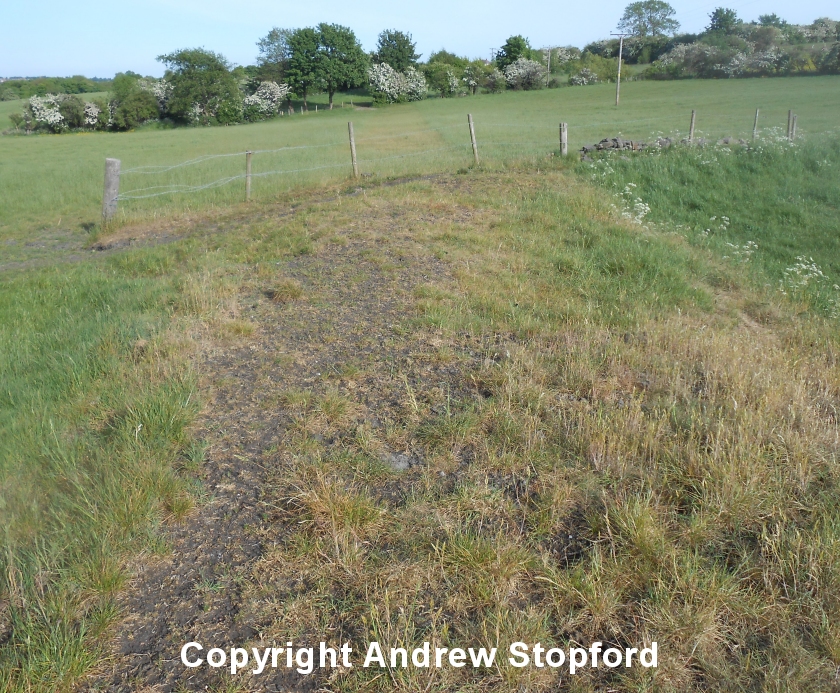
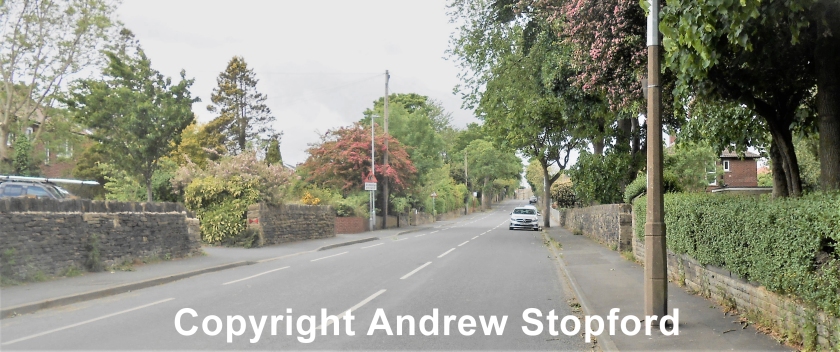
Moving further northwards up the main line, the next feature of interest is Whitaker Pit. This photo is taken at the site of Whitaker Pit, but looking southwards towards the Halifax Road and Ox Close.
Copyright Andrew Stopford, All rights reserved
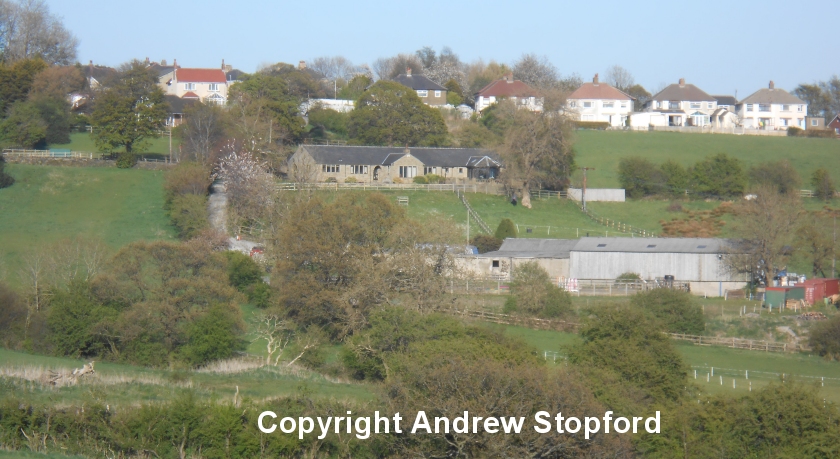
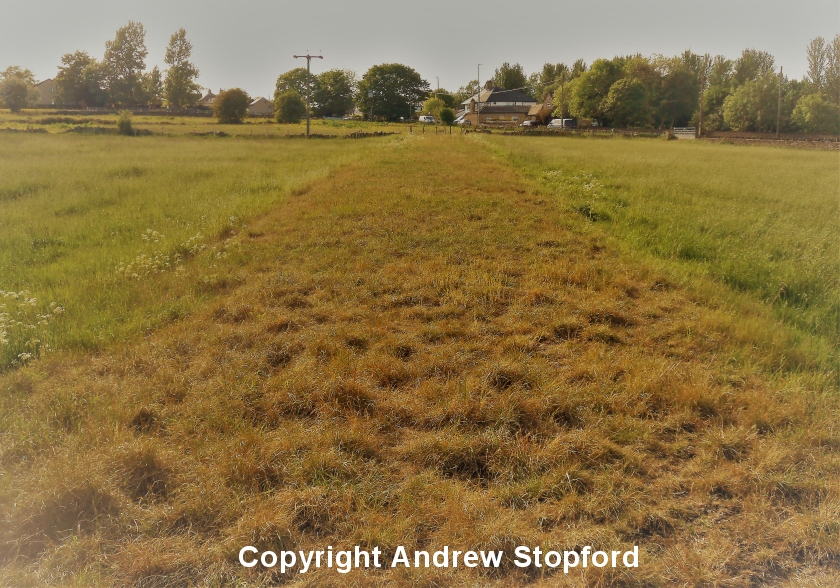
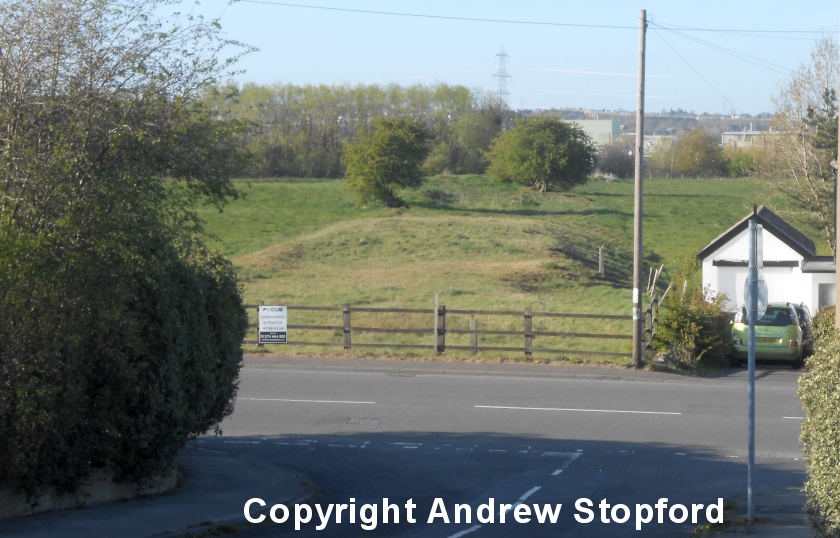
The photo below shows the spoil heap from Whitaker Pit colliery looming on the right. The roadway is the trackbed of the mineral tramway north to the former Low Moor Ironworks (about two miles ahead). This location is at the end of a private track heading southwards from Halifax Road.
Copyright Andrew Stopford, All rights reserved
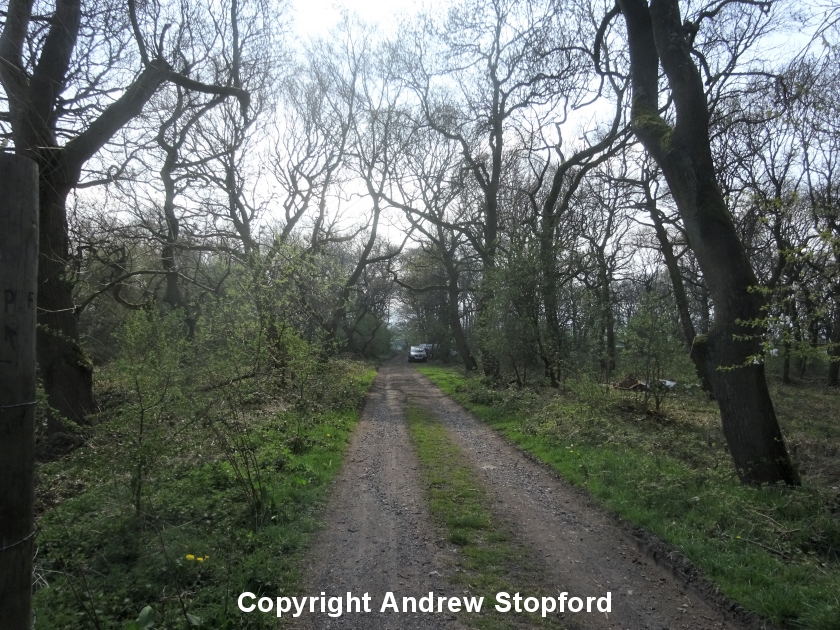
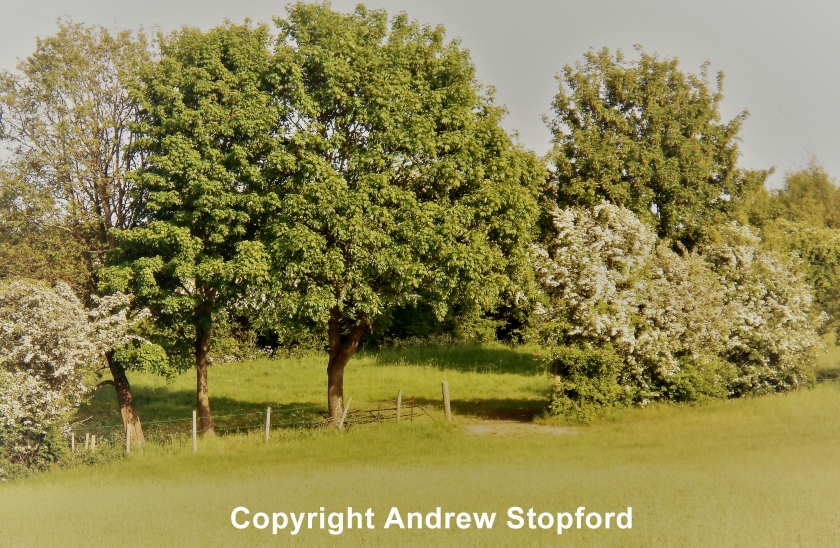
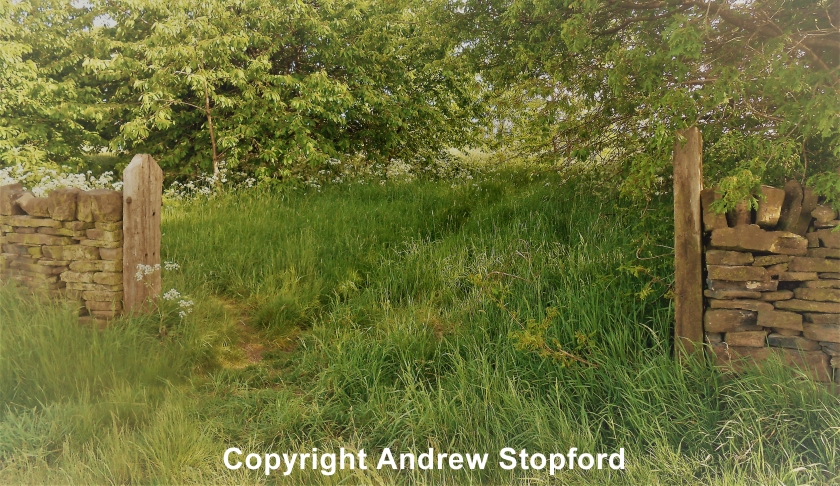
In the photo below the raised embankment running along centre shot is yet another branch of the former mineral tramway system set up to serve the collieries around Clifton. This branch ran to Highmoor Colliery (behind the photographer standing on Pitts Lane), which was located just to the north of what is now Hartshead Moor Services on the M62. Going away from the photographer, it joined the 'main line' at a simple junction just north of Whitaker Pit and went northwards (right) to Low Moor Ironworks. Highmoor was unusual, in that two branch lines were built to connect it to the main line. The first rose from behind the Ox Pit cottages,crossing Jay House Lane at an oblique angle. The old trackbed along the bottom of the cottage gardens is well preserved. The resulting connection therefore favoured Brighouse and the Gas Works, and the new, Low Moor-facing connection rendered the original redundant.

Copyright Andrew Stopford, All rights reserved
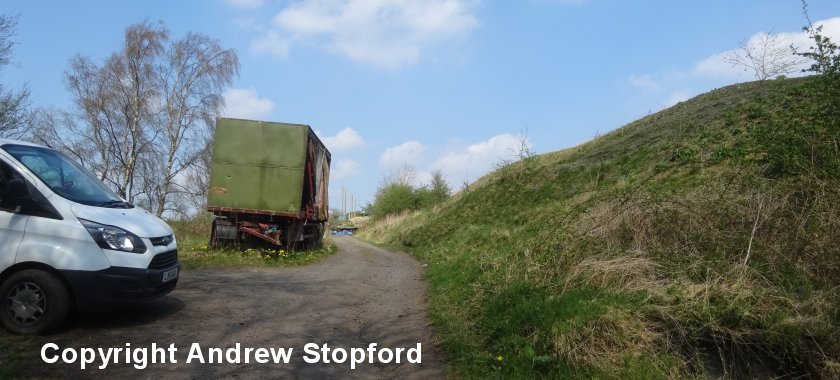
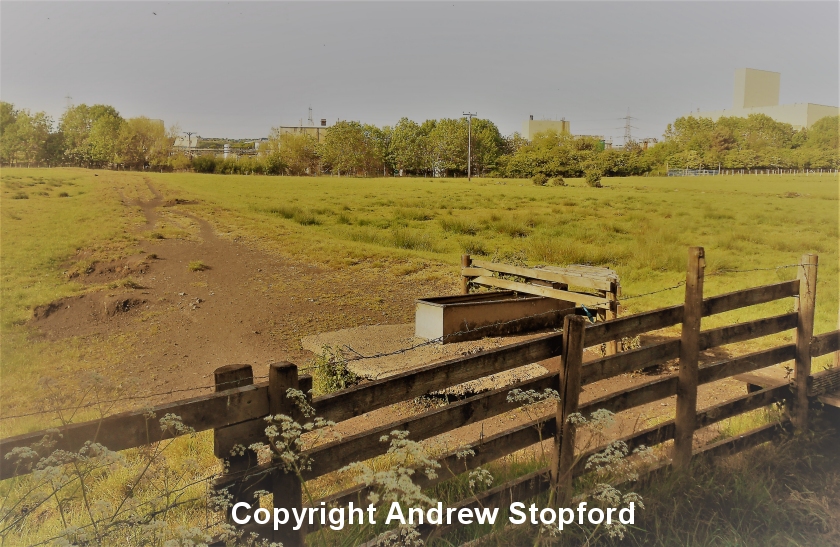
Drake Pit lay to the west of the main line, and sat on the floor of a valley. The site of Drake Pit is the level area, mid foreground.
Copyright Andrew Stopford, All rights reserved
Looking down at the site of Drake Pit (left foreground). The dirt road running (Brookfields Road) up the hill away from the photographer, which is now a farm access track, is the line of the branch to the pit which connected to the Low Moor Ironworks system which ran right to left towards Low Moor approximately 200 metres beyond on the line of the houses on the horizon.
Copyright Andrew Stopford, All rights reserved
The site and remains of Drake Pit, closed around 1911. This connected to the Low Moor Ironworks tramway system, the line of which came in from the right, and joined the 'main line' back up the hill to the right in Westfield Lane, Wyke.
Copyright Andrew Stopford, All rights reserved
The next branch north of the Drake Pit line was an easterly spur to Scholes and Chairbarrows Pit.
The embankment of the mineral tramway looking towards Westfield, Wyke. The site of Scholes Pit site is behind the photographer.
Copyright Andrew Stopford, All rights reserved
Remaining embankment of the mineral tramway. The trees on the horizon mark the spot of Scholes Pit.
The site of Scholes Pit.
Copyright Andrew Stopford, All rights reserved
The embankment of the mineral tramway looking towards Westfield, Wyke. Scholes Pit site is behind the photographer.
Copyright Andrew Stopford, All rights reserved
The branch continued on to Chairbarrows Pit, and in the process crossed Branch Road, with Scholes to the left and Chairbarrow to the right. It was thought that the route of the tramway might have crossed the road where there is a gap in the wall. In fact, the actual crossing was behind the photographer and follows the field boundary.
Copyright Andrew Stopford, All rights reserved
The point at which the mineral tramway from Westfield, Wyke, crossed Whitechapel Road to reach Chairbarrows Pit. The pit was on the left (south), and the line emerged at the point where there is a gap in the wall on the right, just beyond the lamp post. The wall with the privet hedge is the boundary wall of Scholes Cemetery. The land where the line came through is now allotments.
Copyright Andrew Stopford, All rights reserved
The site of Chairbarrows Pit, closed about 1928.

Copyright Andrew Stopford, All rights reserved
At this point the mineral tramway from Clifton crossed Whitehall Road towards the Low Moor Ironworks complex (ahead; to the north). A housing estate access road (Grassmere Road) is on the alignment on the south side of Whitehall Road. he actual track of the main line was to between the central white line and the kerb. The short branch from Scholes and Chairbarrow came in here behind the photographer from the right. Also behind the photographer was a winding engine and associated passing loop. The loop had short siding, which terminated just about where the photographer is standing.
Copyright Andrew Stopford, All rights reserved
The condition of these gate posts suggests they date from the time of the mineral tramway - beyond these gates were sidings and the 'main line' then crossed this lane here. This is Cow Close Lane looking south towards Whitehall Road which is about 200 yards away. Low Moor is behind the photographer. The sidings here marked the end of rope working from the south, and the commencement of locomotive working northwards. There were seven sidings here, accessible from both ends. Also at the southern end the branch from Westfield Pit entered from the west.
Copyright Andrew Stopford, All rights reserved
The embankment of the mineral line heading north towards the site of Low Moor Ironworks.
Copyright Andrew Stopford, All rights reserved
The embankment of the mineral tramway heading north (left) can be seen coming in low right of the photo towards the site of Low Moor Ironworks.
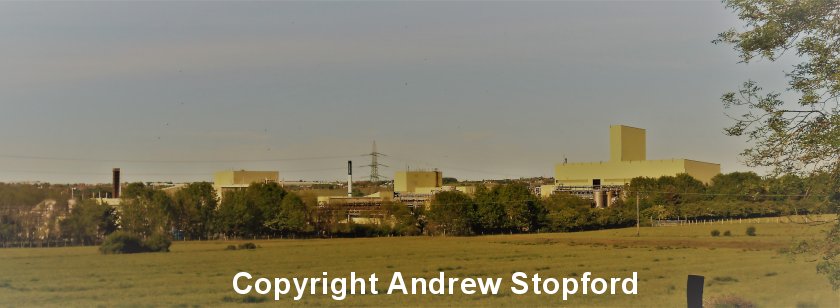
Copyright Andrew Stopford, All rights reserved
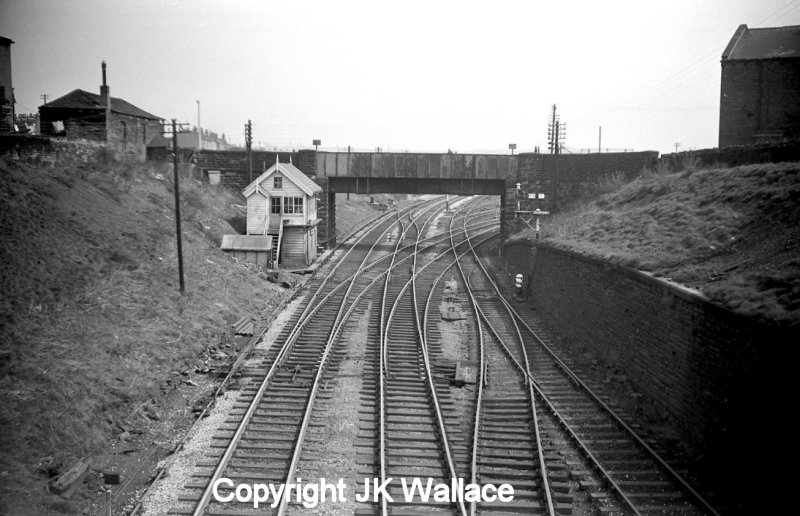
Whilst not strictly the Low Moor tramway as such, this c. 1962 photograph shows the scene immediately below the Lancashire & Yorkshire Railway's 69 yard New Furnace Tunnel over which the tramway passed between the two foundry sites. The photographer would have been standing on the approximate site of one of the tramway lines. A branch swung off the tramway's main line and passed behind the buildings on the left hand side of the photograph on the top of the cutting side before dropping down into the LYR exchange sidings in the middle distance beyond the over bridge.
A photo taken looking the other way shows the short New Foundry Tunnel over which passed two Low Moor tramway track.
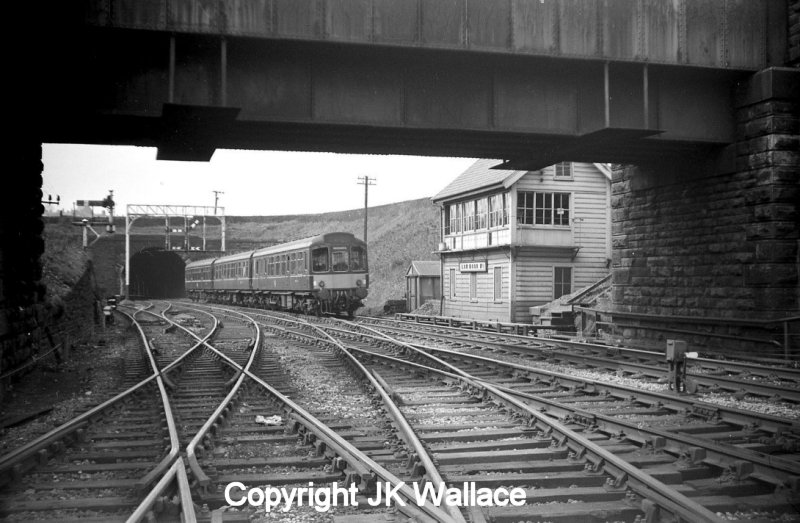
Low Moor No 1 Signal Box c. 1962 with a 3-car Class 110 unit passing towards Bradford showing the LNWR-style gallows signal. The tramway passed over the top of the tunnel.
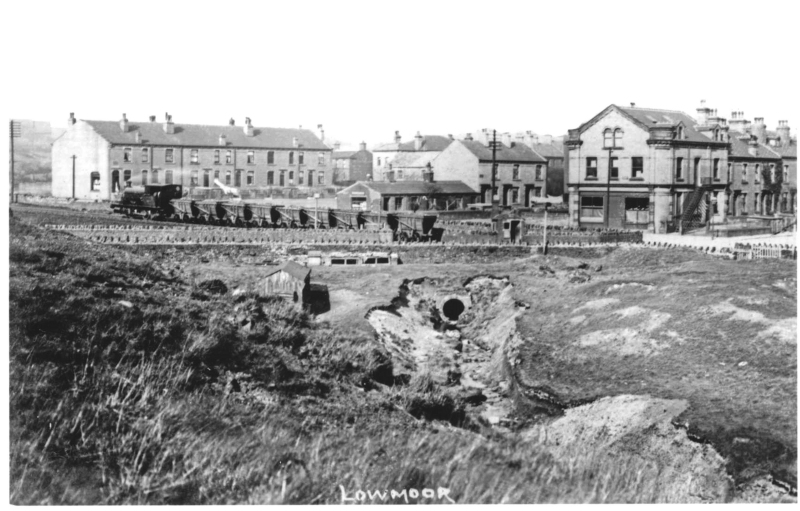
Finally, a post card view showing a standard gauge loco hauling a train of narrow gauge waggons having just crossed Chapel Road in Low Moor, with First and Second Street in the background. The train is running from the Old to the New Works.
And for comparison, the modern view thanks to Google Streetview.
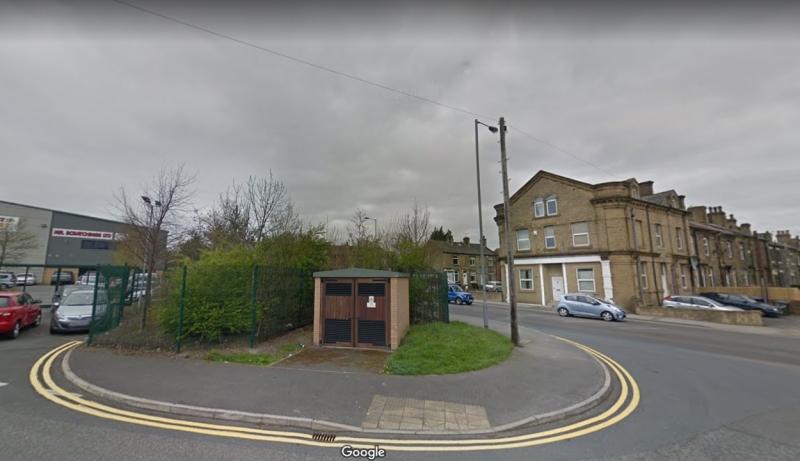
Image copyright: Google Streetview
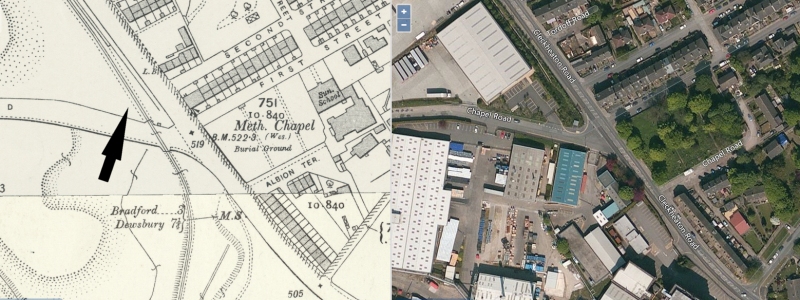
Image: National Libray of Scotland; https://maps.nls.uk/geo/explore/side-by-side/#zoom=18&lat=53.7530&lon=-1.7580&layers=168&right=BingHyb
Low Moor Tramway: Clifton Low Moor Tramway: History Low Moor Tramway: Track & Inclines Low Moor Tramway Mapping

Copyright J K Wallace, t/a 'Hall Royd Junction' 2013-2023 email: Hall Royd Junction
7 Portobello Close, Chesham, Bucks. HP5 2PL, UK
tel: +44 (0)7513 412880